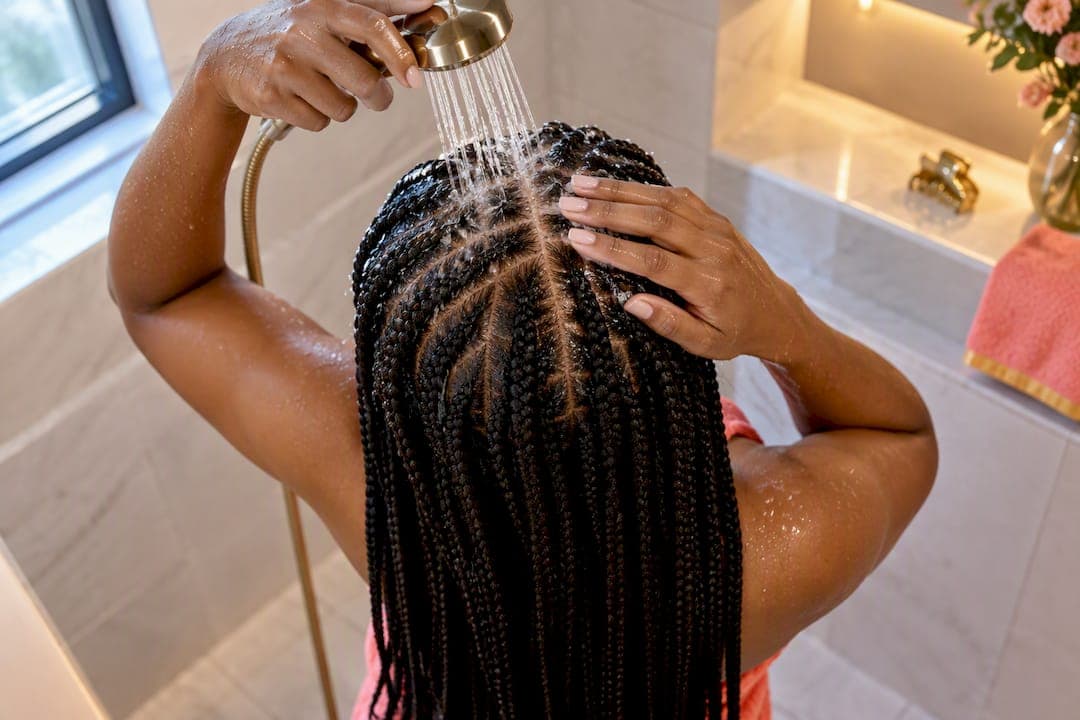
Yes, you can wash knotless braids safely, and the method that works best is scalp-first cleansing with a diluted shampoo in an applicator bottle, low water pressure, and careful drying. Wash about every few weeks, or sooner if your scalp feels oily or itchy. Skip soaking the lengths, keep the water pressure gentle, and dry thoroughly before you touch a satin bonnet.
TL;DR:
- Keeping water pressure low and applying shampoo directly to the scalp prevents swelling and fuzziness at the roots.
- Sectioning hair into small parts and loosening roots before washing helps avoid tangles and ensures thorough cleansing.
- Using a diluted, sulfate-free shampoo in an applicator bottle and wiping with a damp cloth minimizes buildup on braids.
- Proper drying with a microfiber towel and air or low-heat blow drying prevents mildew and maintains braid neatness.
- Between washes, use a scalp spray, dry shampoo, or bonnet to extend style freshness without risking extra buildup.
Table of Contents
- What You Need Before Wash Day
- Sectioning Before You Wash: The Band-and-Braid Method
- The Wash Knotless Braids Routine, Step by Step
- Conditioning Without Weighing Down the Braids
- Drying and Finishing Touches
- Between-Wash Maintenance That Extends Your Style
- Salon-Tested Tips From Afro
- Afro's Perspective: Why Scalp-First Washing Actually Protects the Style
- Ready for a Touch-Up or a Professional Scalp Cleanse?
- Sources
- FAQ
What You Need Before Wash Day
Grabbing random bathroom products and hoping for the best is how roots end up puffy and frizzed within a week. Braid-safe washing depends on having the right tools lined up before you start.
- Applicator or squeeze bottle to deliver shampoo straight to the scalp instead of the braid shafts
- Diluted, sulfate-free (or braid-safe) shampoo mixed with water to a thin, pourable consistency
- Spray leave-in conditioner for lightweight hydration without residue
- Microfiber towel or cotton T-shirt for blotting, not rubbing
- Lightweight mousse for edge control and frizz taming once dry
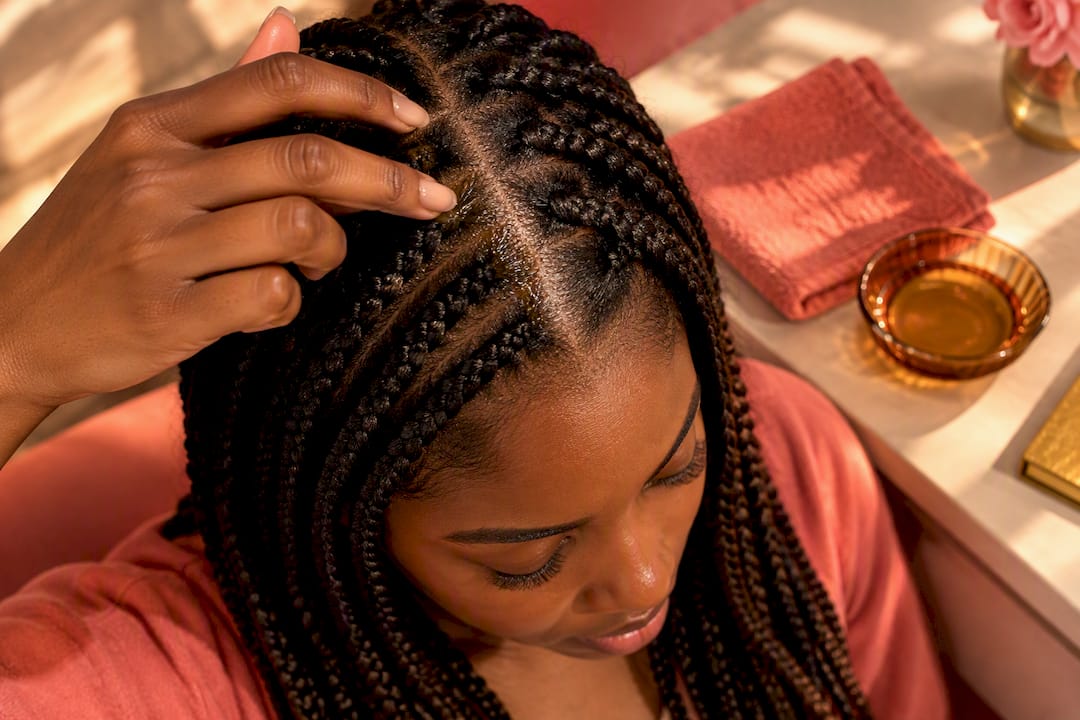
- A small amount of lightweight scalp oil, used sparingly
- Soft hair bands or clips for sectioning
An applicator bottle matters more than most people realize. Pouring shampoo straight from the bottle floods the braids and forces you to scrub, which loosens the base and swells the hair fiber where it meets the scalp. Heavy creams and butters are usually a poor choice here too. They cling to braiding hair, attract lint and dust, and turn into the exact buildup you're trying to wash out. When picking products, stick to three rules: water based, lightweight, and low residue.
Sectioning Before You Wash: The Band-and-Braid Method
Sectioning is what separates a clean wash from a matted mess. It keeps your lengths organized so you're not fighting tangled hair while trying to reach your scalp.
- Divide your head into three to six sections, depending on how large or small your braids are. Smaller knotless braids need more sections since there's more hair per zone.
- Loosely braid or twist each section below the root, leaving about an inch of loose hair right at the scalp so you can access it directly.
- Secure each section with a soft band, not a tight elastic that pulls at the perimeter.
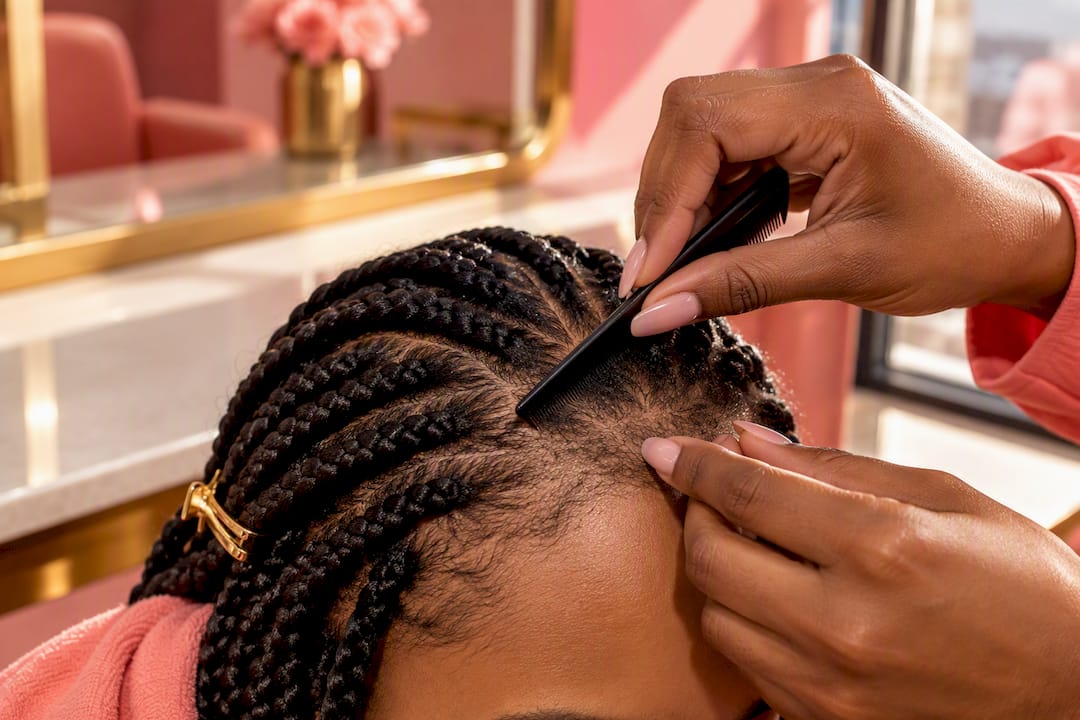
- Wipe heavy buildup around the parts first using a cotton pad dipped in diluted cleanser, especially along the hairline and center part where product and sweat collect fastest.
- Check that your part lines are still visible before moving to the sink or shower. If they've disappeared under buildup, that's your cue this wash is overdue.
This is the same approach hairstylists recommend for protecting braid length while still getting real access to the scalp. Skipping this step is the fastest way to end up with a tangled halo of loose hair by the time you reach the rinse.
The Wash Knotless Braids Routine, Step by Step
This is the core technique, and it's where most people go wrong. The goal is to clean the scalp thoroughly while touching the braid shafts as little as possible.
- Mix your shampoo with water in the applicator bottle, roughly one part shampoo to three parts water, until it pours like a thin lotion rather than a gel.
- Part one section at a time and apply the diluted shampoo directly along the exposed scalp, following each parting like you're drawing a line.
- Massage with your fingertips in small circular motions for about 15 to 20 seconds per section. Never scrub with your nails or drag your fingers across the braid shafts. You're loosening buildup, not scouring a pan.
- Wipe the lather out with a damp microfiber cloth, section by section, or use a low-pressure handheld sprayer aimed only at the roots. Either method controls where the water actually goes.
- Rinse by tilting your head back and guiding water down through the section with your hand, rather than blasting the crown of your head with a full shower spray.
- Repeat across every section before moving to the next, so you're never left guessing which parts still have product in them.
- Do a final check by parting a few sections and looking for suds or slippery residue. If you feel any tackiness at the root, rinse again lightly.
The reason this method exists isn't fussiness. It comes down to what actually happens to hair fiber when it gets wet. Saturating the root repeatedly causes the hair strand to swell, and a swollen strand pushes against the braid's base, which is exactly what creates that fuzzy, puffed-up look at the scalp. Professionals point to high water pressure and full saturation as the main causes of that root puffing, so targeted application beats a full dousing every time.
Pro Tip: Keep a spray bottle of plain water nearby for stubborn suds. A light mist and a wipe with your damp cloth clears residue faster than repositioning under the shower head over and over.
Conditioning Without Weighing Down the Braids
Conditioner is where a lot of braid maintenance goes sideways. Thick, creamy conditioners feel luxurious on loose hair, but on a braided install they sit on the extension hair and build up fast, leaving braids looking dull and slightly greasy days later.
- Use a spray leave-in instead of a jar conditioner. Lightweight leave-in sprays hydrate effectively without the heavy residue that creamy formulas leave behind on braided hair.
- Apply it to the scalp and the first one to two inches of each braid, where your natural hair actually lives.
- Mist the rest of the length lightly if it looks dry, but don't drench it.
- Save deep moisture treatments for your natural hair only, applying them at the root and avoiding contact with the synthetic or extension hair further down.
A daily spray leave-in also helps with itch between full washes, keeping the scalp comfortable without ever needing to touch the braid pattern itself. For a deeper breakdown of hydration timing across the life of an install, this complete moisture guide for knotless braids covers it in more detail.
Pro Tip: If your scalp gets tight or dry a day or two after washing, that's usually a sign you rinsed out too much natural oil. A light oil massage the next evening fixes it fast.
Drying and Finishing Touches
Wet braids left to sit are an invitation for mildew and a musty smell that's nearly impossible to fix without a full rewash. Drying properly is not optional.
- Blot and squeeze with a microfiber towel or a cotton T-shirt, working from root to tip. Never rub, since friction is what raises frizz on the braid shaft.
- Air dry whenever your schedule allows it. It's the gentlest option and the one least likely to disturb your part lines.
- Use a hooded dryer or a blow dryer on low heat if you're short on time, keeping the airflow moving rather than parking it in one spot.
- Check the roots specifically before calling it dry. The scalp area traps moisture longest and is where mildew starts first.
- Finish with a small amount of lightweight mousse for smoothing flyaways, a light touch of scalp oil for shine, and a conservative amount of edge control along the hairline.
Skipping the drying step is one of the quickest ways to undo a good wash, no matter how careful you were with the cleansing.
Between-Wash Maintenance That Extends Your Style
You don't need a full wash every time your scalp feels a little off. A short refresh routine handles most of what comes up between the real wash days.
- Use a dry shampoo or a braid refresher spray at the roots when you notice oil buildup but don't have time for a full wash.
- Wipe visible buildup at the parts with a cotton pad dipped in diluted cleanser, targeting just the hairline or center part rather than the whole head.
- Sleep in a satin bonnet or scarf, or switch to a satin pillowcase, every single night to cut down on frizz and friction.
- Keep styling low-manipulation, avoiding tight ponytails or repeated restyling that stresses the same roots.
- Watch for the real warning signs that a refresh isn't enough: persistent itching, visible flaking, a sour smell, or heavy buildup that a cotton pad can't lift. Those call for a real wash, not another spray.
Between-wash refresh methods like these genuinely stretch the time between full washes, which matters most in the middle weeks of a six to eight week install when your roots have grown out but aren't quite ready for a redo. A gentle scalp massage routine built into this stretch also keeps circulation up, which supports healthier regrowth underneath the style.
Salon-Tested Tips From Afro
Working on knotless installs day after day teaches you which shortcuts actually protect the hair and which ones just look good in a video. A few things stand out consistently in the chair.
- Banding sections before cleansing isn't just for organization. It genuinely reduces the friction that causes frizz and shortens drying time, since you're not fighting loose, tangled lengths.
- Over-soaking is the single biggest mistake we see. Clients who dunk their whole head under the shower for a "deep clean" almost always come back with puffier roots than clients who stuck to targeted applicator washes.
- Heavy conditioners and high water pressure are close behind. Both push moisture into the braid base faster than it can dry, and that trapped moisture is exactly what invites odor and mildew.
- Book a professional scalp cleanse if buildup won't budge, if you notice visible white residue along the parts even after washing, or if there's a persistent smell that doesn't clear with a normal wash.
Persistent flaking or irritation under the braids sometimes points to something beyond routine buildup. If a cleanse and a few days of care don't resolve it, a proper scalp care evaluation can catch issues before they turn into bigger problems at your next install.
Pro Tip: If your part lines have started to look fuzzy by week three, that's usually just growth and normal wear, not a sign you did something wrong. A light touch-up at the hairline can carry the style another couple of weeks before a full redo is needed.
Afro's Perspective: Why Scalp-First Washing Actually Protects the Style
Scalp-first washing isn't a trend, it's the only method that has consistently kept installs looking neat past the two-week mark in our chairs. The instinct to fully saturate and scrub feels thorough, but it works against you here. Style longevity and scalp health aren't competing goals. Get the scalp-first routine right, and both improve together. If your roots still look puffy or your scalp stays uncomfortable no matter what you try at home, that's the point to bring it to a professional rather than keep guessing.
— Afro
Ready for a Touch-Up or a Professional Scalp Cleanse?
Professional salon services are the alternative to guessing your way through DIY fixes when buildup, odor, or fuzzy roots have gone past what a home wash can solve. A salon touch-up can reset your part lines, tighten loose sections, and get your scalp genuinely clean, saving you time and effort.

We offer knotless braid installs and touch-ups starting at $180 to $290, along with the scalp care attention that keeps an install looking fresh well past week three. If you're dealing with buildup that won't lift, irritation that isn't going away, or you just want a reinstall done right, browse our knotless braid portfolio to see the work, then book your appointment or reach out with questions before your next wash day rolls around.
Sources
This guide draws on wash technique guidance from Byrdie's hairstylist-sourced method, product advice from JALIZA's braid care guide, and refresh strategies from HotBraids. For extension-specific hair handling, see this extension care guide, and for broader style background, read what knotless braids actually are.
- How to Wash Your Knotless Braids, According to Hairstylists
- How to wash knotless braids: Guide for Effortless Maintenance – JALIZA
FAQ
How Do I Make Knotless Braids Look Fresh Again?
Wash the scalp with a diluted shampoo using the applicator method, then follow with a spray leave-in and a light mousse along the hairline to smooth flyaways. Between full washes, a dry shampoo or refresher spray at the roots handles minor dullness without a full rewash.
Is It Okay to Get Knotless Braids Wet?
Yes, but soaking the full length of the braids isn't necessary and often causes more frizz than it prevents. Targeted, scalp-focused washing every two to three weeks keeps hair clean while avoiding the root swelling that comes from full saturation.
Is It Better to Take Out Braids Wet or Dry?
Braids should always be fully dry before removal. Taking them out wet leaves natural hair more prone to breakage and tangling, and wet extension hair sheds and mats far more easily during takedown.
How Do I Dry Knotless Braids After Washing?
Blot gently with a microfiber towel or cotton T-shirt, then air dry whenever possible since it's the gentlest option for the roots. A hooded dryer or blow dryer on low heat works when you're short on time, but check the scalp area specifically since it holds moisture the longest and dries last.