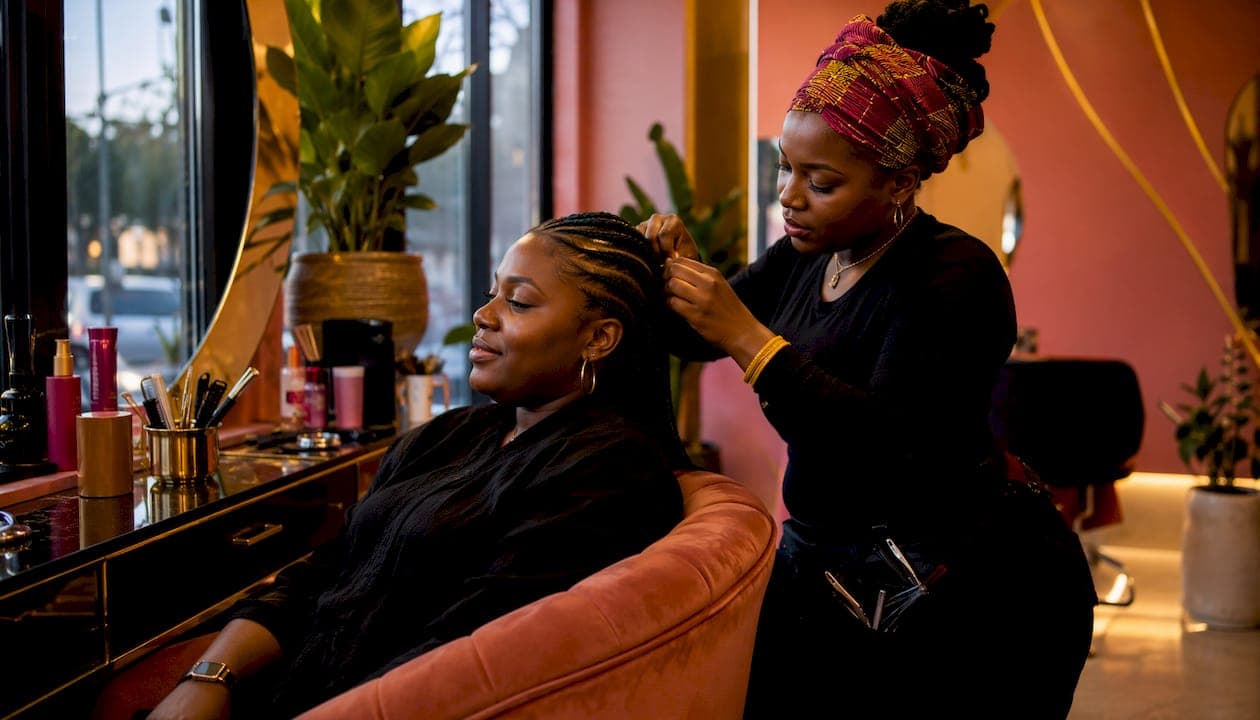
Professional salon braiding consistently delivers faster, more uniform, and scalp-healthier results than DIY braids. That said, the right choice genuinely depends on your budget, schedule, skill level, and how long you want your style to last. Here is a clear breakdown of what each option actually offers.
Salon braiding at a glance:
- Faster completion, typically a few hours versus days for a full DIY set
- Uniform braid size, crisp parts, and longer-lasting styles
- Professional tension management that protects against scalp irritation and traction alopecia
- Higher upfront cost, but fewer touch-ups needed over time
DIY braiding at a glance:
- Lower upfront cost with full creative control
- Flexible pacing, pause and resume on your own schedule
- Higher risk of uneven sections, muscle fatigue, and inconsistent tension
- Shorter style longevity, often requiring more frequent maintenance
Both paths have real merit. The goal here is to help you decide which one fits your life right now.
Salon braiding vs DIY braids: pros, cons, and a direct comparison
Understanding the full picture means looking beyond day one. How do your braids hold up on day ten? How does your scalp feel after a week?
Pros of professional braiding services:
- Stylists handle detangling, sectioning, and finishing, so you simply sit and relax
- Consistent tension across every braid reduces breakage and scalp stress
- Knotless braids installed by a professional are gentler on the scalp and grow out more naturally
- Clean, precise parting creates styles that stay neat longer
Cons of professional braiding:
- Higher cost per appointment
- Requires scheduling and travel
- Less flexibility to customize mid-session without communicating clearly
Pros of DIY braid techniques:
- Saves money on labor
- You control the pace, products, and style choices
- Great for practicing and building skill over time
Cons of DIY braiding:
- Working at awkward angles causes muscle fatigue in your hands, wrists, and shoulders
- Uneven parts and inconsistent tension shorten how long the style lasts
- Physical strain often leads to cutting corners, which shows in the finished look
| Factor | Salon braiding | DIY braids |
|---|---|---|
| Cost | Higher upfront | Lower upfront |
| Time required | A few hours | Can span multiple days |
| Skill level needed | Professional | Beginner to intermediate |
| Scalp and hair health | Tension-managed, expert care | Risk of strain and irritation |
| Braid longevity | Longer lasting, fewer touch-ups | Shorter lifespan, more upkeep |
| Styling quality | Uniform, crisp, consistent | Variable, depends on skill |
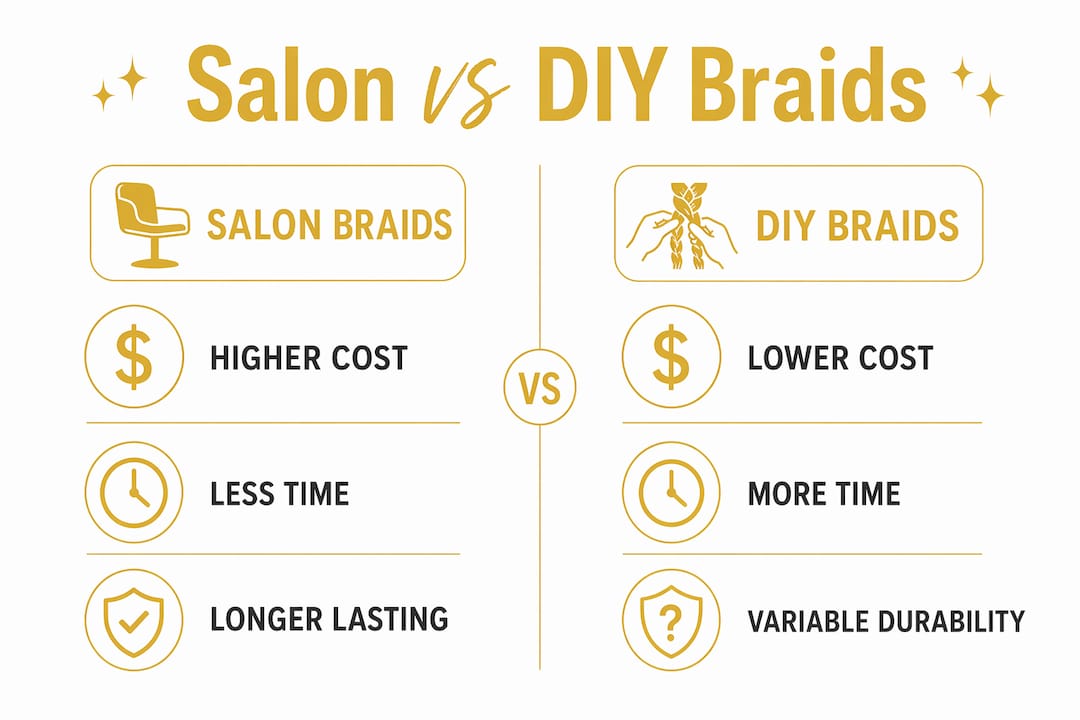
The cost-versus-time tradeoff sits at the center of this decision. DIY costs less but takes longer and may not last as long, while professional braiding costs more and delivers a polished result faster.
How to prepare safely for DIY braiding at home
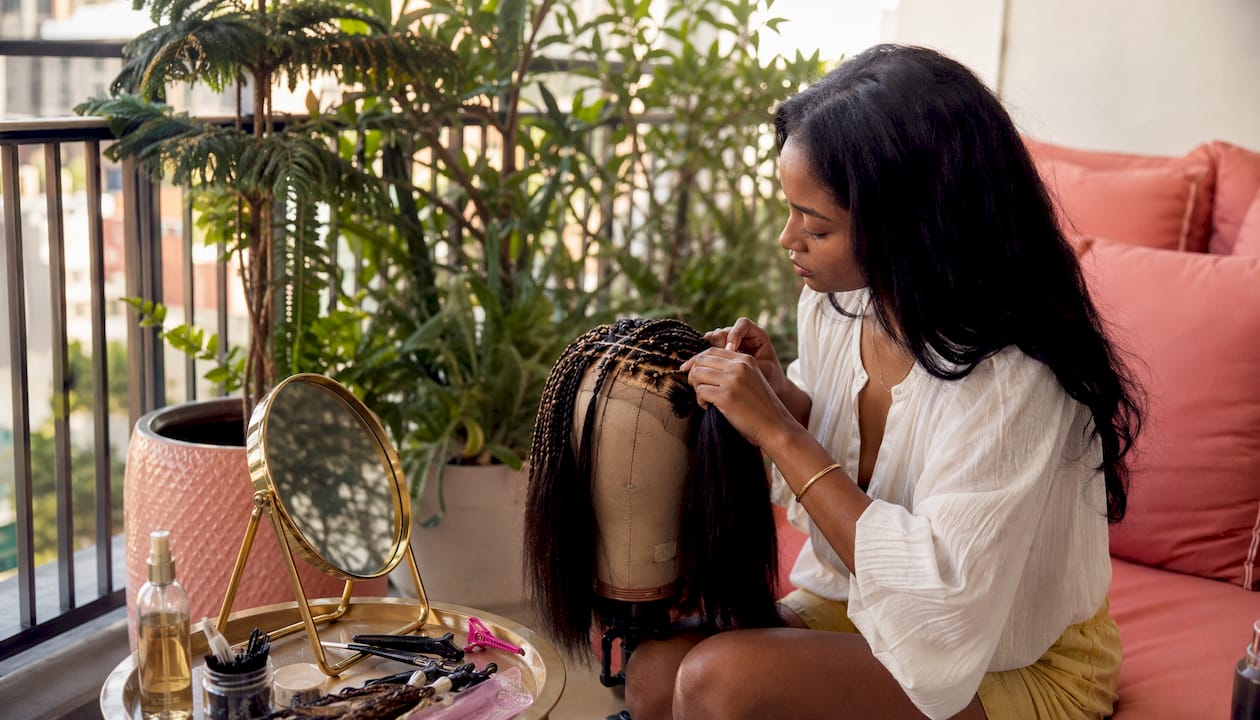
If you decide to braid at home, preparation is what separates a style you love from one you regret. Skipping steps here is where most DIY attempts go wrong.
Essential preparation steps:
- Deep condition first. Deep conditioning before braiding strengthens hair and reduces breakage during installation. Do not skip this, especially on natural or color-treated hair.
- Detangle thoroughly. Work from ends to roots using a wide-tooth comb and a quality detangling product. Knots hidden in the hair create tension problems once braiding starts.
- Gather your DIY Henna Kit and tools. Quality combs, hair moisturizers, and protective oils are the foundation of a good DIY setup. A rat-tail comb for parting and a spray bottle for moisture control are non-negotiable.
- Set up a comfortable workspace. Sit in front of a mirror at a height that does not strain your neck. Good lighting prevents uneven sections you will not notice until the style is done.
- Section the hair before you start. Pre-parting the entire head before picking up a single braid saves time and keeps sections consistent.
- Take breaks. Braiding a full head solo is physically demanding. Fatigue in your hands leads directly to uneven tension, which strains the scalp and shortens the style's life.
Pro Tip: Keep tension consistent from root to tip on every braid. Tight at the root and loose at the ends is one of the most common DIY mistakes, and it is exactly what causes scalp soreness and frizz within the first week. If your scalp feels sore during installation, loosen the tension immediately.
Braiding solo for extended periods carries real physical risks, including muscle strain in the shoulders and wrists. If a full head feels like too much in one session, split it across two days rather than rushing through with tired hands.
How to decide: should you DIY or book a professional braider?
The answer lives in your priorities, not in the style photo you saved. Start with these questions.
Ask yourself:
- What is my budget for this style?
- How much time do I realistically have?
- How comfortable am I with parting, tension control, and working on my own hair?
- Does my scalp tend to be sensitive or prone to irritation?
- How long do I need this style to last?
- Is this for a special event, or an everyday protective style?
Choose professional braiding when:
- You need the style done quickly and cleanly for an event or occasion
- Your scalp is sensitive or you have experienced traction alopecia before
- You want a style to last four to eight weeks with minimal touch-ups
- You are trying a complex style like knotless braids, Fulani-inspired braids, or feed-in cornrows for the first time
- You want expert guidance on which style suits your hair texture and length
DIY braiding may work well when:
- You are practicing foundational techniques like three-strand braids, rope braids, or basic cornrows
- Your budget is tight and the style is for everyday wear, not a special occasion
- You enjoy the process and have the patience for a learning curve
- The style is simple enough that imperfection is acceptable
Maintenance expectations also shape this decision. Professional parting and tension application create longer-lasting styles that need fewer touch-ups. DIY braids, especially early attempts, often need refreshing sooner. If you are braiding for a vacation or a stretch of busy weeks, the salon appointment usually pays for itself in time saved.
For readers still weighing options, this guide to finding a braiding salon walks through what to look for in a professional near you.
What experts say about scalp health and braid quality
Every braid tells a story, and a skilled braider reads your scalp before the first section is parted.
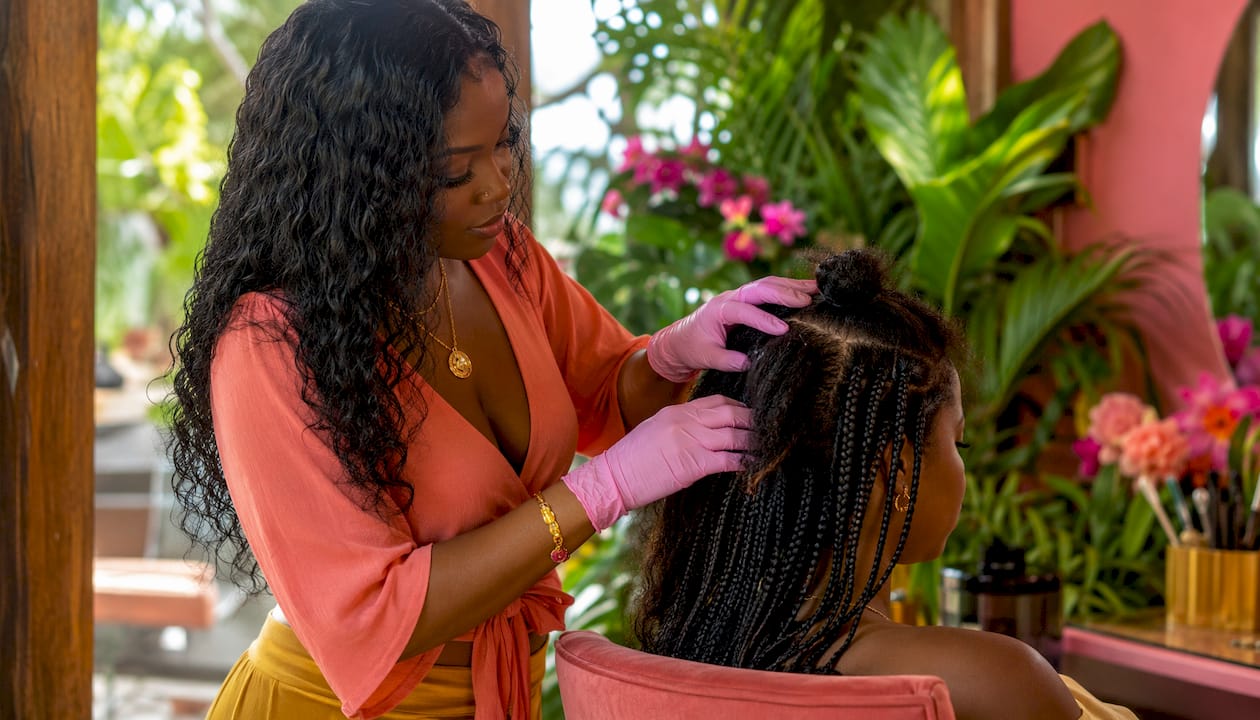
Professional braiders achieve uniform, long-lasting parts through deliberate technique. Clean sectioning means each braid carries an equal share of tension, which distributes stress evenly across the scalp rather than concentrating it at a few points. That balance is what scalp health after braiding depends on, and it is genuinely difficult to replicate when working on your own hair at an awkward angle.
DIY braiders frequently underestimate the physical demands of a full installation. Fatigue sets in, parts get wider than planned, and tension becomes inconsistent. Over time, that inconsistency creates scalp irritation and, in repeated cases, traction alopecia. The risk is not theoretical. It is the most common complaint from people who braid their own hair regularly without proper technique.
Knotless braids represent one of the clearest examples of where professional skill changes the outcome. When installed correctly by a professional, knotless braids reduce scalp stress at the root, move more naturally, and grow out with a smoother appearance. Replicating the feed-in technique solo requires both hands working in coordination at the scalp, which is why most DIY attempts at knotless styles result in visible knots or uneven root tension.
Key insight: Scalp massage with nourishing oils after installation, a practice professional salons often recommend, supports hair growth and comfort during the weeks you wear the style. It is one of the simplest ways to extend the life of any protective style, salon or DIY.
Ready to skip the DIY struggle? Afromagicbraiding has you covered
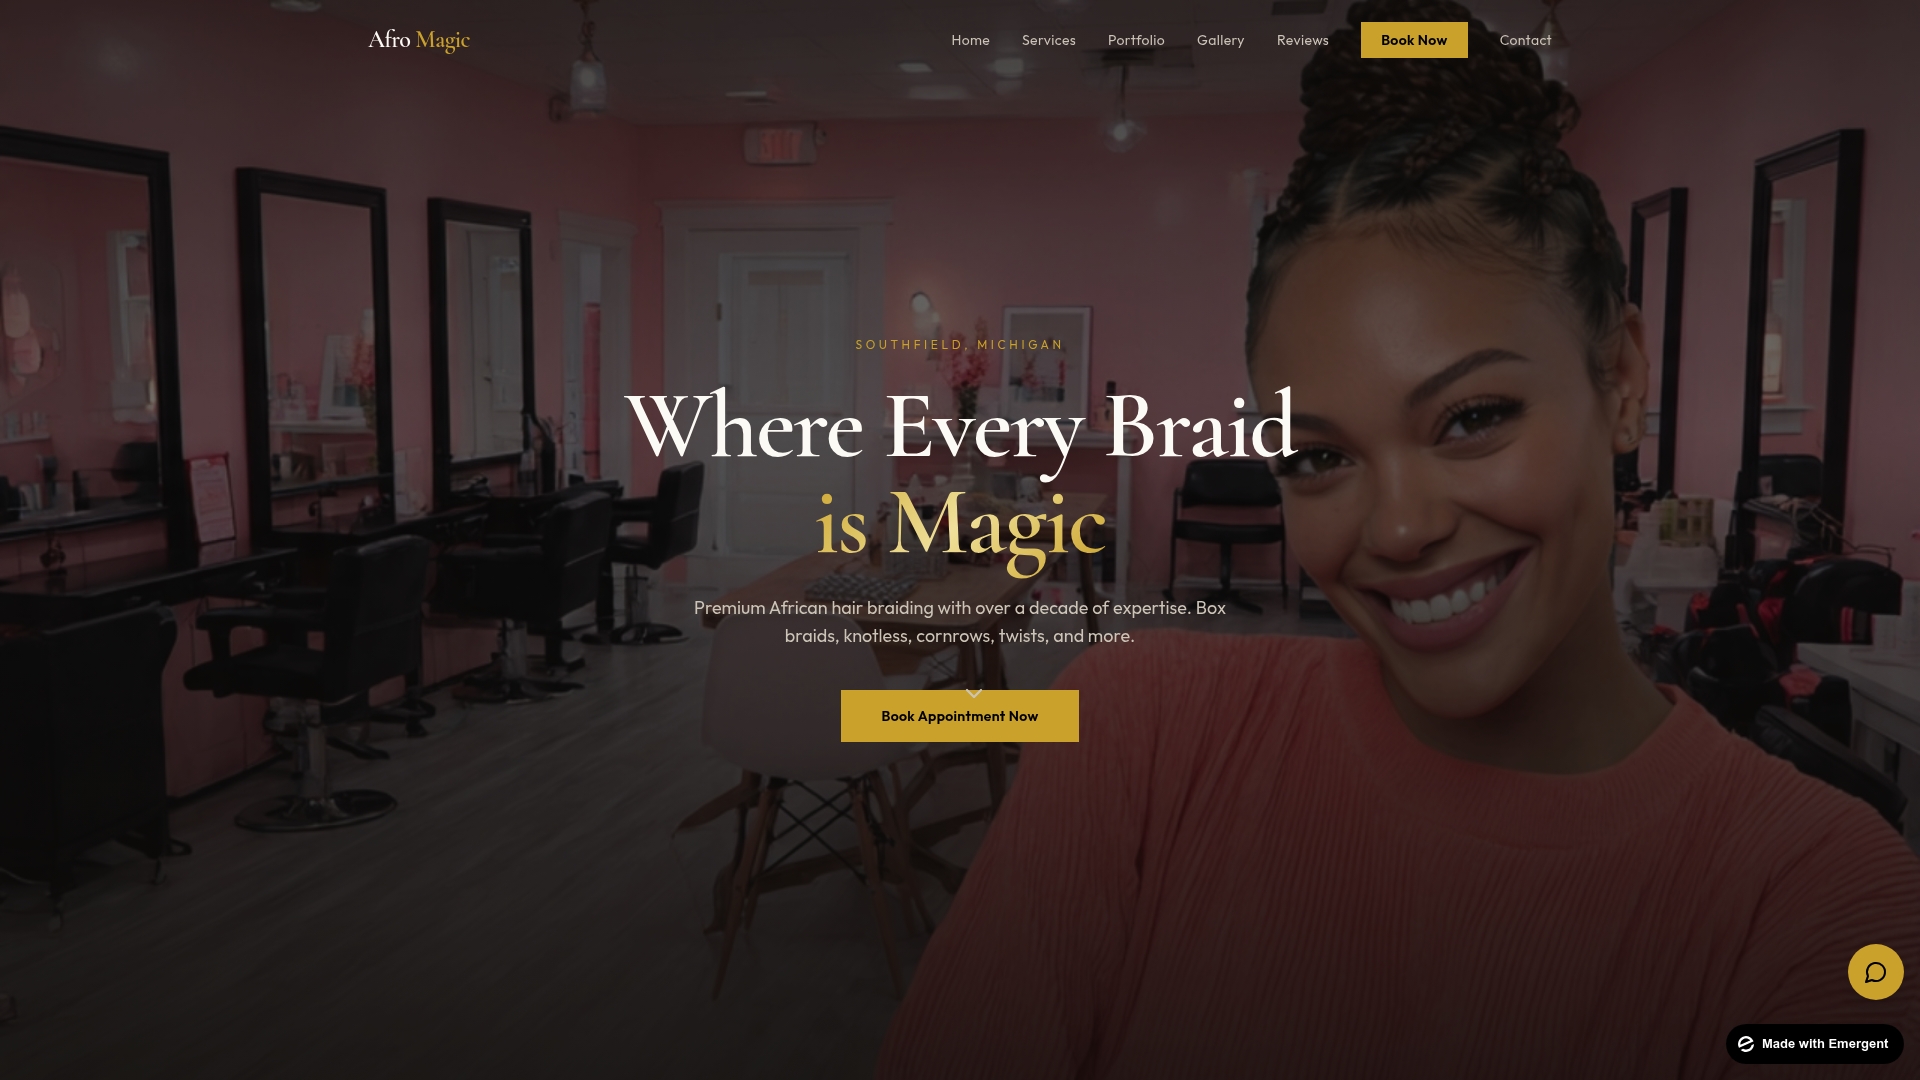
At Afromagicbraiding in Southfield, Michigan, every braid is crafted with the tension-free precision and cultural pride your hair deserves. Whether you are drawn to knotless braids, Fulani-inspired styles, or feed-in cornrows, the team brings expertise, care, and a genuine love for the craft to every appointment.
Browse the style portfolio to see the full range of looks, read what clients are saying in the reviews, and when you are ready, book your appointment online in minutes. Your hair deserves more than a good enough result.
Key takeaways
Professional salon braiding consistently outperforms DIY braids in scalp health, style longevity, and consistency, while DIY offers cost savings and flexibility for those willing to invest the time and skill.
| Point | Details |
|---|---|
| Salon speed advantage | Professionals complete full styles in hours; DIY often stretches across multiple days. |
| Scalp health risk in DIY | Inconsistent tension and fatigue increase the risk of scalp irritation and traction alopecia over time. |
| Longevity difference | Professional parting and tension control produce longer-lasting styles with fewer touch-ups needed. |
| Deep condition before braiding | Conditioning before installation reduces breakage risk, whether you braid at home or visit a salon. |
| Decision framework | Choose salon braiding for events, scalp sensitivity, or complex styles; DIY suits practice and casual, simple looks. |