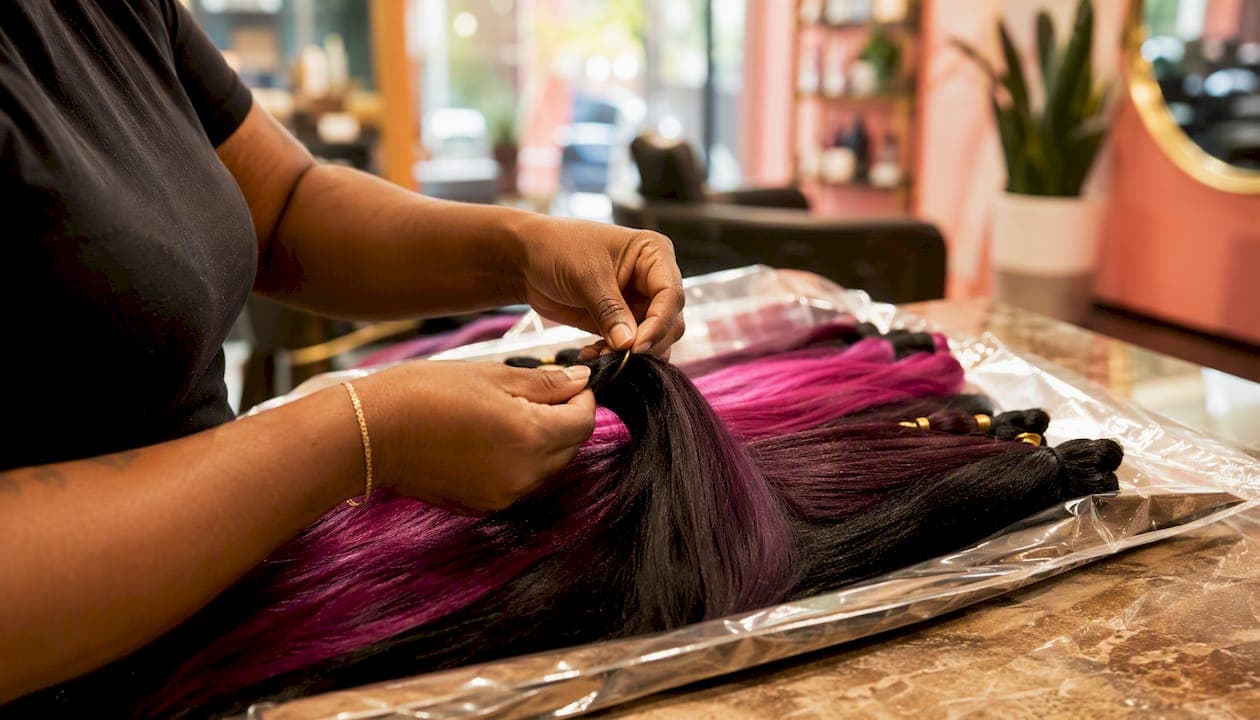
Divide each pack into equal bundles by securing the top with a small elastic, then splitting the hair in half, then halves again, until each bundle matches your target braid thickness. That one move, done before you touch a single section of your client's (or your own) hair, is what separates a polished install from a lumpy, uneven one. Here is the full checklist to get it right every time.
Quick-start checklist:
- Secure the top of the pack with a small elastic or zip tie before removing the packaging
- Gently finger-detangle from the ends upward, never from the root down
- Split the pack in half, then split each half again
- Secure every bundle with its own elastic immediately after splitting
- Set finished bundles on a flat surface or hang them so fibers stay aligned
Pro Tip: Secure the top of the bundle before you do anything else. Skipping this step is the single most common beginner mistake, and it causes the fibers to mat and tangle the moment you pull off the packaging.
Key Takeaways
Securing the top of each bundle before splitting is the single most important prep step for consistent, tangle-free braiding hair packs.
| Point | Details |
|---|---|
| Secure before splitting | Always tie the top of the pack with a small elastic before removing packaging or detangling. |
| Match bundles to sections | Split count depends on braid size: several bundles for mini, fewer for medium, and a couple for jumbo. |
| Test one bundle first | Braid a single trial bundle to confirm thickness before splitting all remaining packs. |
| Practice parting on a mannequin | Run through one full quadrant on a mannequin before working on a live head to build consistency. |
| Afromagicbraiding | Offers professional braid installs and in-store braiding hair in Southfield, MI, for those who want salon-grade results. |
Table of Contents
- What tools do you need before you start?
- How to separate braiding hair packs step by step
- How many braids will one pack actually give you?
- How does your parting pattern change the way you split packs?
- How should you store unopened and partially used packs?
- Salon-grade prep: when does practice actually pay off?
- Why the prep step most people skip changes everything
- Ready for a professional install in Southfield, MI?
- Useful sources
What tools do you need before you start?
Good prep takes five minutes and saves you from stopping mid-install to hunt for a clip. Gather everything before you open a single pack.
Tools and materials:
- Rat-tail comb (metal tip preferred for clean parts)
- Small elastics or zip ties, one per bundle
- Duckbill clips to hold completed sections out of the way
- A ruler or your finger width as a measuring guide
- A hanger, towel rod, or braiding rack to hang prepped bundles
- A clean, flat surface (a towel or wax paper keeps fibers from picking up lint)
Not all synthetic hair behaves the same way. Kanekalon, the most widely used fiber, is lightweight and splits cleanly. Xpression-brand hair is denser and benefits from a brief prep step: prepping Xpression hair with an apple cider vinegar soak and a full air-dry improves slip and manageability. If you plan to pre-stretch Xpression hair, do it before the soak, not after, since dry fibers stretch more evenly.
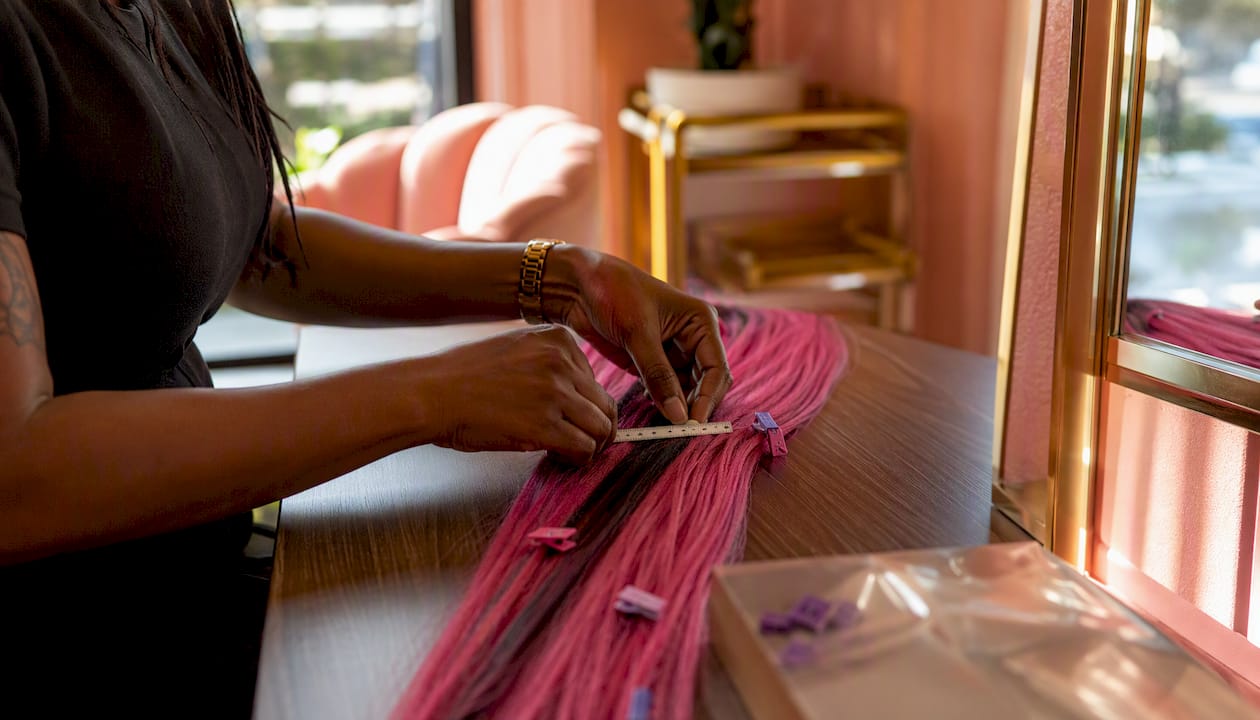
Pro Tip: A ruler beats the finger-width method for beginners. Lay the ruler across the open pack and mark equal widths with a clip before splitting. Once you have done ten or fifteen installs, your hands will calibrate naturally.
How to separate braiding hair packs step by step
This is the core technique. Follow these steps in order and you will get consistent bundles every time, whether you are going mini, medium, or jumbo.
-
Secure the top. Before removing the paper band or plastic wrap, slide a small elastic around the very top of the bundle, close to where the fibers fold. Securing the bundle before detangling prevents the middle of the pack from matting. For very thick packs, add a second tie halfway down.
-
Remove the packaging slowly. Slide off the paper band without pulling. Let the pack lie flat on your towel.
-
Finger-detangle from the ends up. Work in small sections, starting at the tips and moving toward the fold. Never drag a comb through a dry, unseparated pack.
-
Make your first split. Hold the pack at the secured top and gently pull it into two equal halves. Use your ruler or finger-width count to confirm both halves are the same thickness.
-
Secure each half immediately. Clip a new elastic around the top of each half before you split again. Loose bundles tangle fast.
-
Continue splitting to your target size:
- Mini braids: split each half into thirds or quarters (6–8 bundles per pack)
- Medium braids: split each half into halves again (4 bundles per pack)
- Jumbo braids: use each half as one bundle (2 bundles per pack)
-
Final check. Hold each bundle up to the light. They should look and feel roughly the same weight. If one is noticeably thicker, pull a small section from it and add it to a thinner bundle.
A few things to avoid:
- Never use a fine-tooth comb on dry synthetic hair. It shreds the fibers and creates frizz that will not smooth out.
- Avoid tight elastics placed directly at the root of a bundle you are about to braid in. Tight bands at the root create tension bumps.
- Do not leave split bundles loose on a table. Hang them or keep them flat and covered.
For a deeper look at detangling and installation steps, the step-by-step braid guide on the Afromagicbraiding blog walks through the full process from prep to finish.
How many braids will one pack actually give you?
Planning your pack count before you buy saves money and prevents mid-install shortages. The math is straightforward.
The basic formula:
For most standard synthetic packs, a simple rule of thumb works well:
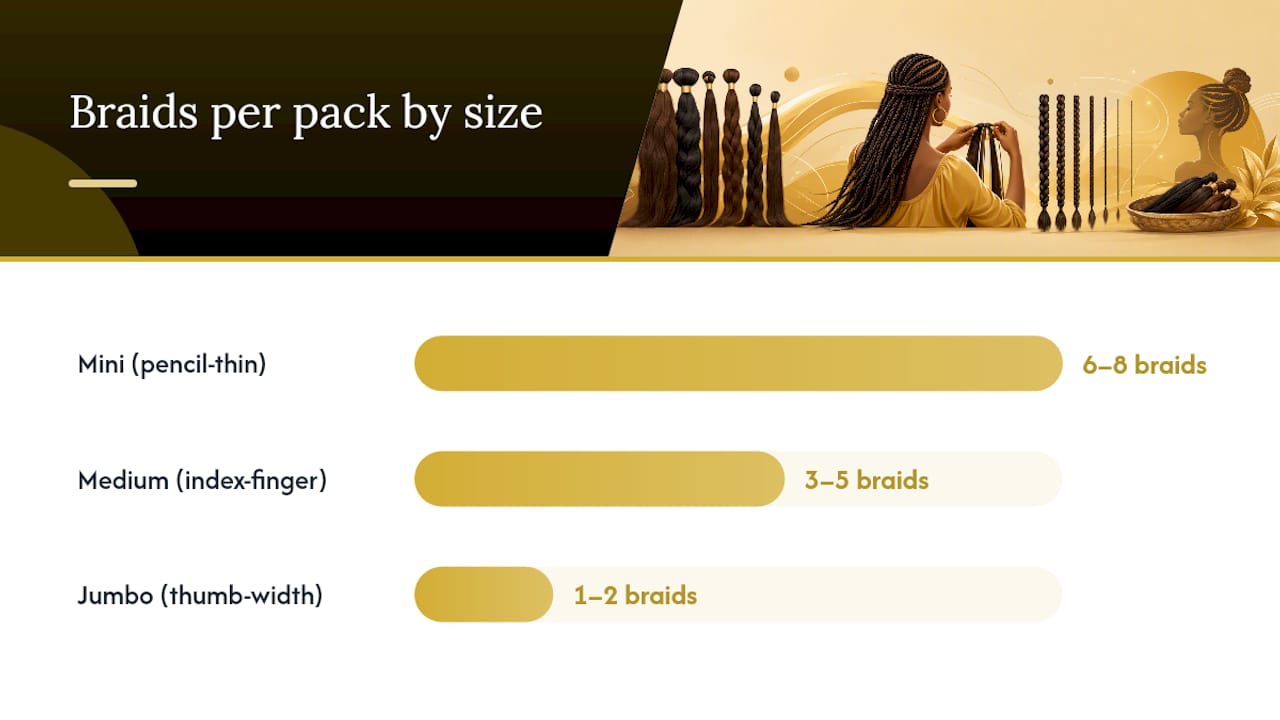
- Mini braids (pencil-thin): one pack yields roughly 6–8 braids
- Medium braids (index-finger width): one pack yields roughly 3–5 braids
- Jumbo braids (thumb width): one pack yields 1–2 braids
How to test your estimate before committing:
- Split one pack using your target method.
- Braid one test bundle into a single braid at your desired thickness.
- Count how many bundles you got from that pack.
- Multiply by the total number of packs you plan to use.
That trial bundle test takes two minutes and tells you immediately if your splits are too thick or too thin. Adjust before you open the rest of your packs.
A note on combining packs for fullness. Boho braids, knotless braids with a lot of body, and goddess styles often need two bundles per braid rather than one. Factor that into your count. Pre-stretched hair also compresses slightly during install, so your bundles may feel thinner once braided. When in doubt, buy one extra pack. Leftover hair stores well (see the storage section below), and running short mid-install is far more disruptive than having a little extra.
For guidance on how section size affects the final look, the braid size selection guide on the Afromagicbraiding blog covers the visual difference between sizes in detail.
How does your parting pattern change the way you split packs?
The parting map you choose directly determines how thick each bundle needs to be. Getting this relationship right is what gives a finished install its clean, intentional look.
The four main patterns and what they require:
-
Box (straight-back): Uniform square sections in straight rows. Each section is the same size from nape to crown. Your bundles should all be identical. This is the most beginner-friendly pattern because the math is consistent. Straight-back boxes are the most predictable starting point for new stylists.
-
Brick-lay: Rows are staggered like bricks, so each braid sits between two braids in the row below. The brick-lay method creates a fuller look and requires smaller sections at the edges and crown to prevent visible scalp gaps. Split a slightly thinner bundle for hairline and crown sections.
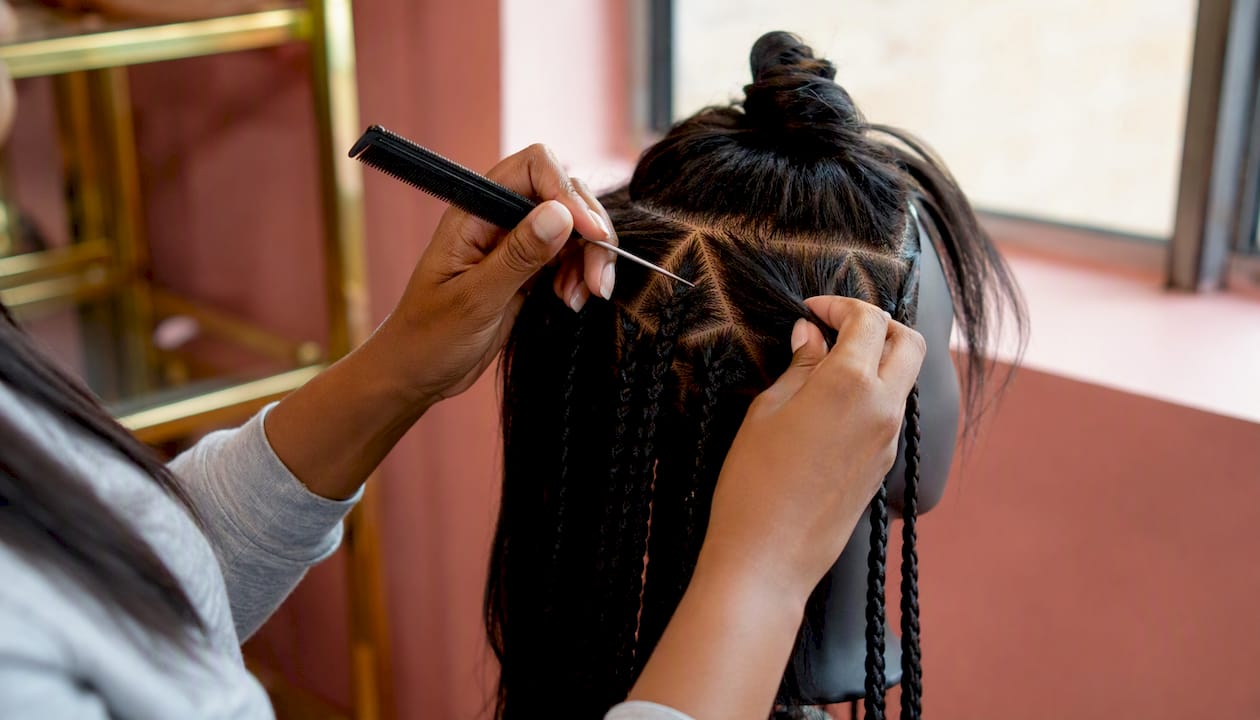
Parting techniques always begin with a foundation line, either a center part or a nape-to-crown line, then divide the head into quadrants before creating individual sections. Matching your bundle size to your section size before you start is what keeps the install even from nape to crown.
Pro Tip: Practice the parting map on a mannequin head before working on a live head. Run through one full quadrant, part and all, to confirm your bundle thickness matches your section size. Adjusting on a mannequin costs nothing. Adjusting mid-install costs time and tension.
For a full breakdown of parting strategy by style, the parting guide on the Afromagicbraiding blog covers each pattern with visual guidance.
How should you store unopened and partially used packs?
Synthetic hair degrades faster than most people expect when stored carelessly. A few simple habits keep your packs in install-ready condition.
For unopened packs:
- Store flat or hanging in a cool, dry space
- Keep them away from direct sunlight, which fades color and weakens fibers
- Never compress them under heavy items. Compressed fibers take on a permanent crease that shows in the finished braid.
For partially used or pre-split bundles:
- Loosely braid each bundle and secure the end with a small elastic
- Place in a zip-lock bag with a dry paper towel to absorb any moisture
- Label each bag with the bundle size (mini, medium, jumbo) so you do not have to re-measure next session
- Hang the bags or lay them flat. Never stuff them into a small pouch.
What not to do:
- Do not leave damp hair in a sealed bag. Moisture breeds mildew on synthetic fibers.
- Do not store loose, unsecured bundles. They tangle into each other overnight.
Pro Tip: Loosely braiding each bundle before storage is the single best tangle-prevention habit. It takes ten seconds per bundle and means your next install starts clean.
Leftover synthetic hair can be repurposed for bun wraps, crochet add-ins, or practice sessions on a mannequin. For tips on keeping your natural hair healthy between installs, the hair health guide on the Afromagicbraiding blog covers prep and conditioning in depth.
Salon-grade prep: when does practice actually pay off?
The gap between a home install and a salon-quality finish almost always comes down to prep consistency, not braiding skill. Braiding technique matters, but uneven bundles will undercut even the most practiced hands.
Building the habit:
- Practice splitting and parting on a mannequin head for 15–20 minutes before any live install. Focus on making every section the same size, not on speed.
- Use a metal rat-tail comb for parts. The metal tip creates a crisper line than plastic and holds up to repeated use.
- A small kitchen scale is useful for stylists doing high-volume work. Weighing bundles removes guesswork entirely.
When simple home tools are enough: For personal installs or occasional client work, a ruler, small elastics, and duckbill clips cover everything you need. You do not need a braiding rack or a scale to get consistent results. What you do need is a repeatable system.
Parting maps matter beyond aesthetics. A well-planned parting pattern distributes tension evenly across the scalp, which protects the hairline and reduces the risk of traction-related stress over a long wear period. The Afromagicbraiding approach to prep reflects this: every install begins with a clear parting plan, not just a braiding plan.
For readers who want to go from prep to a full installation, the box braids guide on the Afromagicbraiding blog covers the complete process.
Why the prep step most people skip changes everything
Most braiding tutorials focus on the braid itself. The part that actually determines whether an install looks polished or patchy happens before a single braid is started. Bundle size controls braid thickness. Braid thickness controls how the finished style drapes, how long it lasts, and how evenly the tension sits across the scalp. A half-inch difference in bundle width, repeated across a full head, adds up to a noticeably uneven install.
The other thing worth saying plainly: parting maps are not just a visual preference. The pattern you choose changes how weight is distributed across the scalp during wear. Brick-lay and diamond patterns spread tension more evenly than straight-back rows because no two braids share the same anchor point. That matters for clients who wear protective styles for six to eight weeks at a time.
If you are new to this and the prep feels like a lot to manage on your own, that is exactly what a professional install is for.
Ready for a professional install in Southfield, MI?
Afromagicbraiding is Southfield's go-to salon for protective styles done right, from knotless braids and box braids to Fulani-inspired styles and boho braids. Every install starts with the kind of careful pack prep this guide covers, so your style looks intentional from root to tip and holds up through weeks of wear.
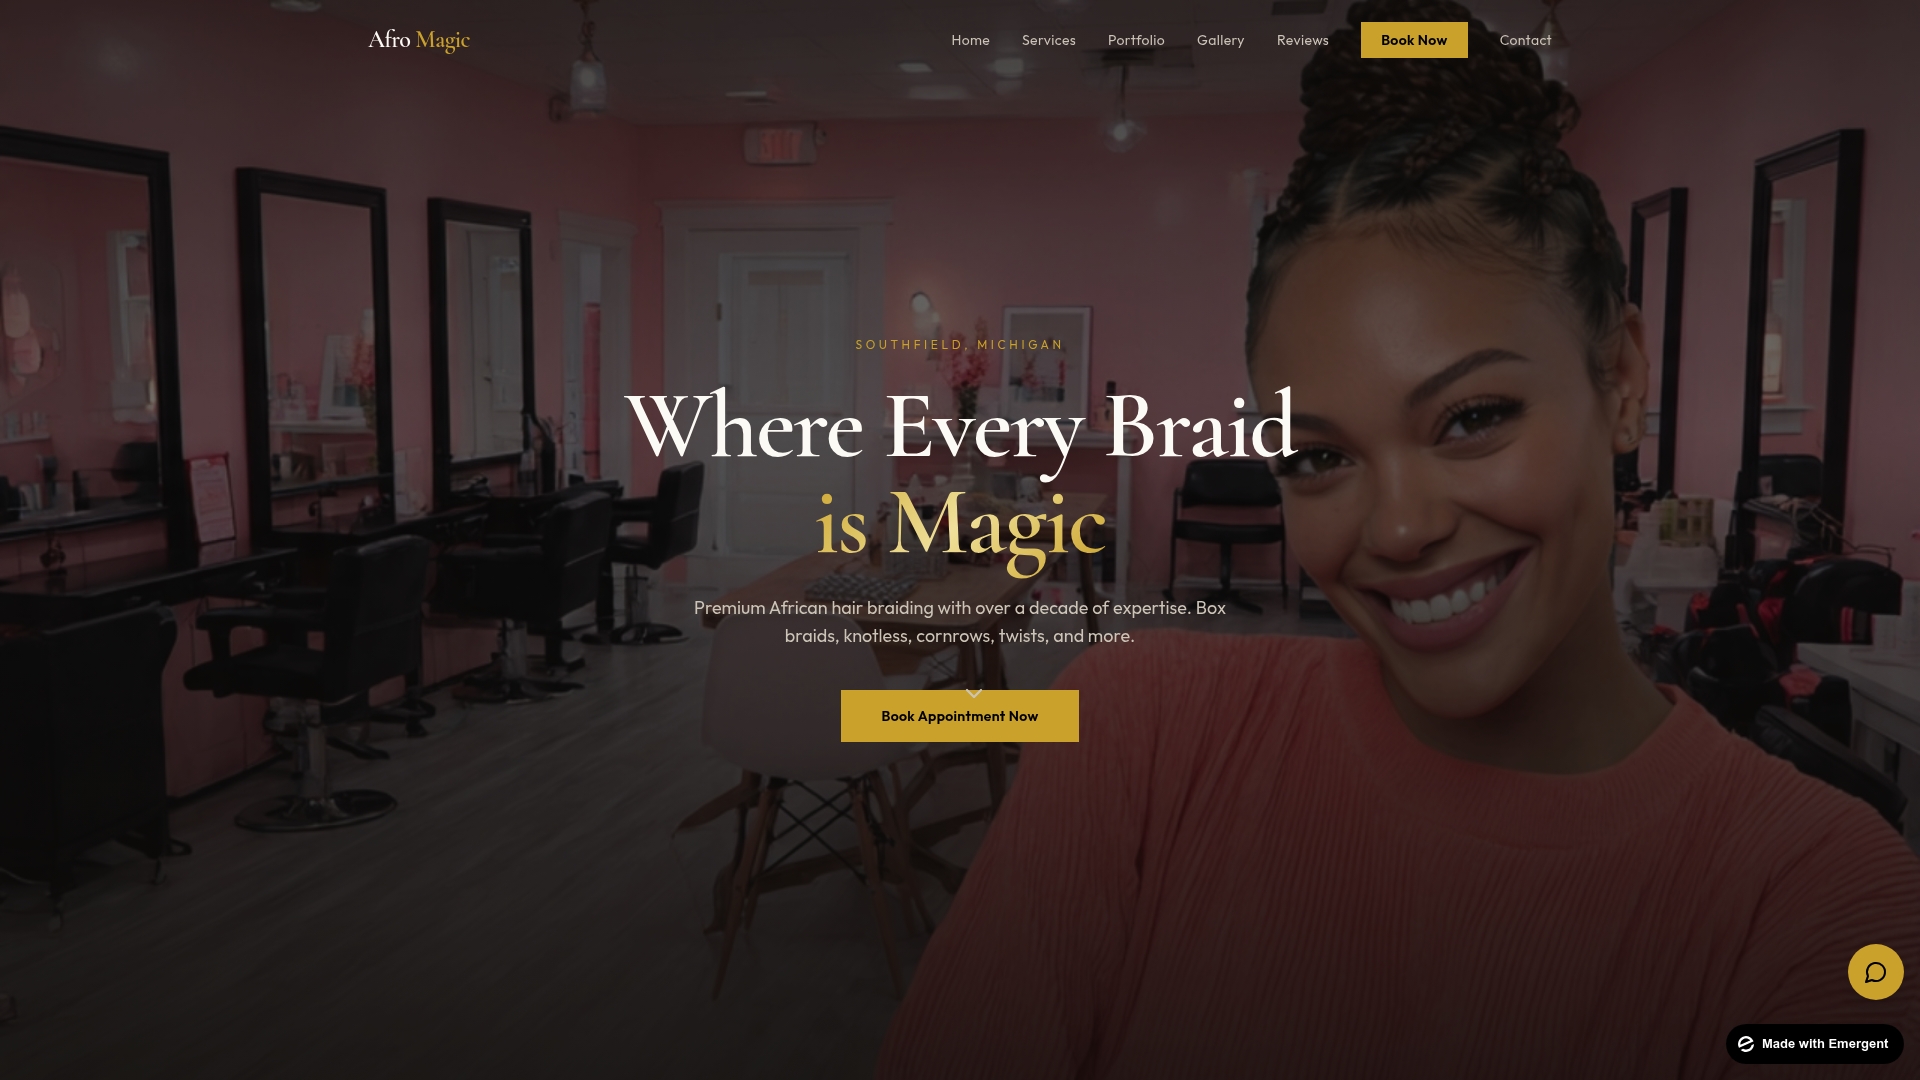
Whether you want to bring your own hair or shop from the salon's selection of premium braiding hair and accessories, the team at Afromagicbraiding handles the prep, the parting, and the install. Browse the style portfolio to see finished looks, then book your appointment to get started. Walk-in inquiries are also welcome at the Southfield location.
Useful sources
External references:
- Step-by-step guide to box braid parting patterns (Lemon8)
- Parting techniques and two strand twist parting maps (TwoStrandTwist)
- How to part hair for box braids (HairstyleCamp)
- A guide to prepping bulk human hair for braiding (EatHealthy365)
- How to prep Xpression hair before you braid it (EatHealthy365)
- Beginner's guide to braids parting (Eleeji)
- Afro Magic Braiding (official site)
- How to braid hair: step-by-step guide for beginners (Afro Magic Braiding blog)
Afromagicbraiding guides:
- How to braid hair: step-by-step guide for beginners
- The role of parting in braids: your complete style guide
- The role of sectioning in braiding: flawless results
- How to do box braids: step-by-step guide for lasting results
- Steps for tangle-free braids: Boho & Goddess styles