
Proper detangling before braiding is the single most effective step for preventing breakage and achieving clean, long-lasting protective styles. The role of detangling before braiding goes beyond aesthetics. It reduces mechanical resistance between strands, removes knots that concentrate tension, and gives your stylist the clean sections needed for consistent, comfortable braiding. Skip this step and you risk breakage, uneven tension, and a style that frizzes out within days. Tools like a wide-tooth comb, a detangling brush, and slip products like Carol's Daughter Monoi Repairing Conditioner make the difference between a healthy install and a damaging one.
What are the benefits of detangling hair before braiding?
Detangling before braiding prevents tension at knots, which is the primary cause of breakage and thinning in natural hair. When knots remain in the hair during installation, the braiding tension pulls directly on those weak points. That concentrated force snaps strands rather than distributing load evenly across the hair shaft.
Here is what proper pre-braid detangling delivers:
- Breakage prevention. Knot-free hair distributes braiding tension evenly, protecting fragile strands from snapping at weak points.
- Cleaner parts. A stylist can only create precise, symmetrical sections when hair moves freely. Tangles make clean parting nearly impossible.
- Consistent tension. Uniform tension across each braid means a neater style, less scalp discomfort, and a longer-lasting install.
- Reduced pain during takedown. Shed hair trapped in tangles during installation creates dense mats by removal day. Detangled hair sheds more freely and comes out with far less pain.
- Length retention. Breakage is the number one enemy of length. Detangling reduces breakage and directly supports your ability to retain the length you have grown.
Pro Tip: If your hair feels rough or resistant when you run your fingers through a section, that section is not ready for braiding. Add more slip product and work through it before moving on.
The benefits of detangling extend to your stylist's experience too. Clean, knot-free hair is faster and easier to work with. That means your appointment runs on time and your stylist can focus on craft rather than fighting through tangles.
How to properly detangle natural hair before braiding
The pre-braid detangling process is a technique, not just a task. Done correctly, it removes every knot without sacrificing a single strand. Done incorrectly, it causes more damage than skipping it entirely.
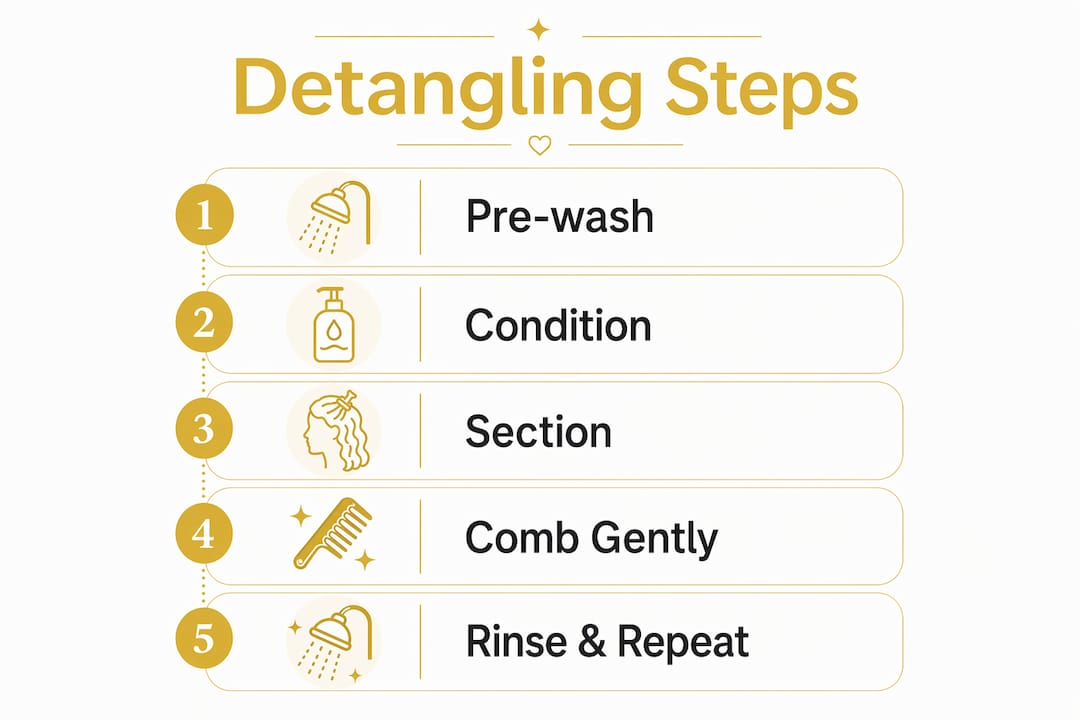
Follow these steps for a safe, thorough detangle:
- Saturate your hair with water or a leave-in conditioner. Dry detangling is the fastest way to cause breakage. Wet or conditioned hair has slip, which means strands slide past each other instead of snapping.
- Divide your hair into 4–6 sections. Working in small sections controls the force you apply and stops tangles from migrating deeper into the hair. Clip each section out of the way as you finish it.
- Finger detangle first. Use your fingers, saturated with conditioner, to gently separate large knots before any tool touches your hair. The slip-first technique reduces the number of times a comb must push through resistant tangles, cutting mechanical stress significantly.
- Start from the ends and work upward. Begin detangling at the tips of each section and slowly work toward the roots. Starting at the roots pushes knots downward and tightens them. Starting at the ends releases them.
- Switch to a wide-tooth comb or detangling brush. Once fingers have cleared the major knots, use a tool like the Felicia Leatherwood Detangler Brush or a classic wide-tooth comb to smooth each section fully. Work in the same ends-to-roots direction.
- Add more product if you feel resistance. Resistance means friction. Friction means breakage. Add water, conditioner, or a detangling spray like Kinky-Curly Knot Today and work through the section again before continuing.
- Avoid aggressive pulling. If a knot will not release, hold the hair above it with one hand to absorb the tension, then gently work through the knot with the other hand.
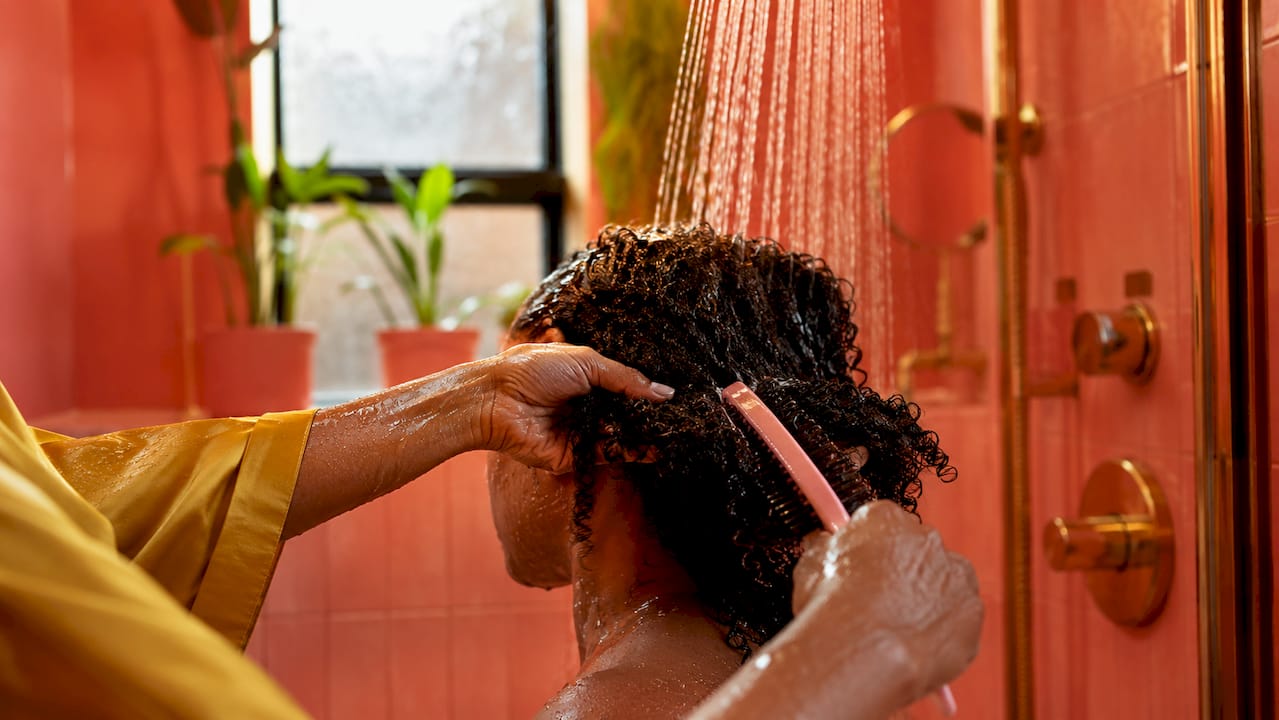
Pro Tip: Detangling in the shower under running water gives you continuous slip and makes the process faster. Apply a thick conditioner like SheaMoisture Manuka Honey & Mafura Oil Intensive Hydration Masque, let it sit for five minutes, then detangle section by section before rinsing.
When should you detangle relative to washing and braiding?
Timing the pre-braid detangling process correctly matters as much as technique. The sequence you follow affects both hair health and braid longevity.
The optimal prep timeline looks like this:
- Detangle before shampooing. Detangling before shampoo allows water and cleanser to reach the scalp evenly and prevents wet hair from tightening into tighter knots during washing. Wet hair is weaker than dry hair, so entering the shampoo phase with tangles already present increases breakage risk.
- Deep condition after shampooing. Apply a deep conditioner and use this phase to do your final detangle. The conditioner provides maximum slip, making this the easiest point in your routine to remove any remaining knots.
- Stretch or blow-dry before braiding. Hair should be 80–90% dry before braiding to reduce frizz and prevent scalp issues. Braiding wet hair traps moisture at the roots, which can cause mildew and mid-section frizz within hours of styling.
- Roots must be fully dry. 100% dry roots before braiding are non-negotiable. Residual moisture at the root area causes frizz to appear about two hours after styling, even when the rest of the braid looks clean.
| Prep Stage | Timing | Purpose |
|---|---|---|
| Pre-shampoo detangle | Before washing | Prevents knot tightening during wash |
| Conditioning detangle | After shampoo | Maximum slip for final knot removal |
| Stretching or blow-dry | After conditioning | Reduces shrinkage and frizz |
| Final dryness check | Before braiding | Protects scalp and braid longevity |
For fragile or dry hair, extended prep over 1–3 weeks of weekly deep conditioning builds strength and moisture before installation. This approach reduces breakage under braid tension and is worth the extra time if your hair is in a compromised state. You can find a full wash and conditioning schedule in this protective boho braids workflow from Afromagicbraiding.
Common detangling mistakes that cause breakage
Most detangling damage comes from a handful of avoidable errors. Recognizing these habits is the first step to correcting them.
- Detangling dry hair. Dry strands have no slip and snap under comb pressure. Always add water or conditioner before you begin. If your hair feels dry mid-session, stop and rehydrate before continuing.
- Skipping finger detangling. Jumping straight to a comb on tangled hair forces the tool through knots rather than releasing them. Fingers are gentler and smarter. They feel resistance before it becomes a break.
- Starting from the roots. Combing from roots downward pushes knots deeper and tightens them. This is one of the most common mistakes and one of the most damaging. Always start at the ends.
- Arriving at your appointment with dirty or product-heavy hair. Heavy product buildup makes it difficult for a stylist to maintain consistent tension and increases breakage risk. Modern braiders prefer clean, lightly moisturized hair. Arrive freshly washed and detangled.
- Rushing the process. Detangling natural hair takes time. Rushing leads to aggressive pulling, skipped sections, and breakage. Set aside at least 30–60 minutes depending on your hair's thickness and length.
Pro Tip: If you discover a tight knot that will not release, apply a small amount of coconut oil or argan oil directly to the knot and let it sit for two minutes before attempting to work through it again. Oil penetrates the knot and reduces friction at the strand level.
Recovery from poor detangling looks like this: deep condition immediately, trim any visibly split or broken ends, and commit to a gentler technique going forward. One bad session does not define your hair health long-term.
How detangling affects your braids from install to takedown
The importance of detangling hair does not end once the braids are in. It shapes the entire lifespan of your protective style.
At installation, thorough pre-braid detangling produces cleaner braids with uniform tension. Your stylist can create precise parts, feed in extensions smoothly, and maintain consistent grip from root to tip. The result is a style that looks polished and lasts longer. For tips specific to box braids, the box braids prep guide from Afromagicbraiding covers detangling and maintenance in detail.
During wear, detangled hair sheds naturally rather than accumulating under the braids. Shed hair that gets trapped in tangled sections during installation forms dense mats by week four or five. Those mats are painful to remove and cause significant breakage.
At takedown, the same detangling principles apply in reverse. Gentle detangling during takedown with oil or conditioner, working from ends to roots, protects the length you retained during the style's wear time. Rushing takedown undoes weeks of careful protective styling.
| Phase | Detangling Role | Key Tool |
|---|---|---|
| Pre-install | Removes knots for clean parts and even tension | Wide-tooth comb, detangling brush |
| During wear | Minimizes shed hair accumulation | Scalp oil, light moisturizer |
| Takedown | Releases shed hair gently to retain length | Conditioner, fingers, wide-tooth comb |
Maintaining a detangling routine between braid sessions also builds healthier hair over time. Each session you protect your strands, you arrive at your next appointment with stronger, more resilient hair.
Key takeaways
Thorough detangling before braiding is the foundation of every healthy protective style, reducing breakage, improving braid quality, and protecting length from install through takedown.
| Point | Details |
|---|---|
| Detangle before shampooing | Pre-wash detangling prevents knots from tightening under water and reduces breakage. |
| Use the slip-first technique | Saturate fingers with conditioner before combing to minimize mechanical stress on strands. |
| Work ends to roots | Always start detangling at the tips and move upward to release knots rather than tighten them. |
| Roots must be fully dry | Braid only when roots are 100% dry to prevent frizz and scalp moisture issues. |
| Detangling protects takedown too | Gentle detangling at removal with oil and conditioner preserves the length you retained. |
Why patience at the detangling stage changes everything
I have seen it hundreds of times. A client arrives excited for a fresh style, and the first thing I notice is that her hair is tangled, dry, or weighed down with old product. The braiding session takes longer, the tension is uneven, and within two weeks she is back with breakage along the hairline or mid-shaft.
The truth is that most people treat detangling as a chore to get through quickly. They rush it, skip sections, or grab a comb before their hair has any slip. What they do not realize is that those few saved minutes cost them weeks of length retention.
The "slip first" rule is the single most important thing I teach. Fingers saturated with conditioner before any tool touches the hair. It sounds simple, but most people skip it because it feels slow. It is not slow. It is the fastest way to get through a full detangle without breaking a single strand.
I also believe strongly in the extended prep approach for anyone whose hair is fragile or recently damaged. One wash session before your appointment is not enough if your hair is in a compromised state. Three weeks of weekly deep conditioning before a long-term protective style is not excessive. It is the difference between a style that protects your hair and one that sets it back six months.
Every braid tells a story. Make sure yours starts with a strong foundation.
— Afro
Ready for a healthy braid install in southfield, michigan?
At Afromagicbraiding, we believe every great braid starts before you sit in the chair. Our team in Southfield, Michigan, guides clients through proper prep, including detangling, conditioning, and stretching, so every install protects your hair rather than stressing it.

Whether you are booking your first protective style or returning for a fresh look, our stylists bring the expertise and care your natural hair deserves. From Fulani-inspired braids to knotless box braids, every style we create is built on a foundation of healthy hair prep. Explore our braiding services or book your appointment today and arrive knowing your hair is ready for an exceptional install.
FAQ
Why is detangling required before braiding?
Detangling removes knots that concentrate tension during braiding, which prevents breakage and allows stylists to create clean, even sections. Without it, braiding tension pulls directly on weak points in the hair shaft.
Should you detangle wet or dry hair before braiding?
Always detangle wet or conditioned hair. Dry strands have no slip and snap under comb pressure. Use a leave-in conditioner or detangling spray before you begin.
How long before braiding should you detangle?
Detangle during your wash day, ideally 24–48 hours before your appointment. For fragile hair, extended prep over 1–3 weeks of conditioning builds strength before installation.
What tools work best for detangling natural hair?
A wide-tooth comb and a detangling brush like the Felicia Leatherwood Detangler Brush are the most effective detangling tools for braiding. Always use fingers first to release major knots before introducing any tool.
Does detangling affect how long braids last?
Thorough detangling before installation produces cleaner, more uniform braids that hold their shape longer. It also reduces shed hair accumulation under braids, making takedown gentler and protecting length retention.