A protective boho braids workflow is defined as the four-phase process of preparation, installation, maintenance, and takedown that keeps your natural hair healthy while your style stays beautiful for weeks. Boho braids, the industry's term for braided styles with loose, curly extensions woven in for a free-spirited texture, have become one of the most requested protective styles at salons across the country. Done right, they protect your edges, retain length, and give you weeks of effortless style. Done without a plan, they cause breakage, buildup, and frustration. This guide walks you through every phase with the specificity you need to get real results.
What does a protective boho braids workflow actually involve?
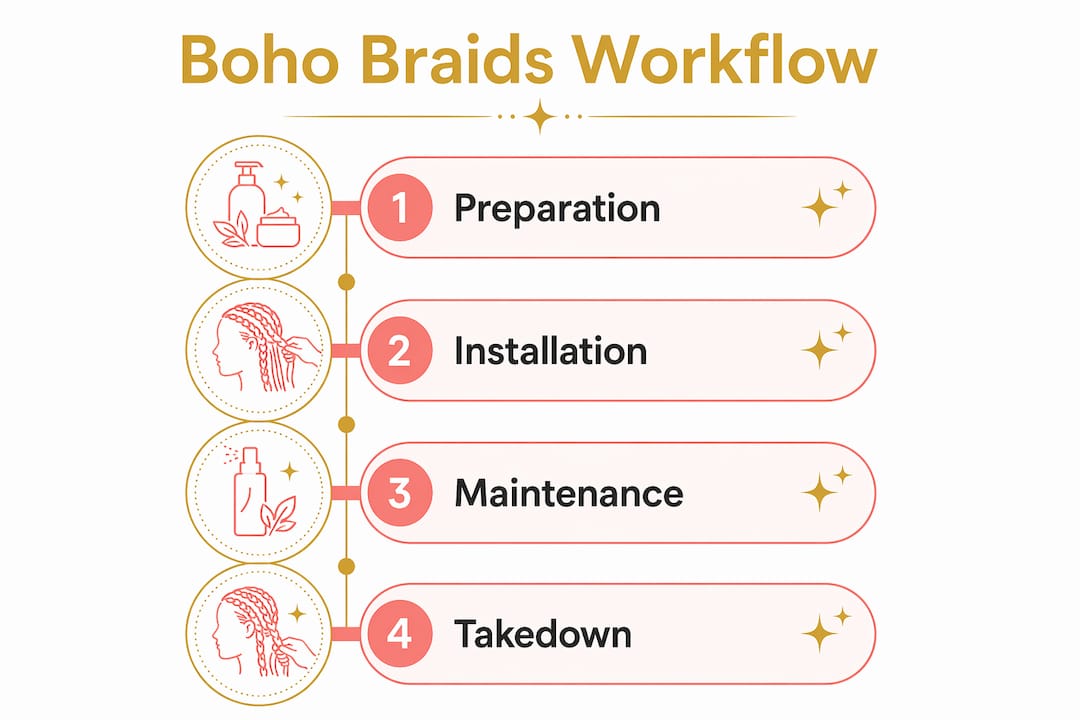
A structured protective style cycle covers four distinct phases: prep, installation, wear-time care, and takedown. Each phase directly affects the next. Skipping prep leads to a harder install. Skipping maintenance shortens your wear time. Rushing takedown causes breakage that sets your hair growth back weeks.
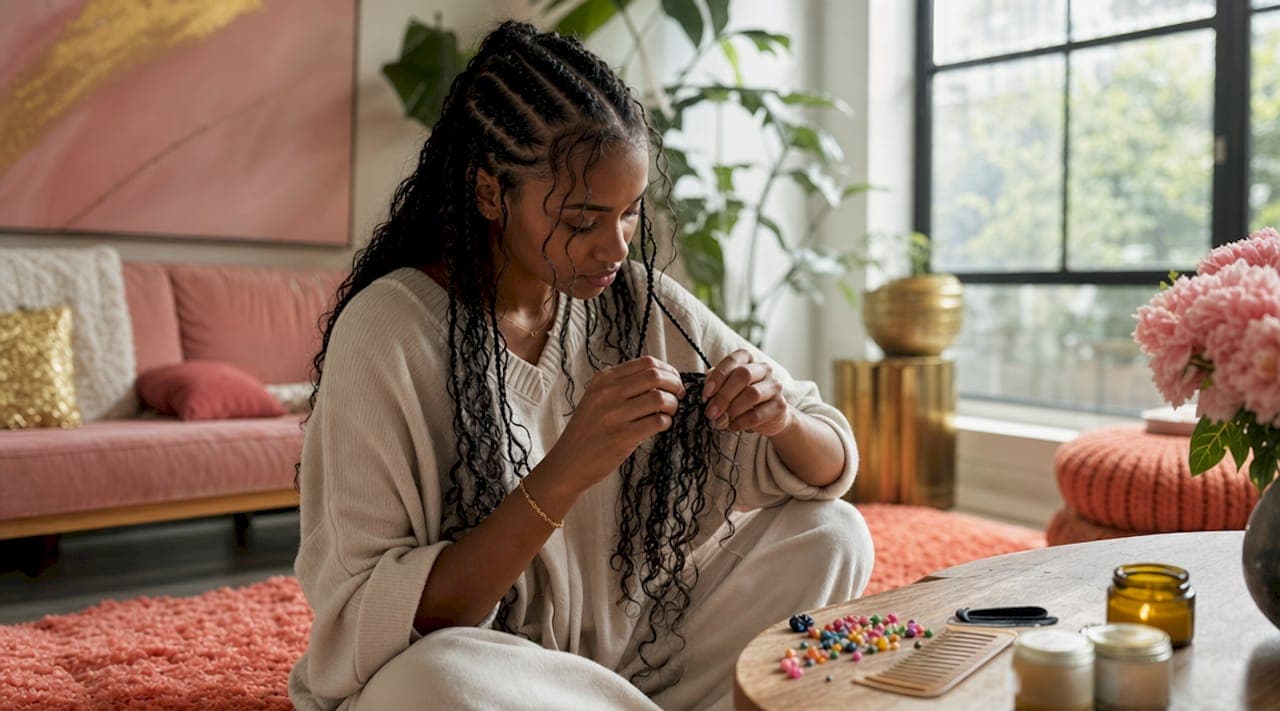
Boho braids combine traditional box or knotless braids with curly human or synthetic hair added mid-braid or at the ends. The result is a textured, romantic look that works for every occasion. The style's flexibility is part of its appeal, but that curly extension hair requires targeted care that standard box braiding workflow guides often overlook.

The tools and products you gather before you start matter as much as the technique. You will need lightweight oils like jojoba or grapeseed, a curl cream for refreshing the extensions, a wide-tooth comb, an applicator bottle for scalp moisturizing, a silk bonnet or satin scarf, and quality hair extensions. Having everything ready before you sit down saves hours and protects your hair from unnecessary stress.
How to prepare your hair and tools for boho braids installation
Preparation is the phase most people rush, and it is the one that determines how long your style lasts. Start with a thorough cleanse using a clarifying or moisturizing shampoo to remove product buildup from your scalp and strands. Follow immediately with a deep conditioning treatment, leaving it on for at least 20 to 30 minutes with heat if possible. Clean, conditioned hair is far easier to braid and holds extensions more securely.
After rinsing, detangle gently with your fingers first, then a wide-tooth comb, working from ends to roots. Apply a moisturizing leave-in conditioner while your hair is still damp, then seal with a lightweight oil. Stretching your hair before installation, either by banding or blow-drying on low heat, reduces tangling during the braid process and gives your stylist a cleaner base to work with.
Here is a quick comparison of the most popular boho braid types and what to expect from each:
| Braid type | Install time | Longevity | Best for |
|---|---|---|---|
| Knotless boho braids | 6 to 10 hours | 6 to 8 weeks | Edge protection, natural look |
| Crochet boho braids | About 2 hours | 4 to 6 weeks | Speed, budget-friendly installs |
| Fulani-inspired boho braids | 5 to 8 hours | 6 to 8 weeks | Cultural styling, pattern variety |
| Large boho braids | 3 to 5 hours | 4 to 6 weeks | Faster install, bolder statement |
Boho crochet installs take roughly 2 hours, while full knotless installs run 6 to 10 hours depending on braid size. That time difference is significant when planning your appointment, especially if you are going to a professional salon.
Pro Tip: Gather your extensions, mousse, edge control, and accessories the night before your appointment. Arriving prepared means your stylist spends time on your hair, not waiting on you.
Step-by-step installation process for protective boho braids
The installation phase sets the foundation for everything that follows. Here is the core workflow for a knotless boho braid install:
- Section your hair into clean, even parts using a rat-tail comb. Consistent sections create a natural-looking scalp and even tension throughout.
- Begin with the feed-in technique at the root. Add extension hair in small increments rather than all at once. This distributes weight evenly and reduces stress on your hairline.
- Braid down two-thirds of the length using your natural hair and the extension, keeping tension firm but never tight enough to cause discomfort.
- Add curly extension hair at the mid-braid point or at the ends, depending on the boho style you want. Loose curly pieces woven in mid-braid create the most natural boho texture.
- Seal the ends with hot water if using synthetic hair, or leave them loose if using human hair extensions for a softer finish.
- Check your edges throughout the process. If any braid pulls or feels tight at the root, ask your stylist to redo it. Tension at the hairline is the leading cause of traction alopecia.
Knotless braids avoid bulky root knots, which reduces stress on your edges and protects hairline integrity over the full wear period. For anyone with fine edges or a history of hairline thinning, knotless is the clear choice. You can explore the knotless vs. box braid comparison in detail if you are still deciding between styles.
Pro Tip: If you are doing a DIY install, work in front of a mirror with good lighting and take breaks every 45 minutes. Fatigue leads to uneven tension, which leads to breakage.
Daily and weekly maintenance routine to extend boho braid longevity
Boho braids last 4 to 8 weeks with proper care, but the curly sections begin to frizz around week 3. A consistent braid maintenance routine is what separates a style that looks great at week 6 from one that looks worn out at week 3.
The key principle in protective styling tips for boho braids is targeted micro-care. You are not washing the full braid every week. You are moisturizing the scalp, refreshing the curls, and protecting the style at night. Here is what that looks like in practice:
- Every 2 to 3 days: Apply a lightweight oil directly to your scalp using an applicator bottle. Jojoba, grapeseed, or peppermint oil work well. Massage gently to stimulate circulation without disturbing your parts.
- Every 3 to 4 days: Refresh curly sections by scrunching in a small amount of curl cream mixed with water mist. Avoid heavy gels or butters, which cause buildup on the extension hair.
- Every two weeks: Wash your scalp gently using a diluted shampoo in an applicator bottle. Focus on the scalp, not the braids. Rinse thoroughly and allow to air dry completely before sleeping.
- Every night: Cover your braids with a silk bonnet or satin scarf. This single habit reduces frizz, prevents moisture loss, and extends your style life significantly.
Here is a simple maintenance schedule to follow:
| Task | Frequency | Product to use |
|---|---|---|
| Scalp oil application | Every 2 to 3 days | Lightweight oil in applicator bottle |
| Curl refresh | Every 3 to 4 days | Curl cream and water mist |
| Scalp cleanse | Every 2 weeks | Diluted shampoo in applicator bottle |
| Night protection | Every night | Silk bonnet or satin scarf |
Inconsistent maintenance significantly reduces braid longevity and causes premature frizz. Skipping even one week of scalp oiling can lead to dryness and itching that makes the style uncomfortable to wear. For deeper guidance on keeping your scalp healthy under braids, the scalp care strategies resource at Afromagicbraiding covers this in full detail.
Common challenges during wear and how to troubleshoot them
Even with a solid protective hairstyle workflow, challenges come up. Knowing how to handle them without damaging your braids is what keeps your style looking its best.
- Frizz on curly sections: This is normal after week 2 or 3. Refresh with a light curl cream and water mist, scrunching gently rather than pulling. Refreshing curls with gentle scrunching and minimal product preserves the boho texture and extends wear significantly.
- Scalp dryness and itching: Usually caused by skipping oil sessions or using heavy products that block the scalp. Switch to a lighter oil and use your applicator bottle more consistently.
- Product buildup: Heavy butters and thick creams coat the extension hair and attract lint. Stick to water-based products for the curly sections and save richer products for your scalp only.
- Front braids loosening: The braids closest to your face experience the most friction from pillows, scarves, and daily movement. You can have just the front row redone at a salon without redoing the full style.
- Wearing past the recommended window: Proper care sets the takedown window at 6 to 8 weeks. Going past 10 weeks causes your shed hair to mat inside the braids, making takedown significantly harder and more damaging.
"Every braid tells a story, and the story of healthy hair starts with knowing when to let go. Wearing your style past its window is the most common mistake we see, and it always costs more in recovery time than the extra weeks of wear are worth." — Afromagicbraiding
Safe takedown and post-style hair recovery steps
Takedown is where most hair damage actually happens, not during installation. Rushing or attacking dry, matted sections causes breakage far beyond normal shedding. Patience here protects the length you worked to retain.
Follow this takedown workflow:
- Saturate each braid with a mix of water and conditioner before you begin. This softens the extension hair and creates slip that makes separation easier.
- Work in small sections, unraveling one braid at a time from the bottom up. Never pull or yank.
- Separate shed hair carefully as you go. Your hair sheds naturally during the wear period, and that shed hair collects inside the braid. Removing it gently prevents matting.
- Apply oil or conditioner to any tangled sections before attempting to detangle. Use your fingers first, then a wide-tooth comb.
- Wash with a clarifying shampoo once all braids are removed. This removes weeks of product buildup, oil, and debris from your scalp and strands.
- Deep condition with heat immediately after washing. Sections saturated with conditioner during takedown and a thorough post-removal deep conditioning treatment are both non-negotiable for hair recovery.
Pro Tip: Set aside a full day for takedown. Trying to rush it in an hour leads to breakage. Put on a show, make it comfortable, and give your hair the time it deserves.
After takedown, give your scalp a rest. A break of 2 to 4 weeks between protective styles allows your scalp to recover and reduces tension-related damage over time. Use this period for deep conditioning treatments, protein masks if your hair feels weak, and gentle low-manipulation styles.
Key takeaways
A successful protective boho braids workflow requires consistent care at every phase, from thorough prep and tension-free installation to weekly maintenance and patient takedown.
| Point | Details |
|---|---|
| Prep determines longevity | Cleanse, deep condition, and detangle before installation to protect hair and ease the process. |
| Knotless technique protects edges | Feed-in knotless braids distribute tension evenly and reduce hairline stress throughout wear. |
| Maintenance is non-negotiable | Moisturize the scalp every 2 to 3 days and refresh curls every 3 to 4 days to extend style life. |
| Takedown requires patience | Saturate braids with conditioner before removal and deep condition immediately after to prevent breakage. |
| Rest between styles matters | Allow 2 to 4 weeks between protective styles to support scalp health and sustained hair growth. |
Why I think the "low maintenance" label is doing boho braids a disservice
People come to Afromagicbraiding all the time saying they chose boho braids because they heard they were low maintenance. That label is misleading, and it sets people up for disappointment. Boho braids are lower maintenance than wearing your natural hair out every day, but they are not maintenance-free. The curly extension sections need attention every few days. The scalp needs consistent moisture. The style needs nightly protection.
What I have seen over years of working with protective styles is that the clients who get the best results are the ones who treat their braid maintenance routine like a non-negotiable appointment with themselves. They oil their scalp on schedule. They refresh their curls before the frizz gets out of control. They take down their style at week 6 or 7, not week 11.
The other thing I want to be honest about is takedown. Most people dread it, so they put it off. But every extra week you leave braids in past the recommended window adds to the work of removal and the risk of breakage. I have seen clients lose significant length not from the style itself, but from a rushed, overdue takedown. The boho braids checklist we put together at Afromagicbraiding exists specifically to help you stay on track so you never get to that point.
Boho braids are one of the most beautiful and culturally rich protective styles available. They deserve the care that keeps them looking like art from install day to takedown day.
— Afro
Ready for a professional boho braids install?
At Afromagicbraiding, every braid is installed with care, precision, and deep respect for your hair's health. Our stylists specialize in knotless and boho braid installations using the tension-free feed-in technique that protects your edges and delivers results that last.

Whether you are new to protective styles or ready to upgrade your experience, we make the process easy from start to finish. Browse our style portfolio to see the quality of our work, read what our clients say about their experience, and then book your appointment online in minutes. Your next great braid story starts here.
FAQ
How long do boho braids last with proper care?
Boho braids last 4 to 8 weeks with consistent maintenance, including scalp moisturizing, nightly protection, and curl refreshing. The ideal takedown window is between weeks 6 and 8 to avoid matting and damage.
What is the difference between knotless and crochet boho braids?
Knotless boho braids use a feed-in technique at the root and take 6 to 10 hours to install, while crochet boho braids attach pre-made extensions to cornrows and install in about 2 hours. Knotless braids offer better edge protection and a more natural look.
How do I refresh boho braid curls without damaging them?
Scrunch a small amount of curl cream mixed with water mist into the curly sections every 3 to 4 days. Avoid heavy products and aggressive brushing, which break up the curl pattern and cause frizz.
How should I remove boho braids safely?
Saturate each braid with water and conditioner before removal, work in small sections from the bottom up, and separate shed hair carefully as you go. Follow with a clarifying shampoo wash and a deep conditioning treatment with heat.
How long should I wait before installing another protective style?
Allow 2 to 4 weeks between protective styles to give your scalp time to recover and reduce cumulative tension damage. Use this break period for deep conditioning and low-manipulation styling.