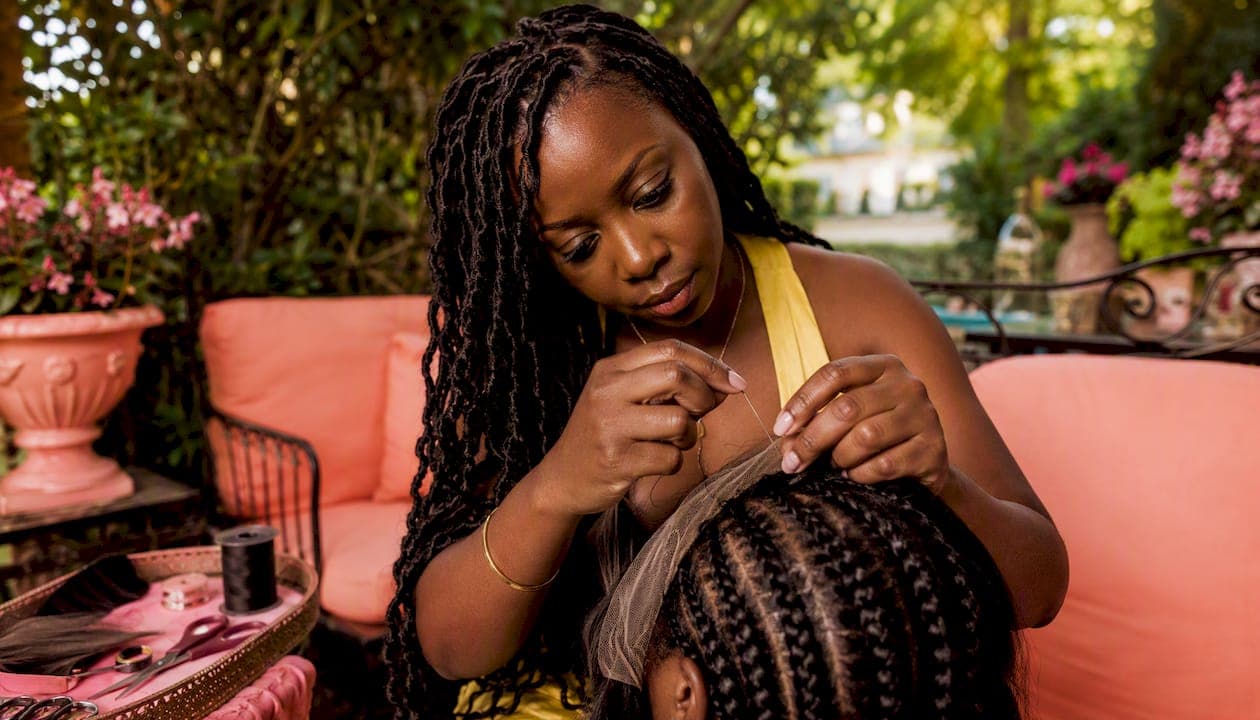
To sew a lace closure onto braids, position the closure approximately 1 cm in front of your natural hairline, tack the corners with a curved needle and nylon thread, then work small whipstitches through the lace and braid foundation all the way around the perimeter. That single technique, done with the right tension, is what separates a flat, natural-looking install from one that lifts, ripples, or shows knots by week two.
-
DIY sew-in: Works well if you have a flat cornrow base, the right tools, and experience with needle and thread. Expect up to 8 weeks of wear with proper maintenance.
-
Professional install at Afromagicbraiding: The right call for complex styles, fragile edges, bleached knots, or any time you want a salon-grade, edge-first result with in-house product matching.
Sewing remains the gold standard for long-lasting closure installations because it places zero direct tension on your baby hairs, unlike adhesive methods.
Table of Contents
- What materials do you need before sewing a closure?
- How to sew closure onto braids: step-by-step
- Does sewing actually protect your edges?
- How long does a sewn closure last, and how do you care for it?
- Common mistakes and how to fix them
- Should you DIY or book Afromagicbraiding?
- Key Takeaways
- What the salon sees that tutorials miss
- Afromagicbraiding: professional closure sew-ins in Southfield, MI
- Useful sources
What materials do you need before sewing a closure?
Getting your supplies together before you start saves time and protects your hair. Here is exactly what you need:
Tools:
- Curved sewing needle (standard for flat, secure stitching through lace)
- Nylon or weaving thread in a color that matches the closure
- Sharp scissors
- T-pins or hair clips to hold the closure in place before sewing
- Rat-tail comb for clean parting and alignment
Supplies:
- Lace closure matched to your hair texture, density, and color
- Braiding hair (if adding weft bundles alongside the closure)
- Scalp protector or a light oil to shield the hairline
- Small elastics or thread to secure braid ends flat
A curved needle is non-negotiable here. Its arc lets you pass through the lace mesh and braid base in one smooth motion without tearing the lace or catching the closure's hair strands. Pair it with nylon thread rather than cotton, which can fray and weaken over weeks of wear. For scalp health under the install, a light oil applied before braiding keeps the foundation moisturized throughout the style's life.
How to sew closure onto braids: step-by-step
Follow this sequence for a salon-grade install every time.
- Cleanse and moisturize your natural hair. Start with a clean scalp and hydrated strands. Dry, brittle hair under a sew-in is more prone to breakage when the style is removed.
- Create a flat braid foundation. Cornrow the hair in a pattern that matches your desired part. A beehive or circular braid pattern anchors the closure securely and distributes weight evenly to prevent shifting. Keep braids small and consistent — uneven braid size creates bumps under the closure.
- Secure braid ends. Stitch or tuck the ends so nothing protrudes. Flat ends mean a flat closure.
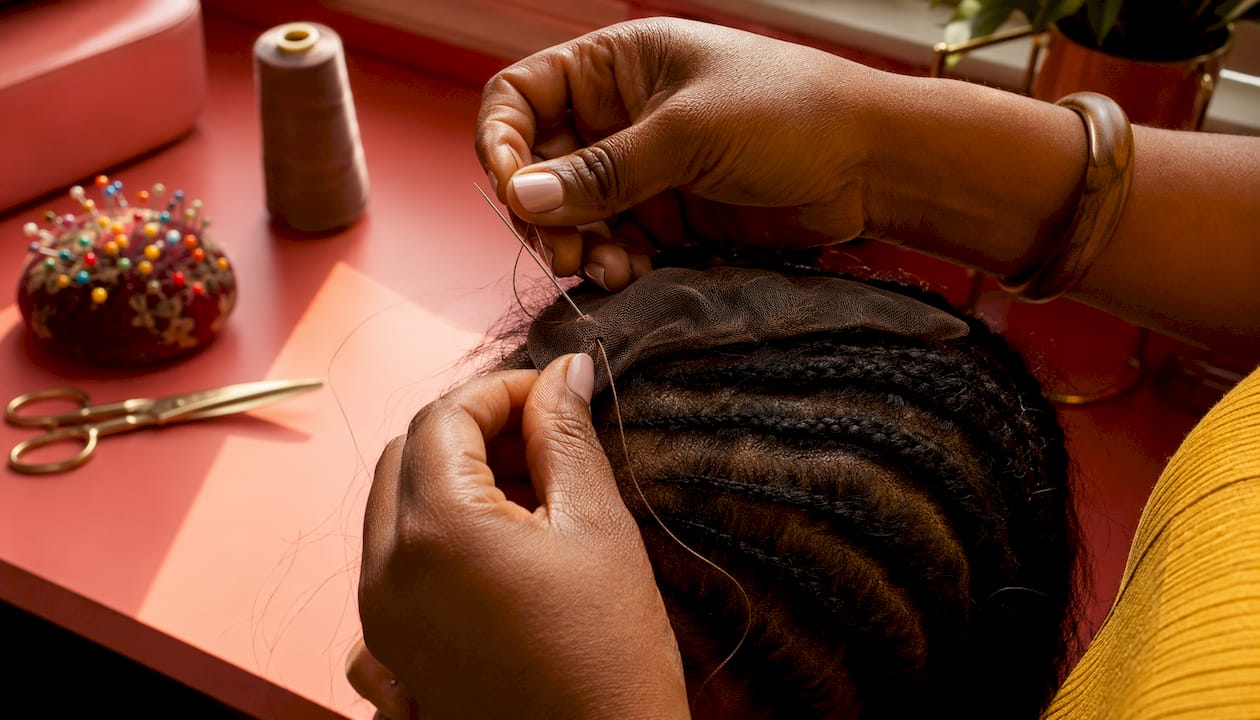
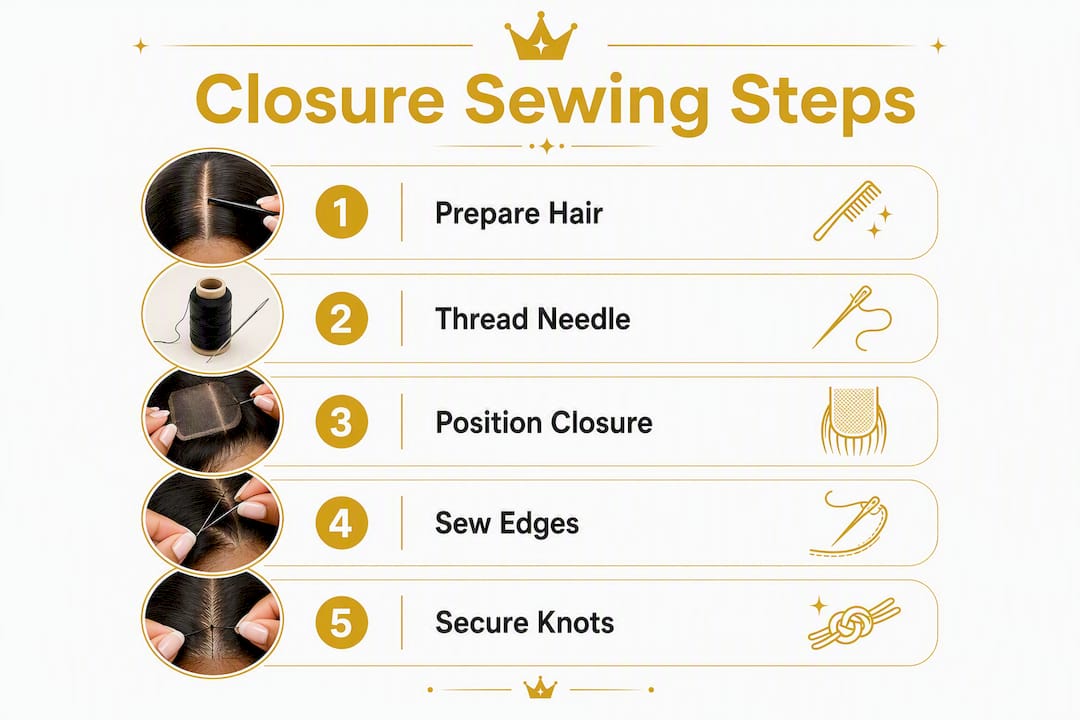
- Position the closure. Place the lace closure approximately 1 cm in front of your natural hairline and align the part exactly where you want it. Use T-pins or clips to hold it in place before a single stitch goes in.
- Tack the corners first. Anchor each corner with two or three stitches before sewing the full perimeter. This locks the closure's position and prevents drift.
- Sew the perimeter with small whipstitches. Work through the lace mesh and the braid base only. Stitch through lace and braid, never through the closure's hair strands, which can damage the piece and make removal harder.
- Check flatness before adding wefts. Press the closure gently with your fingers. If it ripples, your thread tension is too high.
- Sew wefts from the nape upward. Layer tracks in a U-shaped pattern, working toward the closure. Sew the final track close to the closure's edge for a seamless blend.
Pro Tip: Pull the lace taut enough to lie flat, but stop there. Over-tightening the thread causes the lace to ripple or buckle and creates a visible hump at the crown — one of the most common and avoidable mistakes in closure installation.
Placement note: The 1 cm gap between the closure and your natural hairline is what lets the lace blend against your scalp without sitting on top of your baby hairs.
Does sewing actually protect your edges?
Yes, and the difference is meaningful. Sewing places zero tension on baby hairs compared to adhesive methods or frontals that bond directly to the skin. The closure sits behind the hairline, stitched to the braid base, so your edges never bear the weight of the install.
Do this:
- Leave a thin leave-out along the perimeter if you want extra blending
- Keep perimeter braids small and flat, not thick or raised
- Apply a scalp protector or light oil before braiding for fragile edges
- Use ventilating or perimeter stitching to keep knots small and invisible against the scalp
Avoid this:
- Over-tightening the final sew-down
- Sewing through the closure's hair strands
- Braiding too thick near the edges, which creates raised bumps under the lace
- Skipping the scalp protector if you have transitioning or fragile hair
The lace closure is one of the safest options for edge preservation precisely because it is sewn behind the hairline and requires no glue on the skin.
How long does a sewn closure last, and how do you care for it?
A professionally sewn closure typically lasts up to eight weeks, depending on hair growth rate and aftercare consistency — for detailed tips, see how to prevent leaks with breast pads easily to protect your style longer here.
| Care habit | Why it matters |
|---|---|
| Silk or satin bonnet at night | Reduces friction and prevents lace lift at the perimeter |
| Gentle scalp cleansing weekly | Removes buildup without loosening stitches |
| Light leave-in or oil on natural hair | Keeps the foundation moisturized under the install |
| Limit water at the lace perimeter | Heavy water exposure can weaken thread over time |
| Avoid heavy butters at the lace base | Product buildup loosens the sew-down and dulls the lace |
Weekly checklist:
- Check corners and perimeter for any lift or loose stitches
- Refresh edges with a light edge control, applied gently
- Sleep in a satin bonnet every night without exception
- Schedule a touch-up or removal after about two months to protect your natural hair underneath.
Common mistakes and how to fix them
Even a careful install can run into problems. Here is how to handle the most common ones:
- Closure lifting at the corners: Reinforce with two or three additional stitches at the problem spot. Corners bear the most stress, especially during physical activity.
- Visible knots: A combination of bleaching knots (when appropriate for the closure), tinting the lace to match your scalp tone, and tight ventilating stitches creates the most natural result. This is a job best handled by a professional.
- A hump or ripple at the crown: Caused by over-tightened thread. Carefully snip and redo the stitches in that area with lighter tension.
- Gaps along the perimeter: Usually a sign of inconsistent braid size underneath. Re-tack the lace with additional stitches and smooth the area with a light wax stick.
- Closure hair tangling at the part: Use a fine-tooth comb and a small amount of edge control to press the roots flat. Avoid a hot comb directly on the lace base.
Pro Tip: When a corner keeps lifting no matter how many times you re-stitch it, the braid underneath is likely too thick or uneven. The real fix is redoing that section of the foundation, not adding more thread on top.
Seek professional correction when you notice persistent lift after home fixes, visible damage to the closure hair, scalp sensitivity, or when the braid foundation itself needs to be redone. Trying to sew over a compromised base only delays the problem.
Should you DIY or book Afromagicbraiding?
Use this checklist to decide:
Book Afromagicbraiding when:
- You want bleached knots, a hand-plucked hairline, or a custom-tinted lace
- Your edges are fragile or you have a history of traction concerns
- The style involves precise parting, multiple textures, or a complex weft layout
- You have had persistent lift or bumps with previous DIY installs
- You want in-salon product matching for the closest possible blend
DIY is reasonable when:
- You have experience with needle and thread and a steady hand
- Your hair is healthy, long enough to cornrow flat, and not currently fragile
- The style is straightforward (basic part, single texture, no knot customization)
What Afromagicbraiding brings to a closure install: flat, consistent braiding foundations, professional perimeter stitching that hides every knot, in-salon closure and product selection, and the kind of edge-first care that keeps your hairline healthy style after style.
For anything beyond a basic install, the salon is the right call. Every braid tells a story, and the foundation matters as much as the finish.
Key Takeaways
A sewn lace closure placed 1 cm in front of the natural hairline, stitched through lace and braid only with a curved needle and nylon thread, delivers the flattest, most edge-safe install available.
| Point | Details |
|---|---|
| Flat braid foundation first | Small, consistent cornrows or a beehive pattern prevent bumps and shifting under the closure. |
| 1 cm placement rule | Position the closure approximately 1 cm in front of the natural hairline for a seamless scalp illusion. |
| Sew through lace and braid only | Never stitch through the closure's hair strands — this protects the piece and makes removal safer. |
| Up to 8 weeks with proper care | Silk wrap nightly, gentle weekly cleansing, and light moisture extend wear to the industry-standard maximum. |
| Afromagicbraiding for complex installs | Book for bleached knots, fragile edges, custom parting, or any style where precision and edge protection matter most. |
What the salon sees that tutorials miss
Most tutorials focus on the sew itself and skip the two things that actually determine whether a closure looks natural: the braid foundation and the knot work. A closure sewn onto uneven braids will always show a hump, no matter how careful the stitching. And a closure with dark, visible knots will always look like a piece, no matter how well it is placed.
At Afromagicbraiding, the most-requested closure textures are straight and body wave, because they blend with the widest range of natural hair patterns. The most common correction the salon handles is re-doing a DIY foundation that was braided too thick near the crown. Getting the base right is not a preliminary step — it is the whole job.
Edge protection is not an afterthought here. Every install starts with a scalp assessment, and the perimeter braids are kept deliberately small and flat so the lace can sit without any pull on the hairline. That standard of care is what makes the difference between a style that looks fresh at week six and one that starts showing stress at week two.
Afromagicbraiding: professional closure sew-ins in Southfield, MI
Skip the guesswork of a DIY install and get a closure sew-in done right the first time. Afromagicbraiding in Southfield, Michigan specializes in edge-first, salon-grade closure installations, including knot bleaching and tinting, custom parting, weft installs, and seamless blending with knotless braids, box braids, and Fulani-inspired styles.

Every appointment includes a flat braiding foundation, perimeter stitching that hides every knot, and in-salon product selection matched to your texture and scalp tone. View our closure and braid work to see the standard before you book. When you are ready, schedule your appointment online in minutes.
Useful sources
- How to Sew in a Lace Closure for Your Hair (WikiHow) — step-by-step visual guide covering the full installation sequence and longevity expectations
- Mastering the Lace Closure Sew In (Raw Hair Luxury) — detailed technique guide covering placement, braid patterns, tension management, and knot work
- Closure Sew-In on Short Hair (Shun Salon) — perimeter stitching and ventilating techniques for a natural hairline
- How to Install a Closure Sew In (SISHAIR) — tool list, step sequence, and weft installation guidance
- How to Install Lace Closure Without Glue (SISHAIR) — sewing method as a glue-free alternative with T-pin and perimeter technique
- How to Braid Hair for a Closure Sew In (Hairing Caring) — braid foundation preparation, sectioning, and tension guidance
- How to Install Lace Closure Wig (Govi Hair) — overview of sewing as the preferred method for durability and hair health