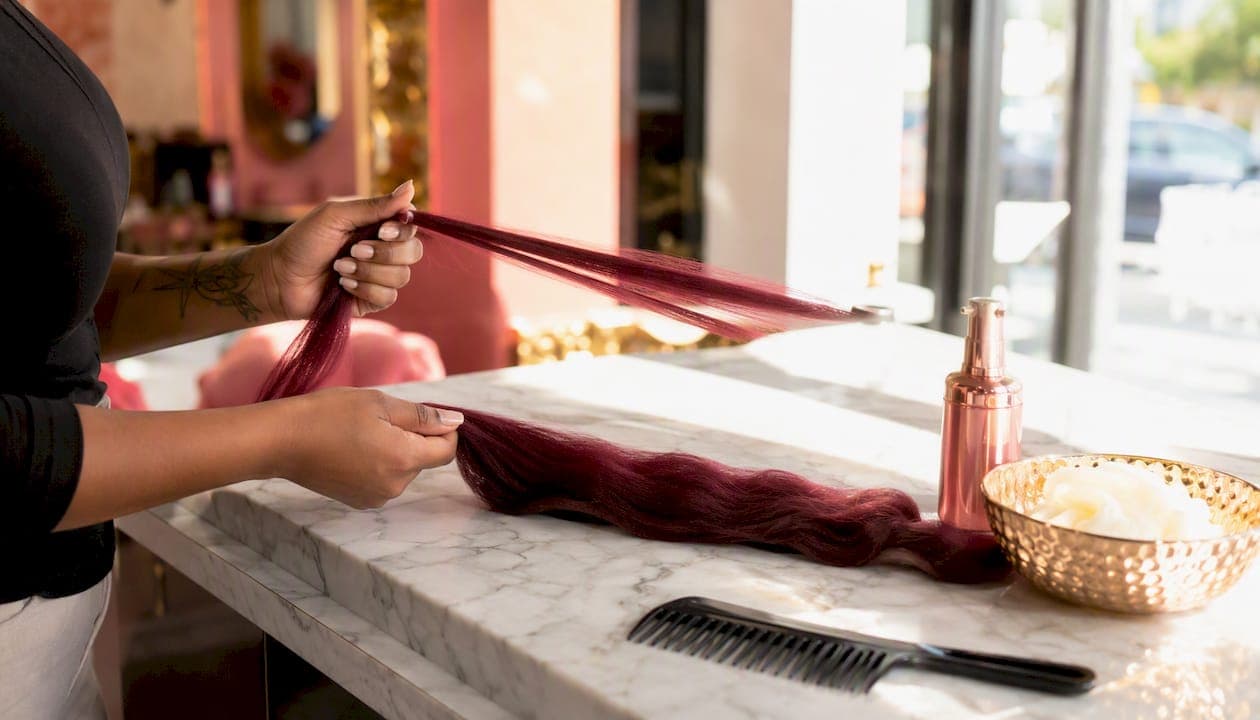
The fastest safe way to stretch braiding hair is to twist small sections into mini-braids, secure them with hair ties, and let them sit for a few hours before fanning the ends into a soft taper. Two quick alternatives work just as well: cutting and feathering the ends with shears, or a hot-water dip for synthetic fibers only. Skip the hot-water method entirely if you're working with human hair or any bundle without melt-safe labeling. Once your bundles are pre-stretched, you're ready to braid with less bulk and cleaner ends.
- Mini-braid stretch (go-to method, no tools needed)
- Cut + feather + brush (fast, low-risk)
- Hot-water dip (synthetic only, test first)
Pro Tip: If you'd rather skip the prep altogether, Afro Magic Braiding sells pre-stretched bundles ready to install.
Key Takeaways
Stretching braiding hair with mini-braids, feathering, or a tested hot-water dip creates a cleaner taper that reduces bulk and installs faster than unstretched bundles.
| Point | Details |
|---|---|
| Start with mini-braids | Twist, tie, and rest sections for a few hours before fanning the ends into a taper. |
| Test heat methods first | Always dip a single strand before treating a full synthetic bundle to avoid melting. |
| Match braid size to hair | Fine natural hair needs wider tapers and larger braids to reduce traction damage. |
| Store bundles properly | Hang or seal stretched hair away from heat and sunlight to keep the taper intact. |
| Consider Afro Magic Braiding | Offers pre-stretched bundles and full salon installs for anyone skipping the DIY steps. |
Quick Demos and Reads Worth Checking Out
- Braiding safety and scalp care (article)
- Full hair-prep checklist (article)
- Step-by-step braiding technique (article)
- Afro Magic Braiding portfolio (visual demo)
Table of Contents
- How to Stretch Braiding Hair: Three Step-by-Step Methods
- What Tools Do You Need to Stretch Braiding Hair?
- How to Prep Natural Hair for a Neat Braid Install
- How Do You Fix Frizz, Uneven Ends, or Melted Hair?
- How to Store Pre-Stretched Braiding Hair
- Why Do Salons Pre-Stretch Braiding Hair Before Installing?
- Skip the Prep With Professional Pre-Stretched Bundles
- Sources
How to Stretch Braiding Hair: Three Step-by-Step Methods
Each method below takes under 30 minutes of active work, though the mini-braid method needs a few hours of rest time to set the taper properly.
Method A: Hair-tie mini-braids
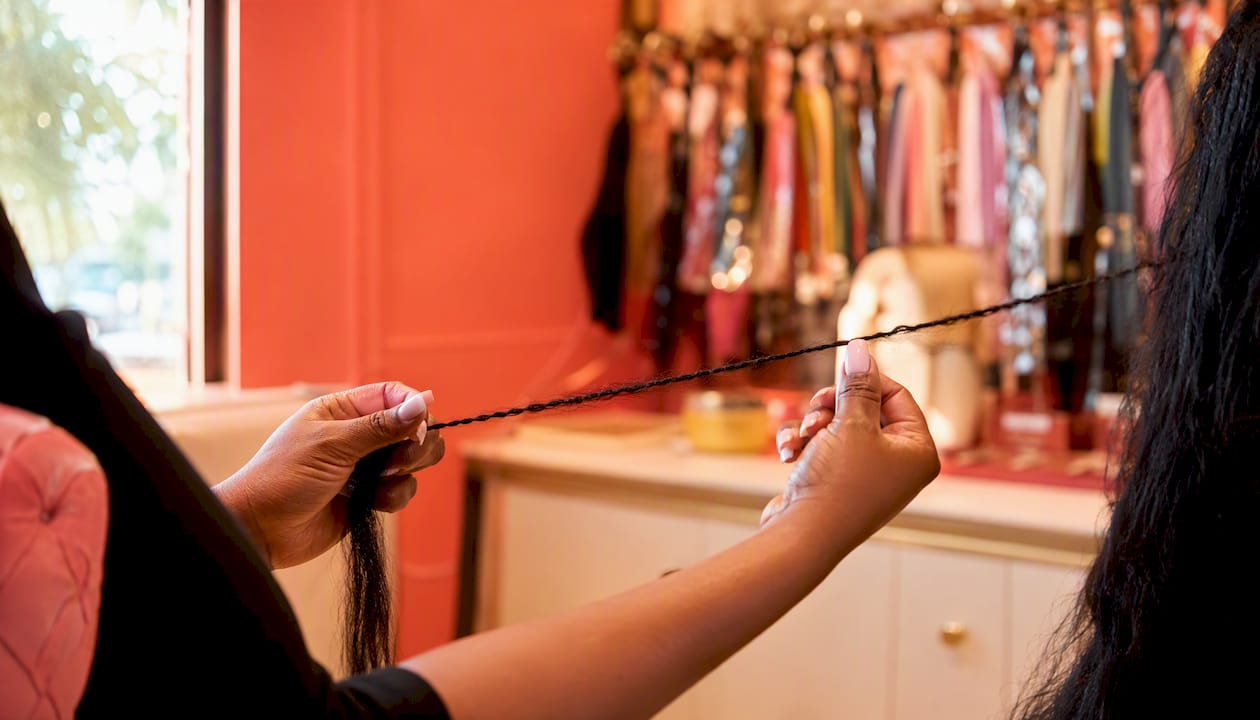
- Divide your bundle into sections about one inch wide.
- Braid or twist each section loosely from root to tip.
- Secure each end with a small hair tie, snug but not crushing the fiber.
- Let the bundles rest for several hours (overnight works even better).
- Remove the ties and gently fan each section between your fingers to taper the ends.
Caution: Don't pull the ties too tight. Overtightened bundles can kink instead of stretch.
Method B: Cut + feather + brush
- Hold the bundle taut and trim the blunt ends at a slight diagonal.
- Use sharp shears to feather small vertical cuts into the last inch or two.
- Run a wide-tooth comb through the feathered section, then finish with a paddle brush to blend.
Caution: Feather in small increments. You can always cut more, but you can't glue hair back on.
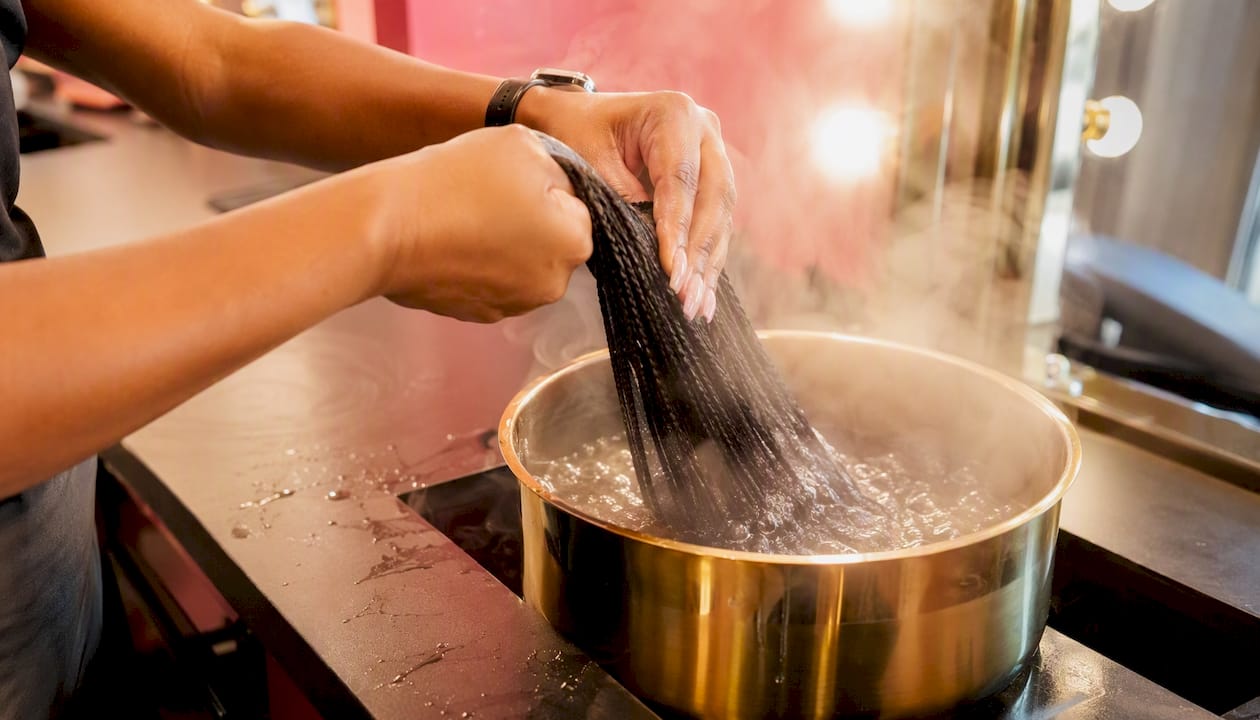
Method C: Hot-water dip (synthetic hair only)
- Test one small strand first, since fiber quality and brand vary how hair reacts to heat.
- Boil water, then let it cool slightly off the burner. Never dip near an open flame.
- Hold the ends with tongs, not your fingers, and dip for 2 to 3 seconds.
- Air dry the bundle fully before handling, or set it under a cool fan.
Caution: Direct boiling water or prolonged contact can melt synthetic fibers permanently, so testing a sample bundle first is worth the extra two minutes.
Pro Tip: Want curlier tapered ends after stretching? Check out this guide to curling knotless ends for a finished, salon-style look.
What Tools Do You Need to Stretch Braiding Hair?
A clean setup makes the difference between a tidy taper and a frizzy mess.
- Sharp shears for precise, clean cuts (dull scissors fray the fiber).
- Rat-tail comb to section hair evenly before braiding.
- Wide-tooth comb for detangling without snapping strands.
- Paddle brush to blend feathered ends smoothly.
- Hair ties and clips to hold mini-braids in place while they set.
- Spray bottle with water for light detangling.
- Tongs and a kettle only if you're doing the hot-water dip.
- Heat protectant, but only for human hair you're blow-drying, not synthetic fiber.
If you're missing shears, a rotary cutter can substitute in a pinch, though it's slower and less precise on thick bundles.
How to Prep Natural Hair for a Neat Braid Install
Braid size and technique change how much tension your scalp takes on. Knotless braids distribute weight more gradually at the root, which is why WebMD flags braid size and tension as the two biggest factors in scalp health. Traditional box braids with a knot can look sharper for shorter styles but concentrate more pull at the base.
Before installing, wash and detangle your natural hair, then blow-dry or tension-stretch it with a heat protectant. Most professional braiders stretch natural hair first because it creates cleaner parts and less frizz along each row. A light leave-in or edge control helps hold the part lines crisp through the install.
- Wash and deep condition 1 to 2 days before your appointment.
- Blow-dry or tension-dry with a heat protectant.
- Detangle section by section, not all at once.
Pro Tip: Match your synthetic taper to your natural hair's thickness. Fine hair does better with a wider taper and slightly larger braids, since thinner strands are more prone to traction damage when packed into tiny sections. Read more in this hair health checklist before your next visit.
How Do You Fix Frizz, Uneven Ends, or Melted Hair?
Mistakes happen, and most are fixable without tossing the whole bundle.
- Frizz: Lightly mist the section, then re-brush from root to tip, or unravel and re-twist if it's stubborn.
- Uneven length: Feather and blend the shorter side to match, as long as the difference is under half an inch.
- Sticky or melted ends: Trim off the damaged portion immediately. Don't attempt to re-dip that section.
If one bundle melts during a hot-water test, don't push forward with the rest of the pack. Fiber quality can vary even within the same box, so treat each bundle as its own test case.
When more than a couple inches are compromised, it's faster to swap in a fresh bundle than to keep rescuing a damaged one.
How to Store Pre-Stretched Braiding Hair
Hang stretched bundles vertically or lay them flat in a sealed bag away from sunlight and heat vents. This keeps the taper intact and cuts down on tangling before your next install.
- Hang bundles on a hook or clip rack to preserve the stretch.
- Store in a sealed, breathable bag out of direct sun.
- Refresh with a gentle brush-through or light steam before use. Skip heavy heat tools.
Fiber quality affects how long a bundle lasts. Cheaper synthetic hair tends to frizz and shed faster after repeated handling, while higher-grade fiber holds its taper through multiple styling sessions. If a bundle feels brittle or sheds heavily when brushed, it's past its useful life. For more on extending wear between washes, see these braid maintenance tips.
Why Do Salons Pre-Stretch Braiding Hair Before Installing?
Stylists pre-stretch for reasons beyond aesthetics. Pre-tapered hair lays flatter at the root, which means cleaner parts, less bulk per section, and faster installs overall. Pre-stretched bundles are manufactured already layered and stretched, so they install faster and hold their listed length instead of shrinking mid-braid.
- Cleaner, more consistent parting throughout the head.
- Less bulk at the root, reducing pulling on natural hair.
- Faster chair time, which often means a lower total service cost.
For very long lengths, high-volume installs like full-head knotless braids, or anyone who'd rather skip the prep work entirely, buying pre-stretched bundles or booking a professional stylist saves hours of hands-on work.
Afro Magic Braiding offers pre-stretched bundles alongside full braiding services, giving clients the option to skip DIY prep without sacrificing the tapered, salon-grade finish.
A Stylist's Quick Note on Stretched Hair
Before any install, we test a small sample from every new bundle. It tells us how the fiber will behave under tension and heat before it's anywhere near a client's scalp. Comfort matters as much as the finished look. A tension-free install should never leave you wincing by the end of the appointment.
Skip the Prep With Professional Pre-Stretched Bundles
Stretching hair yourself saves money, but it takes time, patience, and a steady hand with shears or hot water. If you'd rather walk in and walk out with a finished, salon-grade install, Afro Magic Braiding handles the tapering, blending, and heat-safe finishing for you.
Every bundle used in the salon is pre-tested for fiber quality and tension tolerance before it touches a client's head. Booking professional prep means no melted ends, no uneven feathering, and no hours spent hunched over a mirror. Whether you want knotless braids, box braids, or a custom style, the finish comes out consistent every time. Browse finished looks in the portfolio gallery, then book your appointment to get salon-stretched hair without lifting a pair of shears.
Sources
- Braiding Hair: Styles, Colors, Techniques, and Maintenance | WebMD
- What is Pre-Stretched Braiding Hair? Your Complete Guide - Mane mention
- How to Prep Hair for Braids: The Ultimate Step-by-Step Guide for a Healthy Install | The Style Serum
- How to Braid Hair: Step-by-Step Guide | Sam Villa