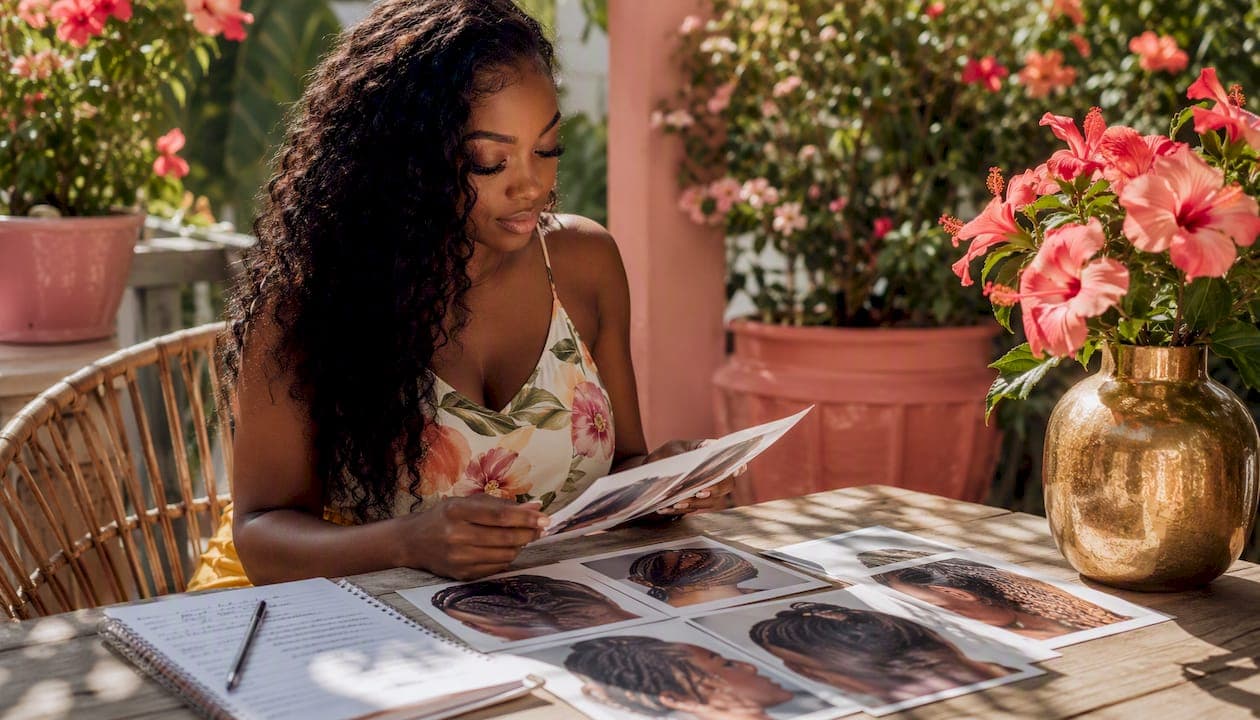
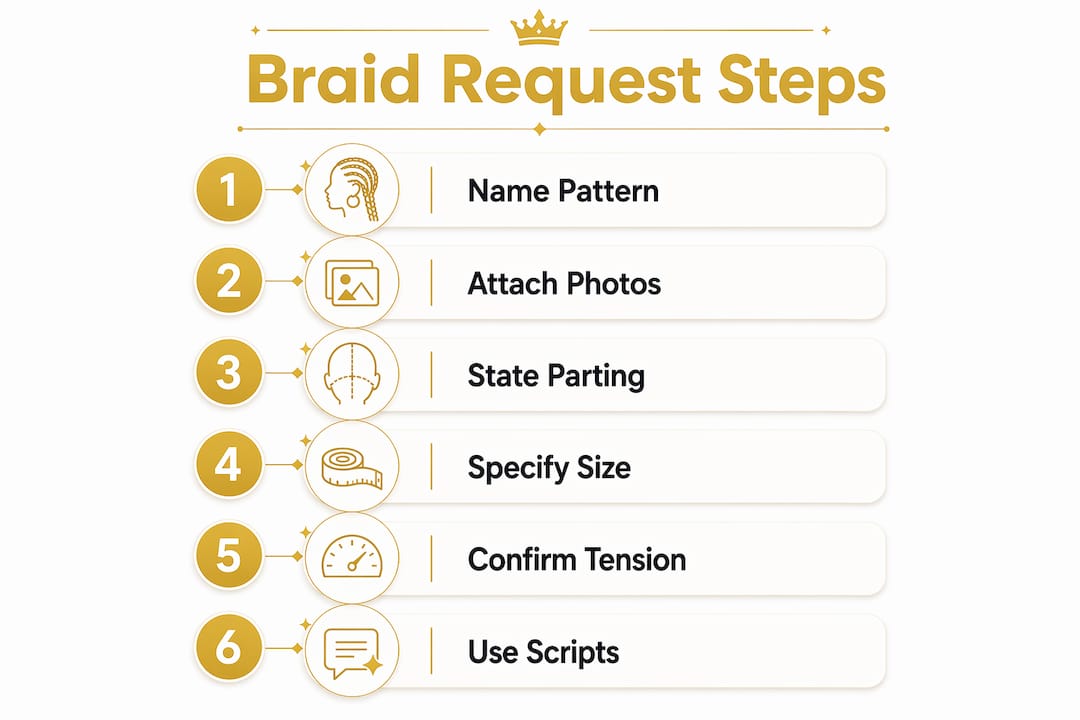
Tell your braider the pattern name, show 2–3 labeled reference photos, and state three specs out loud: your parting map (center, side, or zigzag), your braid size (small, medium, or jumbo), and your preferred tension (loose, medium, or firm). That combination removes most of the guesswork before a single braid is placed. Salons like Afromagicbraiding use a consultation intake form that asks about hair density, preferred leave-out, and extension brand before your appointment even begins, which means the stylist walks in already prepared.
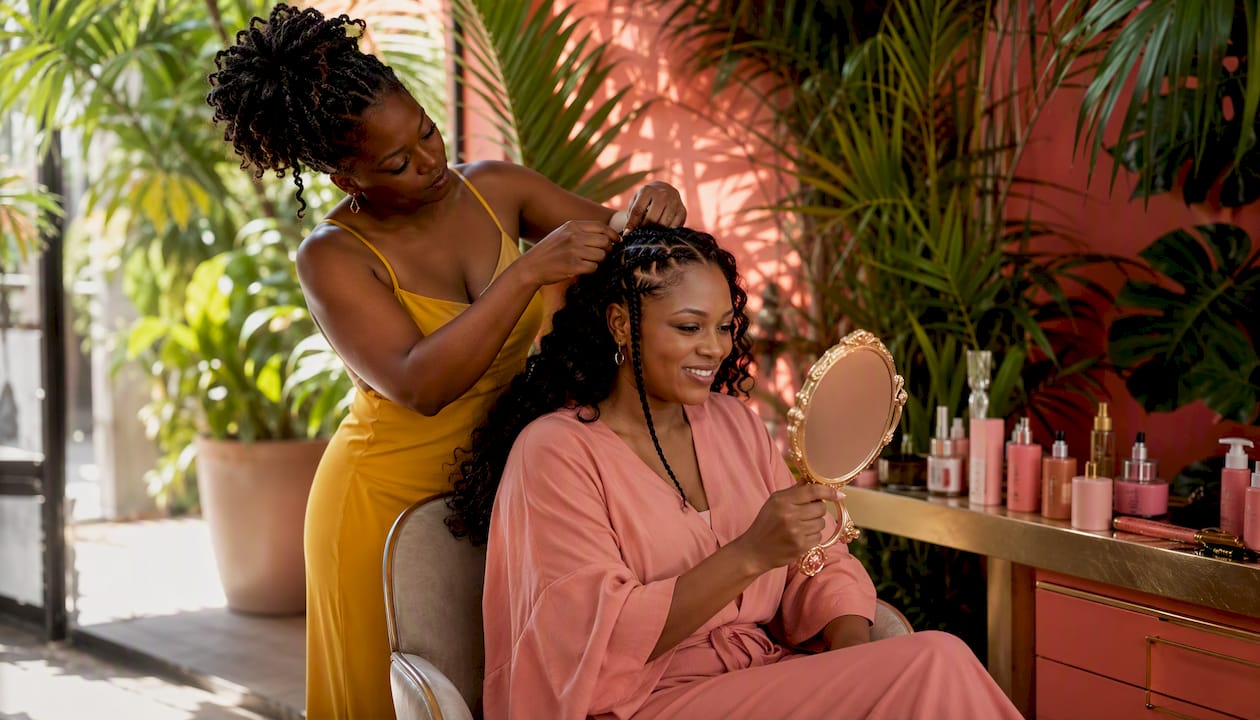
Your two-sentence in-chair script: "I'd like [pattern name] with a [center/side/zigzag] part, [small/medium/jumbo] braids, and [loose/medium/firm] tension. Here are three photos — Photo A shows the parting I want, Photo B shows the size, and Photo C shows the side profile."
Your booking note or DM: "Booking for [style name]. Prefer [parting], [size], [tension], [leave-out amount]. Attaching three labeled photos for reference."
- Name the pattern (e.g., knotless box braids, feed-in cornrows, Fulani braids)
- Specify parting direction and starting point on the scalp
- State braid diameter in relative terms: pencil-thin, finger-width, or jumbo
- Declare tension preference and any scalp sensitivity
- Note leave-out amount (none, edges only, full perimeter)
- List extension brand or type if you have a preference
Pro Tip: Treat your reference photos as a "vibe map," not a blueprint. Professional stylists recommend no more than three references and ask clients which single visual element they like most in each photo — volume, flatness, or layers — so they can adapt the technique to your actual head shape and density.
Table of Contents
- Which braid patterns should you know before you book?
- How to prepare before your braiding appointment
- What to tell your braider: the exact checklist and scripts
- How do you request the right foundation for sew-ins, crochet, or feed-in installs?
- How long does it take, what does it cost, and how do you maintain it?
- What red flags should you watch for at a braiding appointment?
- Ready-to-use booking templates and in-salon scripts
- What does a professional salon consultation actually look like?
- Key Takeaways
- The real conversation between client and braider
- Afromagicbraiding is ready to bring your braid vision to life
- Useful sources and further reading
Which braid patterns should you know before you book?
Knowing the name of what you want saves five minutes of back-and-forth at the salon. Below is a quick-identification catalog organized by technique family, with the defining visual feature, best use case, and hair-type notes for each.
| Pattern | Visual ID | Best use case | Hair-type note |
|---|---|---|---|
| Knotless box braids | No raised knot at root; gradual feed-in start | Low-tension everyday protective style | Works on most densities; gentler on fine or sensitive scalps |
| Traditional box braids | Raised knot at root; square sections | Long-term protective wear | Best on medium-to-thick density |
| Cornrows | Flat, scalp-hugging rows braided forward or in a pattern | Active lifestyles, base for sew-ins | Suits all densities; tighter on thin hair |
| Fulani braids | Center part, thin side cornrows, face-framing braids, beads | Cultural celebration, everyday wear | Flattering on round and oval faces |
| Feed-in braids | Seamless, flat root; extensions added gradually | Sleek, long-lasting cornrow look | Ideal for thin edges; avoids bulk at root |
| Stitch / Ghana braids | Ultra-precise parts creating an "embroidered" scalp line | Statement style, events | Requires skilled parting; best on medium-to-thick hair |
| Boho knotless | Box braids with loose curly pieces woven throughout | Romantic everyday or vacation look | Works on most textures; extensions add volume |
| Faux locs | Wrapped sections mimicking natural locs | Medium-term protective style | Heavier; confirm weight tolerance with stylist |
| Halo braid | Single braid wrapped around the crown like a headband | Weddings, formal events | Works best on longer natural hair |
| Fishtail | Two-strand weave with a herringbone pattern | Short-term or event wear | Longevity trade-offs apply; decorative rather than protective |
| Dutch / French braid | Inverted (Dutch) or standard (French) three-strand plait | Sporty, everyday, quick styles | Works on most textures with product for grip |
| Lemonade braids | Side-swept diagonal cornrows | Trending social-media look | Flattering on square and round faces |
A note on naming: Regional terminology varies. "Ghana braids" and "stitch braids" often describe the same technique. "Goddess braids" can mean thick cornrows or boho knotless depending on the salon. If you're unsure of the exact name, describe the visual: "flat rows close to the scalp with very precise parts" or "box braids with loose curly pieces." A good stylist will identify the technique from your description. Grouping braids into families — scalp-braided, feed-in, free-hanging, and constructed — helps you choose the right category quickly when you're unsure of the specific name.
How to prepare before your braiding appointment
Arriving prepared cuts chair time and prevents the most common miscommunications. Here's exactly what to bring and how to get your hair ready.
Photos
- Bring 2–3 reference photos: one front view, one side profile, one close-up of the parting
- Label them clearly: Photo A (parting), Photo B (braid size), Photo C (side profile)
- Circle or annotate the specific detail you want copied in each image
Hair prep
- Arrive with clean, detangled hair unless your stylist specifies otherwise
- Review pre-appointment hair care guidance to understand tension-safety steps before you sit down
- Avoid heavy product buildup the day before; it makes sectioning harder
Extensions and supplies
- Bring the exact extension brand or a swatch if you have a preference — extension weight and texture materially change the final volume and movement of styles like boho knotless and box braids
- Include an edge brush, clips, and a protective cap if you're supplying your own hair
- For blending tips, a guide on making extensions look natural covers texture-matching and seamless integration
Booking notes
- State desired length, leave-out preference, and any budget or time constraints in your booking form
- Mention scalp sensitivity or any tender spots so the stylist can adjust tension accordingly
- If the style is complex, request a pre-appointment consultation before your install date
Pro Tip: Some virtual tools, like VEED's AI braids filter, let you try box braids or cornrows on your own photo before you book. It's a quick way to test a visual direction and screenshot the result to share with your stylist.
What to tell your braider: the exact checklist and scripts
Every stylist needs the same seven data points to execute a specific braid request accurately. Walk in with answers to all seven, and the consultation becomes a confirmation rather than a guessing game.
The seven-point checklist
- Parting map: Center, side, zigzag, or free-form? Where do the braids start on your scalp?
- Braid size: Pencil-thin (micro), finger-width (medium), or jumbo? Bring a photo or hold up your finger as a size reference.
- Directional flow: Straight back, diagonal, curved, or patterned?
- Tension level: Loose (gentle on scalp), medium (standard hold), or firm (sleek, longer-lasting)?
- Leave-out: None, edges only, full perimeter, or a specific amount for a closure or parting space?
- Extension details: Brand, weight (light, medium, heavy pack), and texture (silky, kinky, curly)?
- End finish: Blunt-cut, curled with hot water, sealed with a lighter, or left natural?
Sample phrases for each channel
In the salon: "Can we start with two or three test braids so I can confirm the size and tension before you continue?"
Booking form note: "Knotless medium box braids, center part, medium tension, no leave-out, using [Brand X] pre-stretched hair, blunt cut ends."
DM or Instagram message: "Hi! I'd love to book for boho knotless braids. I'm attaching three photos — Photo A is the parting, Photo B is the size, Photo C is the side view. I prefer medium tension and edges-only leave-out. Can you confirm availability?"
Short glossary of terms to use correctly
Feed-in: Extensions added gradually as the braid progresses, keeping the root flat and tension low. Knotless: A starting technique where no knot is tied at the root — extensions are fed in from the beginning, reducing scalp pull. Leave-out: The portion of your natural hair left unbraided, typically around the perimeter or for a closure space. Parting map: The grid or pattern of sections the stylist creates before braiding begins — it determines the final look of the scalp. Test braid: One or two braids completed at the start of the install so you can approve size and tension before the full set is done.
Asking for a few test braids early is the single most effective way to catch a size or tension mismatch before it becomes a full-head problem.
How do you request the right foundation for sew-ins, crochet, or feed-in installs?
The braiding foundation is the structure underneath your style. Getting it right determines coverage, longevity, and how much tension your scalp carries for weeks.
| Foundation type | How it works | What to request | Best for |
|---|---|---|---|
| Weft sew-in (cornrow base) | Wefts sewn onto flat cornrows | Tight, close-to-scalp rows; specify row spacing for coverage | Full coverage, longer wear, active lifestyles |
| Crochet / loop foundation | Extensions looped onto a cornrow grid | Open, breathable grid; wider spacing between rows | Lightweight styles, scalp breathability, volume |
| Feed-in / cornrow grid | Scalp braids used as a base for feed-in extensions | Box, stitch, or triangle parting; specify grid density | Knotless sets, feed-in braids, natural-looking parts |
| Free-hanging (no foundation) | Individual braids attached directly to sectioned hair | Parting map only; no base cornrows needed | Box braids, faux locs, individual twists |
How to state your preference clearly:
For a weft sew-in, say: "I'd like tight, flat cornrows with [X inches] of spacing between rows for full coverage." For a crochet install, say: "I need an open cornrow grid — breathable spacing — for crochet locs." For a feed-in knotless set, say: "Box parting, medium density grid, knotless start."
When you're unsure which foundation suits your density and lifestyle, ask the salon to recommend one. Choosing a protective style based on hair thickness and activity level is something a skilled stylist handles daily. Afromagicbraiding's consultation process includes exactly this kind of recommendation, matching foundation type to your hair's condition and your daily routine.
How long does it take, what does it cost, and how do you maintain it?
Setting realistic expectations before you sit down prevents disappointment and protects your hair long-term.
| Style | Typical chair time | U.S. price range | Longevity |
|---|---|---|---|
| Jumbo box braids | Several hours | Pricing varies | Several weeks |
| Medium knotless box braids | Several hours | Pricing varies | Several weeks |
| Micro braids | Several hours | Pricing varies | Several weeks |
| Feed-in cornrows (simple) | 1 to a few hours | Pricing varies | Several weeks |
| Stitch / Ghana braids | Several hours | Pricing varies | Several weeks |
| Boho knotless braids | Several hours | Pricing varies | Several weeks |
| Faux locs | Several hours | Pricing varies | Several weeks |
| Crochet install | A few hours | Pricing varies | Several weeks |
Price ranges reflect general U.S. market conditions and vary by salon location, stylist experience, extension cost, and braid length. Always confirm pricing directly with your salon.
Factors that raise cost: longer length (more extension hair), smaller braid size (more sections, more time), premium extension brands, and intricate parting patterns.
Maintenance checklist:
- Wrap hair in a satin bonnet or sleep on a satin pillowcase every night
- Apply a lightweight scalp oil (jojoba or tea tree) to the scalp every 3–5 days
- Avoid heavy product buildup on braids; a diluted leave-in spray keeps them moisturized
- Re-tighten edges at 3–4 weeks if needed, but avoid re-tightening the full set too aggressively
- Remove braids gently by cutting the extension hair first, then detangling from ends to roots
For length-specific weight and tension guidance, the knotless braid lengths guide covers how braid length affects anchor placement and daily maintenance. Signs a style needs professional attention: persistent scalp pain after 48 hours, visible thinning at the hairline, or braids that have significantly loosened at the root before the expected removal date.
What red flags should you watch for at a braiding appointment?
A great stylist welcomes your questions. These warning signs tell you to pause, speak up, or reconsider.
Red flags before the appointment starts:
- Refusal to show portfolio photos or past client work
- No discussion of tension, scalp sensitivity, or hair condition during booking
- Promises of unusually fast completion times for complex styles (a full knotless set in under two hours is a red flag)
- Unwillingness to confirm whether extensions are synthetic or human hair
Red flags during the install:
- Dismissing your reference photos without explanation
- Skipping a test braid when you ask for one
- Braiding so tightly that you feel immediate scalp pain or pulling at the hairline
- No check-ins or step-back assessments as the style progresses
Essential questions to ask:
- "Can you show me a sample braid thickness before we start?"
- "How will you distribute weight for longer braids?"
- "What do you recommend for my hair density?"
- "How do you handle adjustments if the first few braids aren't what I pictured?"
If the first braids don't match your request: Stop politely and say, "These look a little [larger/tighter/different] than what I had in mind — can we adjust before continuing?" Correcting early is far easier than mid-install changes. A stylist who respects your hair will welcome that pause.
Ready-to-use booking templates and in-salon scripts
Copy, paste, and fill in the brackets. These templates work across booking forms, DMs, and in-chair conversations.
Template 1: Booking form note
Style: [Knotless medium box braids / feed-in cornrows / Fulani braids] Parting: [Center / side / zigzag] Size: [Small / medium / jumbo] Tension: [Loose / medium / firm] Leave-out: [None / edges only / full perimeter] Extensions: [Brand name or "please recommend"] End finish: [Blunt cut / hot-water curl / sealed] Attaching 3 labeled photos: Photo A (parting), Photo B (size), Photo C (side profile).
Template 2: In-salon two-sentence script
Template 3: Instagram or Facebook DM
"Hi! I'm interested in booking for [style]. I'm attaching three photos: Photo A shows the parting I want, Photo B shows the braid size, and Photo C is a side profile. I prefer [tension] tension and [leave-out preference]. My budget is around [$X] and I'm flexible on [date range]. Do you offer a quick consultation call for complex styles?"
Photo labeling tip: When sending photos digitally, rename the files before attaching: "PhotoA_parting.jpg," "PhotoB_size.jpg," "PhotoC_sideprofile.jpg." It takes 30 seconds and eliminates any confusion about which detail you're referencing. For a full guide on booking appointment details, including what to include in your notes, Afromagicbraiding's booking guide covers the process step by step.
What does a professional salon consultation actually look like?
Knowing what a skilled salon asks on its end helps you mirror those inputs when you communicate your request. Here's what Afromagicbraiding's consultation process covers and why each step matters.
Intake form fields:
- Hair condition (recently colored, heat-damaged, transitioning, or natural)
- Hair density (fine, medium, or thick) — this directly informs parting width and extension anchor placement
- Scalp sensitivity and any tender or thinning areas
- Preferred leave-out amount and closure preference
- Extension brand or type preference, or a request for the salon's recommendation
- Desired longevity (how many weeks you plan to wear the style)
- Photo upload of reference images
- Social media consent (whether the salon may post finished photos)
Why each item shapes the outcome:
Density determines how wide or narrow the parting grid should be. A fine-density client with a jumbo-section parting will see scalp showing between braids. Extension weight informs anchor placement — heavier packs on a fine-hair client increase tension at the root, which is why salons that use intake forms reduce rework and miscommunication. Scalp sensitivity notes let the stylist adjust tension zone by zone rather than applying uniform pressure across the head.
During the appointment, a professional salon will:
- Complete 2–3 test braids and pause for your approval before continuing
- Step back at intervals (after the first row, at the halfway point) to assess symmetry and pattern alignment
- Confirm the end finish before sealing or cutting extensions
- Walk you through a brief aftercare plan before you leave the chair
For a deeper look at how custom braid styles are planned and executed, Afromagicbraiding's guide explains the customization options salons offer and why the details matter for your final result.
Key Takeaways
Walking into your appointment with a named pattern, three labeled photos, and clear specs for parting, size, and tension gives your stylist everything needed to deliver exactly what you envisioned.
| Point | Details |
|---|---|
| Name the pattern and three specs | State the style name, parting map, braid size, and tension level before the stylist begins. |
| Bring labeled reference photos | Three photos (parting, size, side profile) labeled Photo A, B, and C remove visual ambiguity instantly. |
| Request test braids early | Ask for 2–3 test braids at the start; correcting size or tension early is far easier than mid-install changes. |
| Know your foundation type | For sew-ins or crochet installs, specify the cornrow grid spacing and parting pattern that matches your coverage goal. |
| Watch for red flags | Refusal to do a test braid, dismissing your photos, or no tension discussion are signs to pause and speak up. |
| Book with Afromagicbraiding | Afromagicbraiding's consultation intake covers density, leave-out, extension matching, and photo upload before your appointment begins. |
The real conversation between client and braider
Most clients come in holding a phone photo and hoping the stylist can read their mind. Most stylists come in hoping the client can articulate what they actually want. The gap between those two positions is where most braiding disappointments are born, and it's almost never about skill.
Here's the part most guides skip: a skilled braider will sometimes adjust your photo request, and that's not a failure — it's expertise. If your reference photo features waist-length micro braids on someone with thick, dense hair and you have fine, low-density hair, replicating that exact look could mean excessive tension, visible scalp, or braids that won't hold their shape past week two. A stylist who flags that before starting is protecting your hair, not ignoring your vision.
The most productive clients use collaborative language. "Can we test a few sizes?" gets better results than "It has to look exactly like this photo." The photo is a direction, not a contract. Longevity and appearance often pull in opposite directions — very tight, polished braids hold their shape longer but can increase scalp tension, while looser boho styles are gentler but may frizz sooner. Knowing that trade-off before you sit down means you can make an informed choice rather than a disappointed one.
Every braid tells a story, and the best ones are written together — client and stylist, photo and conversation, vision and craft. Bring your references, speak your specs, and stay open to the professional reading your hair in real time. That's the collaboration that produces work worth photographing.
Afromagicbraiding is ready to bring your braid vision to life
You've done the prep work — you know your pattern name, your parting preference, your size, and your tension. Now you need a stylist who will actually listen to all of it.
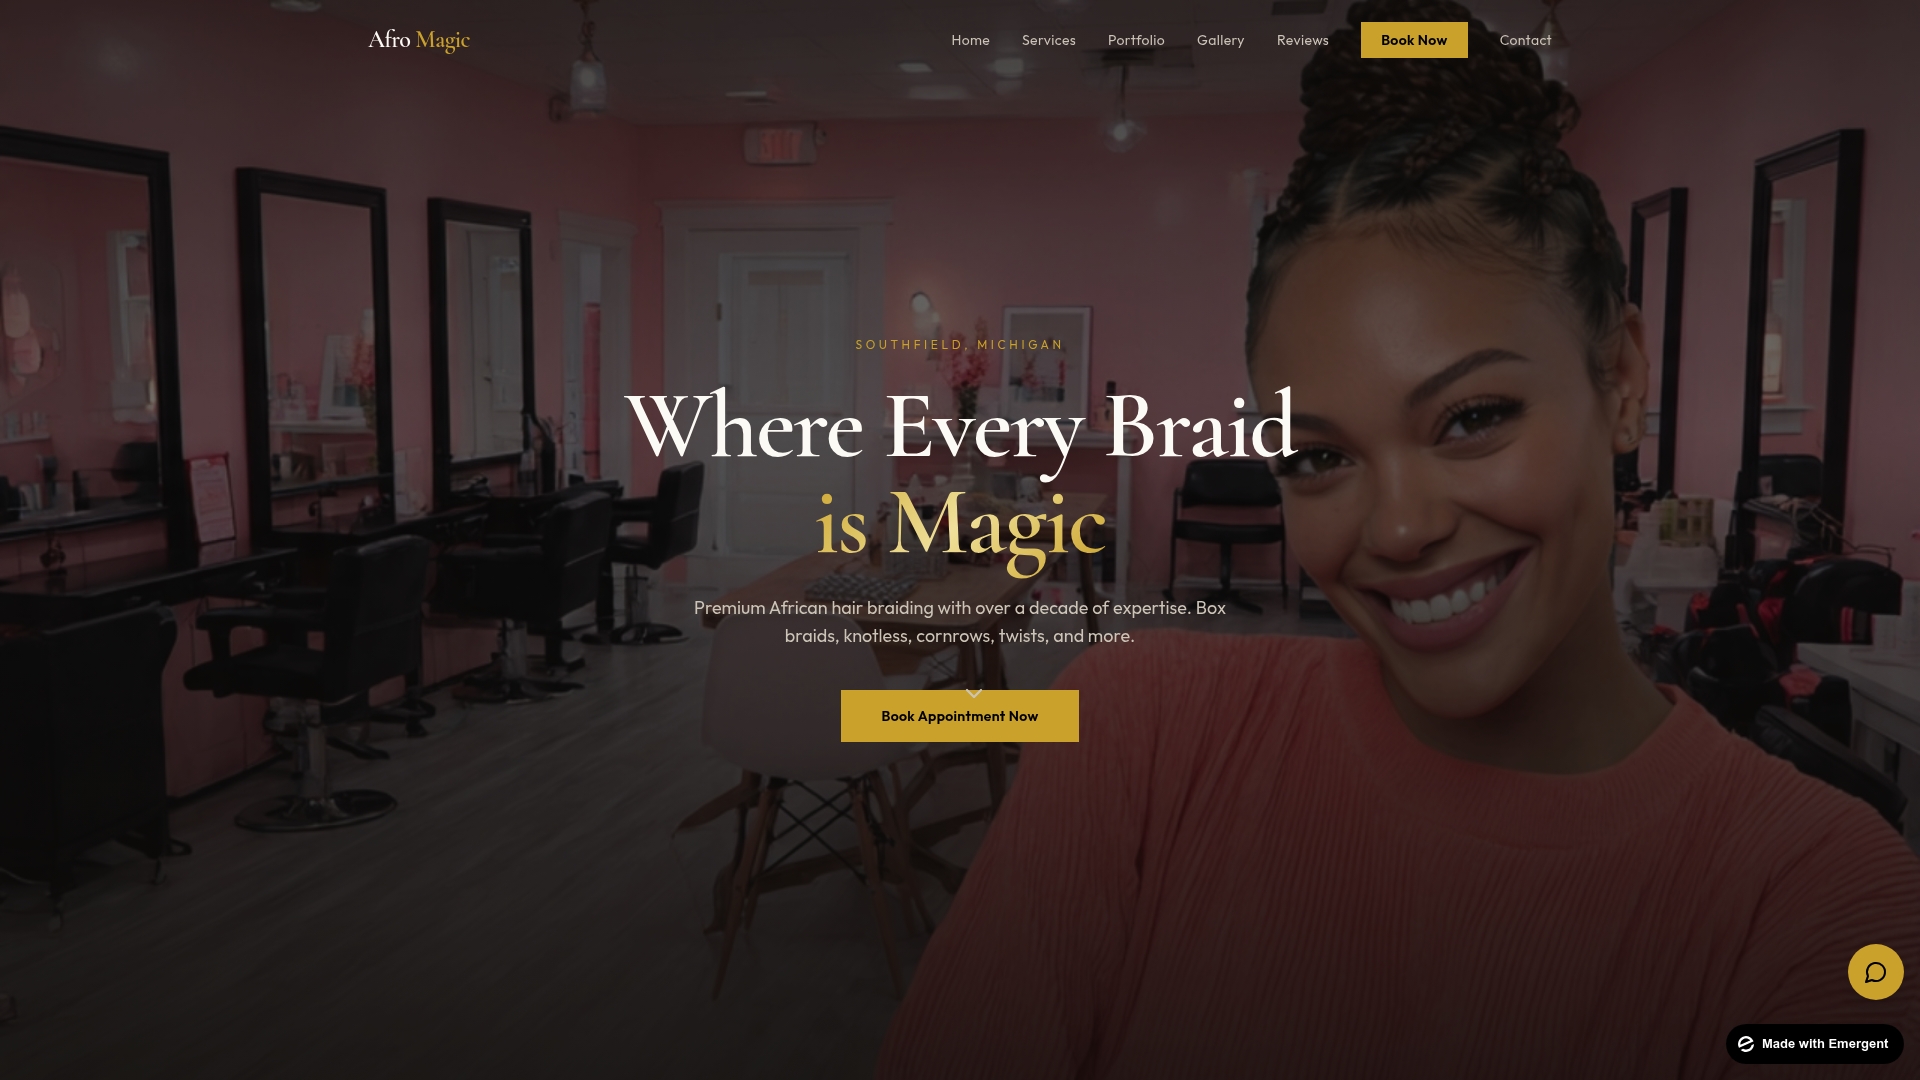
Afromagicbraiding in Southfield, MI specializes in exactly the styles this guide covers: knotless braids, feed-in cornrows, Fulani braids, boho knotless sets, faux locs, and custom sew-in foundations. The consultation process includes a photo intake, extension matching, and test braids at the start of every install — so the specs you've prepared translate directly into the chair. Browse the finished style portfolio to see real client results and confirm the aesthetic matches your vision. When you're ready, book your appointment online and attach your labeled photos directly to the booking note. If you prefer to talk through a complex style first, reach out via the contact page — the team is happy to answer questions before you commit to a date.
Useful sources and further reading
- Hair Braiding 101: How to Ask for Knotless, Boho, Box Braids — The Cut's practical guide on communicating with your braider, including photo guidance and test-braid advice
- The Best Braided Hairstyles — John Frieda's overview of braid styles with longevity and tension trade-off notes
- Types of Braids: 25+ Braid Styles + How to Choose the Best One — BohoBraid's decision framework for matching style to hair type and lifestyle
- 21 Stunning Braided Hairstyles You Can Try This Week — The Hairster's visual catalog of classic and modern braid styles
- 15 Best Braid Hairstyles 2026 — AngelGlowStyle's current trend roundup with texture and face-shape guidance
- AI Braids Filter — Try Braided Hairstyles on Your Photo — VEED's virtual try-on tool for testing box braids, cornrows, and twists before booking
- Explore the top braid types for healthy protective styles — Afromagicbraiding's guide to matching braid patterns to hair texture and density
- Hair health before your braiding visit — Afromagicbraiding's pre-appointment hair care and tension-safety checklist
- How to book a braiding appointment the right way — Practical booking tips including what details to include in your notes
- How to Make Hair Extensions Look Natural — HairLocks' professional blending guide for communicating extension preferences to your stylist