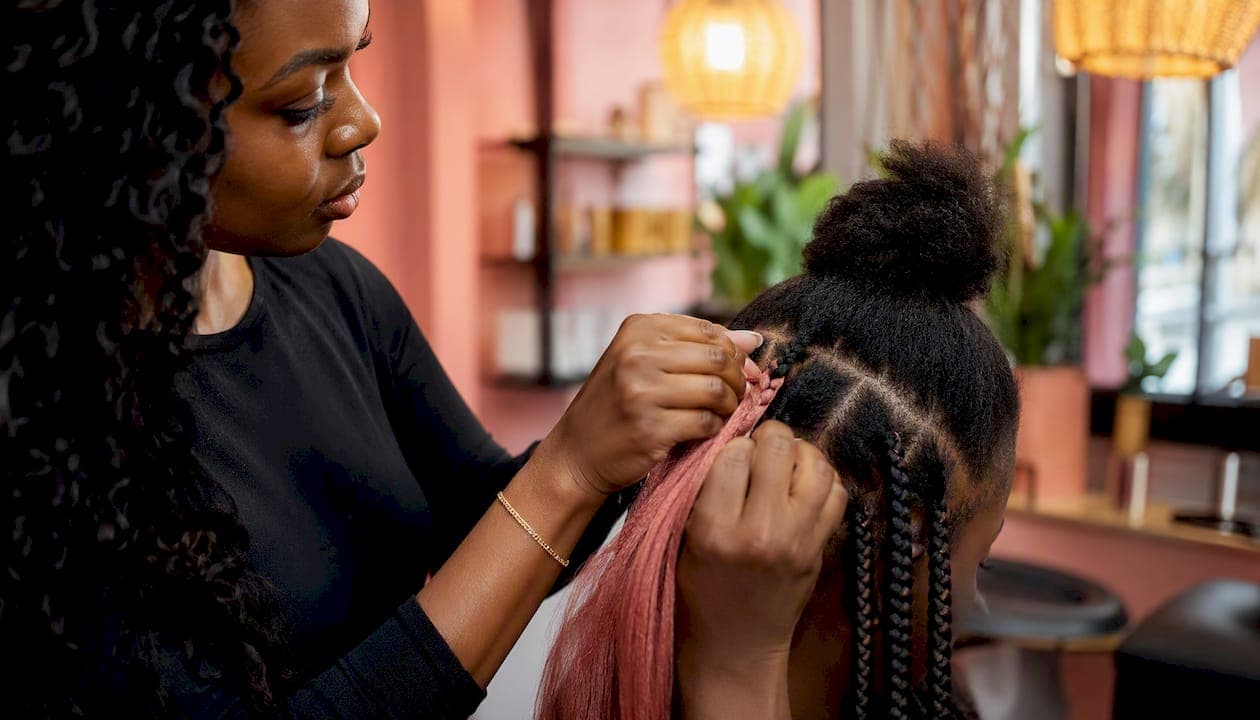
For most clients, medium or smedium is the safest default braid size. It balances fullness, scalp comfort, and realistic install time without overloading your edges or natural anchors.
A few situations call for a different choice:
- Fine or low-density hair: Go larger (large or jumbo) to reduce the number of sections and lower traction risk.
- Detailed, intricate look: Small or x-small sizes deliver that precise, high-definition finish, but they come with longer install times and higher follicle stress.
- Statement style or quick install: Jumbo braids are bold and fast, but require lightweight extension hair to keep tension manageable.
At booking, tell your stylist: your target finished length, your preferred size, and whether your scalp or edges are sensitive. That three-part note shapes every decision from mapping to feed-in weight.
Table of Contents
- Why braid size affects your hair health more than you think
- Braid sizing chart: from jumbo to x-small
- Knotless vs. traditional: which technique fits your size choice?
- How to choose your size based on your hair and goals
- What to ask your stylist and red flags to watch for
- Realistic install times and price ranges by size
- Afromagicbraiding: where sizing consultations protect your edges
- Key Takeaways
- The case for letting hair health lead every sizing decision
- Useful sources and further reading
Why braid size affects your hair health more than you think
The size of each braid section directly controls how much tension your scalp carries. Smaller parts mean thinner natural anchors holding more manipulation during install, which raises the risk of traction alopecia over time. Larger parts distribute that load across more hair, but only if the extension weight stays proportional.
Total style weight matters just as much as section size. Every pack of extension hair adds downward pull on your follicles. Heavy extensions and excessive added hair create a constant downward pull that strains follicles; choosing lighter-weight hair and using less hair per section reduces that traction risk. Waist-length styles with thick feed-ins compound this effect, especially at the perimeter where the hairline is already fragile.
Edges deserve special attention. The hairline has finer, shorter hairs with less anchoring depth than the crown, making it the first place to show stress.
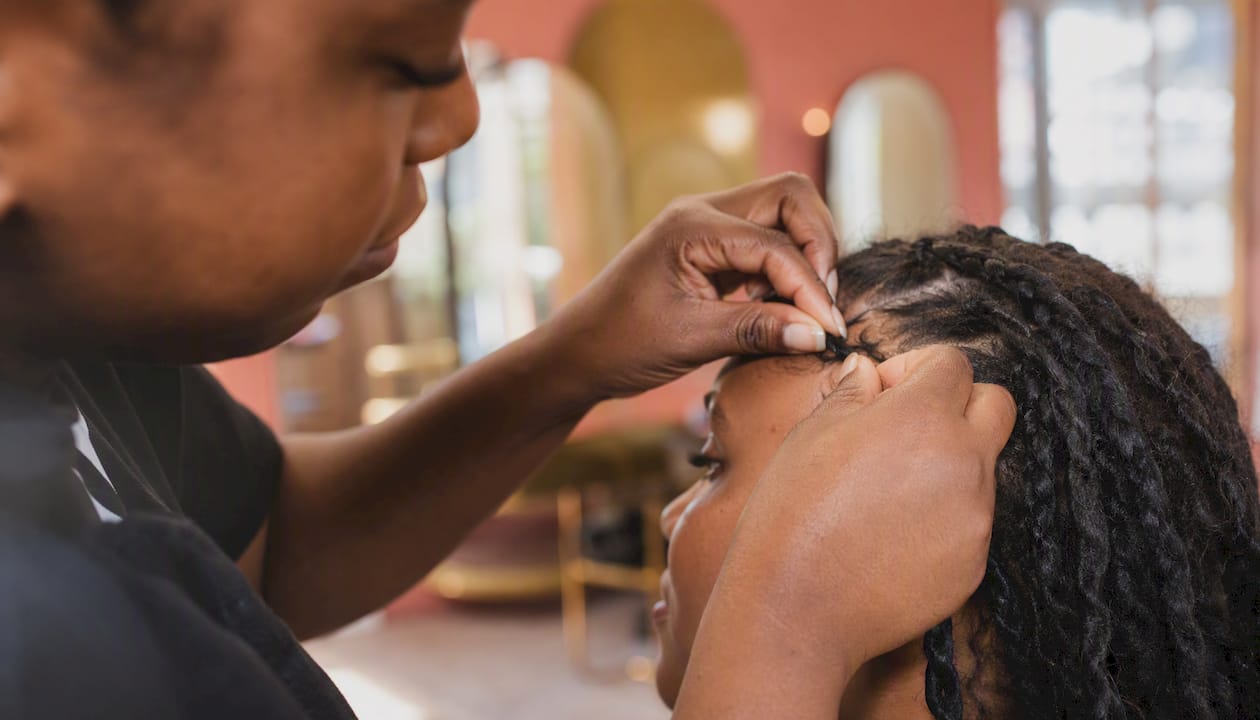
Pro Tip: Ask your stylist to use larger perimeter sections along your hairline and to apply a lighter grip there. A good braider will intentionally map the edges differently from the crown.
Braid sizing chart: from jumbo to x-small
Salon mapping and consistent feed-in amounts create predictable braid counts and finished density. Medium and smedium are the most common safe defaults. The chart below gives you the language to walk into any salon and ask for exactly what you want.
| Size | Visual cue | Best for | Hair density | |---|---|---|---|---| | Jumbo | Thick as a thumb | Bold statement, fast install | Medium to thick | | Large | Pencil-thick | Voluminous, low-maintenance | Average to thick | | Medium | Classic box braid | Balanced fullness, versatile lengths | Most densities | | Smedium | Slightly slimmer than medium | Detail + fullness, popular sweet spot | Average to thick | | Small | Slim, refined | High-definition look | Average to thick | | X-small/Micro | Thread-thin | Maximum detail, intricate styles | Thick only |
Part width should match intended braid thickness. A stylist who maps a small part but feeds in a large amount of extension hair overloads that anchor, creating tension even when the finished braid looks proportional. Ask your stylist how they plan to map your parts before the install begins.
Micro and very small sizes also increase installation time and stress hair follicles, raising traction risk for some wearers. Smaller braids do stay neat longer because growth distributes across more sections, but that benefit comes with a longer chair time and more maintenance.
Knotless vs. traditional: which technique fits your size choice?
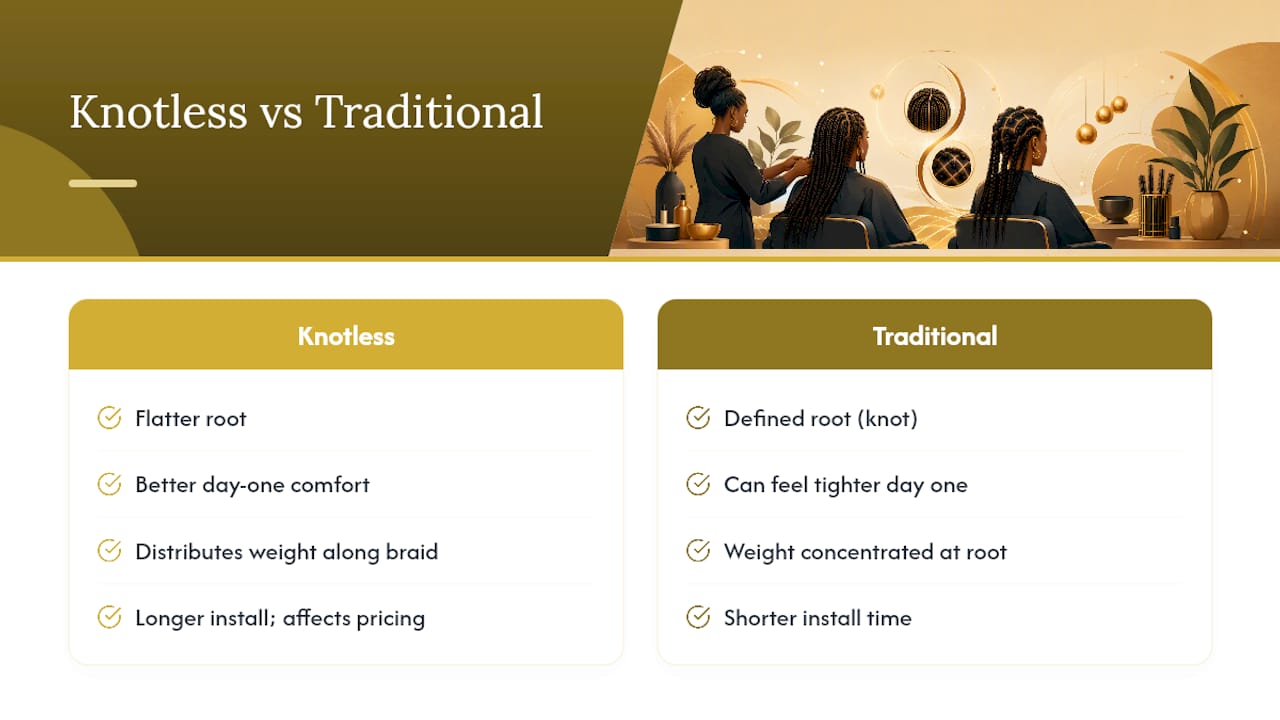
Knotless braids feed in extension hair gradually, producing a flatter root and often better day-one comfort. Traditional knotted braids anchor with a knot at the base, which creates a more defined root but can feel tighter immediately after install.
For medium and smedium sizes, knotless is usually the better choice for scalp comfort. The gradual feed-in distributes weight along the braid rather than concentrating it at the root. The tradeoff: knotless installation generally takes longer than traditional box braids, which affects appointment time and pricing. Knotless styles also show root growth sooner because the natural hair start is visible.
For a deeper look at how these two techniques compare across sizes and styles, the box braids vs. knotless braids guide breaks down the tradeoffs clearly.
Pro Tip: If your scalp is sensitive, request a "light feed-in" at the root and ask the stylist to use slightly larger perimeter sections. This small adjustment can make a significant difference in how the style feels on day one.
Traditional braids work well for jumbo and large sizes where the knot's added bulk is less noticeable relative to the braid's overall thickness. For small or x-small sizes, knotless is almost always the gentler option.
How to choose your size based on your hair and goals
Prioritize density first, then your goal, then your desired finished length. That order protects your hair while still getting you the look you want.
By hair density:
By styling goal:
- Maximum detail: Small or x-small, but keep finished length shorter to manage weight. Read more about hair retention and braid size before committing.
For edges specifically: always request larger perimeter sections regardless of your chosen interior size. If your edges are already thinning, ask for a leave-out along the hairline or a very light grip there.
What to ask your stylist and red flags to watch for
Walk in with these questions ready:
- "How will you map my parts for this size?"
- "What extension hair brand and weight will you use?"
- "How many packs do you estimate for my length?"
- "Can you do a lighter grip at my edges?"
- "What's your estimated install time?"
A professional stylist will do a sensitivity check before starting, redo any section that causes pain, and map the perimeter intentionally. They'll also tell you honestly if your desired size isn't a good match for your current density.
Red flags that require immediate correction:
- Persistent pain or burning at the scalp during install
- Visible bumps or whiteheads along the hairline within 24–48 hours
- Tight, raised knots at the edges that don't relax after a day
- A stylist who dismisses pain or refuses to adjust tension
You can say: "This section feels too tight, can you redo it with a lighter grip?" or "My edges are sensitive, please use a larger section there." A skilled braider welcomes that feedback.
Realistic install times and price ranges by size
| Size | Typical install time | Typical price range | Notes |
|---|---|---|---|
| Jumbo | moderate | moderate | Fastest install, bold look |
| Large | moderate | moderate | Good balance of speed and style |
| Medium | longer | higher | Most popular, versatile |
| Smedium | longer | higher | Popular sweet spot, longer chair time |
| Small | longest | highest | High detail, longer appointment |
| Micro/X-small | longest | highest | Maximum detail, highest time investment |
Knotless technique adds roughly 1–2 hours to any size compared to traditional installation. Hair preparation (detangling, stretching, blow-drying) adds time before the braid count even starts. Gel edges, color work, or custom styling at the end add more. Budget for a consultation and sensitivity check at the start of your appointment.
Prices vary by salon, location, stylist experience, and finished length. The ranges above reflect typical U.S. market rates and are not fixed.
Afromagicbraiding: where sizing consultations protect your edges
Choosing the right braid size is easier when a skilled stylist maps your hair in person, assesses your density, and recommends a feed-in weight that matches your goals without stressing your scalp.
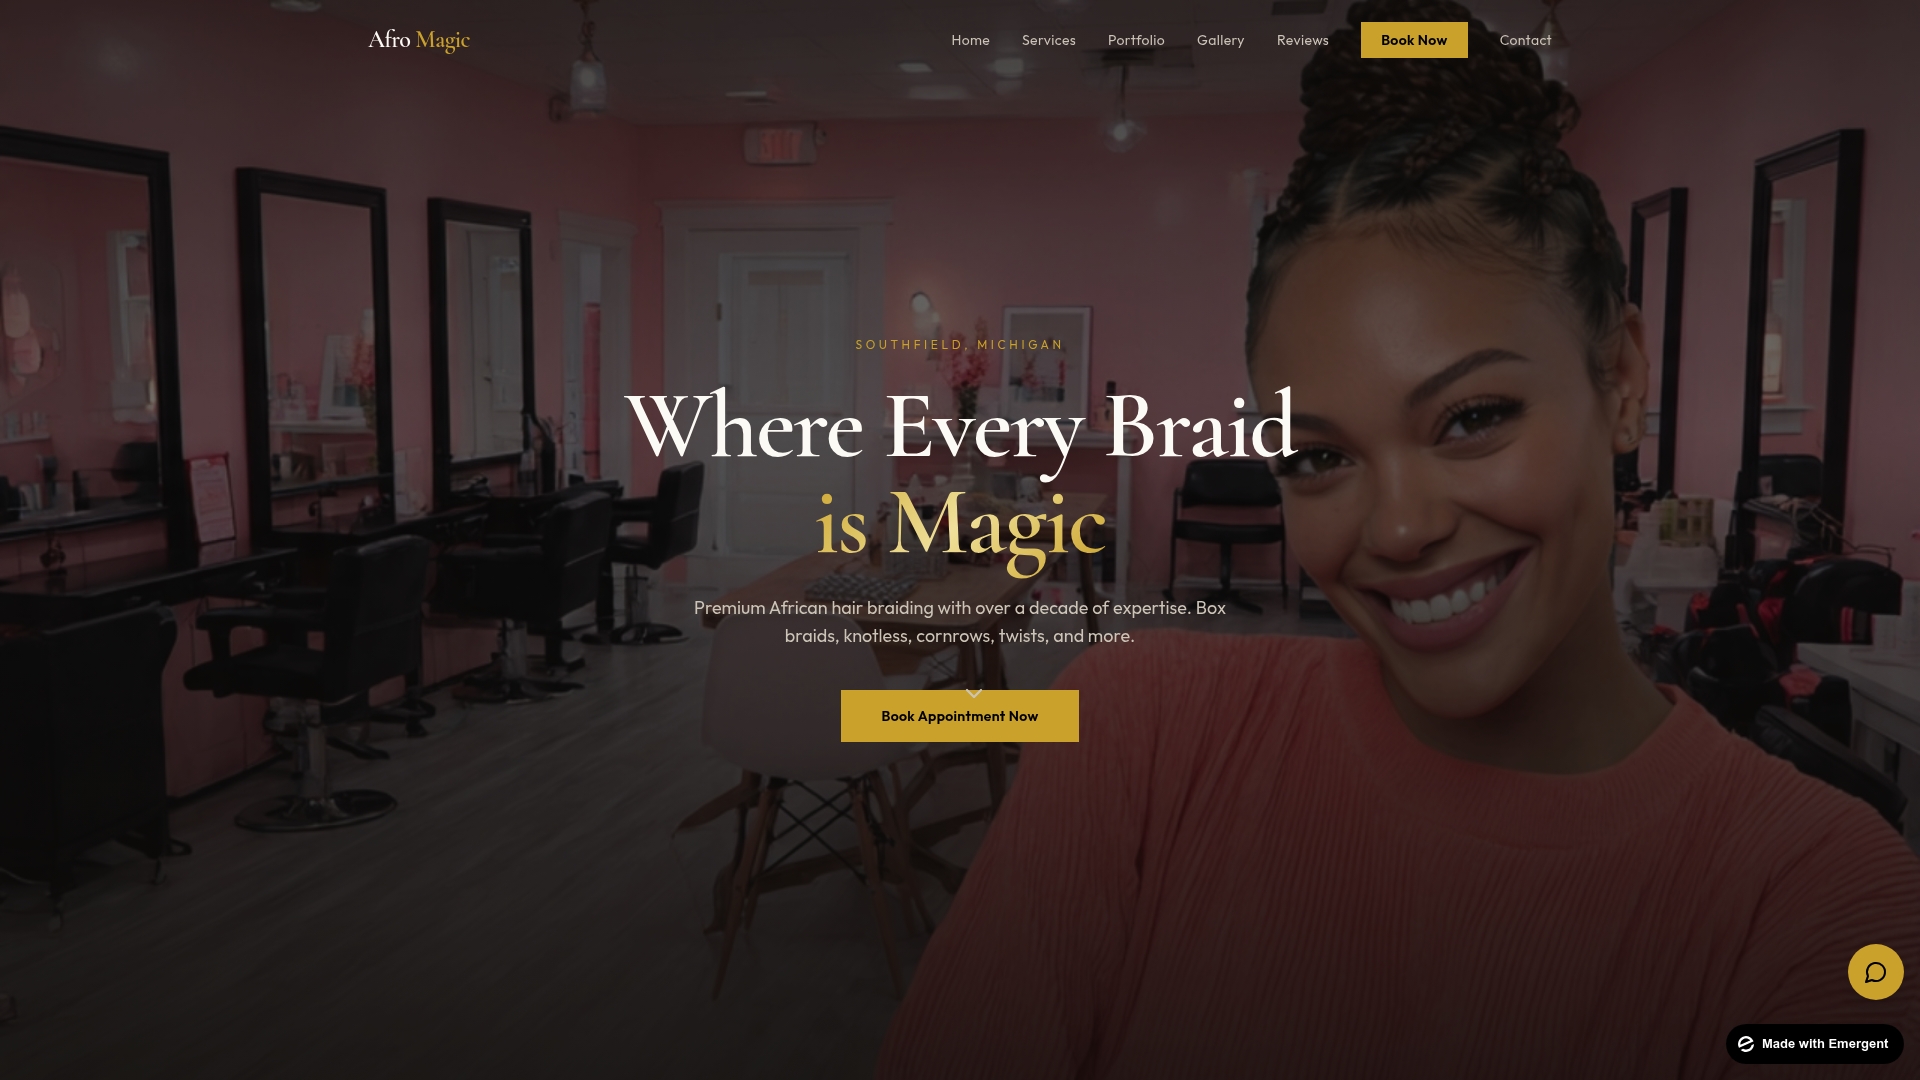
Afromagicbraiding in Southfield, MI offers in-salon sizing consultations as part of every appointment. The stylists use intentional perimeter mapping, premium lightweight extension options including X-Pression and Kanekalon, and a tension-check process throughout the install. If a section feels too tight, they adjust it, no pushback. Browse completed installs in the portfolio to match a finished size to your vision, then book your appointment directly online. Mention your scalp sensitivity and target length at booking so your stylist comes prepared.
Key Takeaways
Choosing the right braid size comes down to your hair density first, your styling goal second, and your desired finished length third, with extension weight as the non-negotiable safety variable throughout.
| Point | Details |
|---|---|
| Default size for most clients | Medium to smedium balances fullness, scalp safety, and versatile finished lengths. |
| Fine or low-density hair | Choose large or jumbo to reduce section count and lower traction risk. |
| Extension hair weight | Lightweight synthetics like X-Pression and Kanekalon reduce downward pull on follicles. |
| Safe wearing time | Medium and smedium braids typically last 6–8 weeks; remove sooner if pain or recession appears. |
| Afromagicbraiding consultation | In-salon mapping and tension checks at Afromagicbraiding help you pick the right size and protect your edges. |
The case for letting hair health lead every sizing decision
Most conversations about braid size start with aesthetics, and that's understandable. The look matters. But the clients who protect their edges and retain the most length over years of protective styling are the ones who let hair health set the floor before the style sets the ceiling.
Sizing isn't just about how thick a braid looks on day one. It's about how many sections your scalp can anchor without strain, how much weight your follicles carry for six to eight weeks, and whether your hairline looks the same when the braids come out as it did going in. A medium braid on a well-mapped part with lightweight Kanekalon will almost always outperform a micro braid on an overloaded tiny part, both in longevity and in what you find underneath.
The most overlooked variable is the perimeter. Stylists who treat the hairline the same as the crown are missing the most vulnerable part of the head. Larger edge sections, lighter grip, and intentional mapping there aren't optional extras. They're the difference between a style that grows your hair and one that quietly sets it back.
Useful sources and further reading
These sources informed the guidance in this article and offer deeper reading on sizing, scalp health, and technique:
- How Protective-Style Choices Impact Scalp Health and Hair Density Over Time — Black Beauty Basics
- The Best Braid Size To Use For Protective Styling Hair Without Damage
- Knotless box braids are similar to traditional three-strand box braids — L'Oréal Paris
- Knotless Braid Size Chart (Jumbo to X-Small) + Parting & Mapping Guide — Lemon8
- The A-Z Masterclass on Knotless Braids: From Zero-Tension Techniques t — Vietnam Remy Hair Co.,Ltd