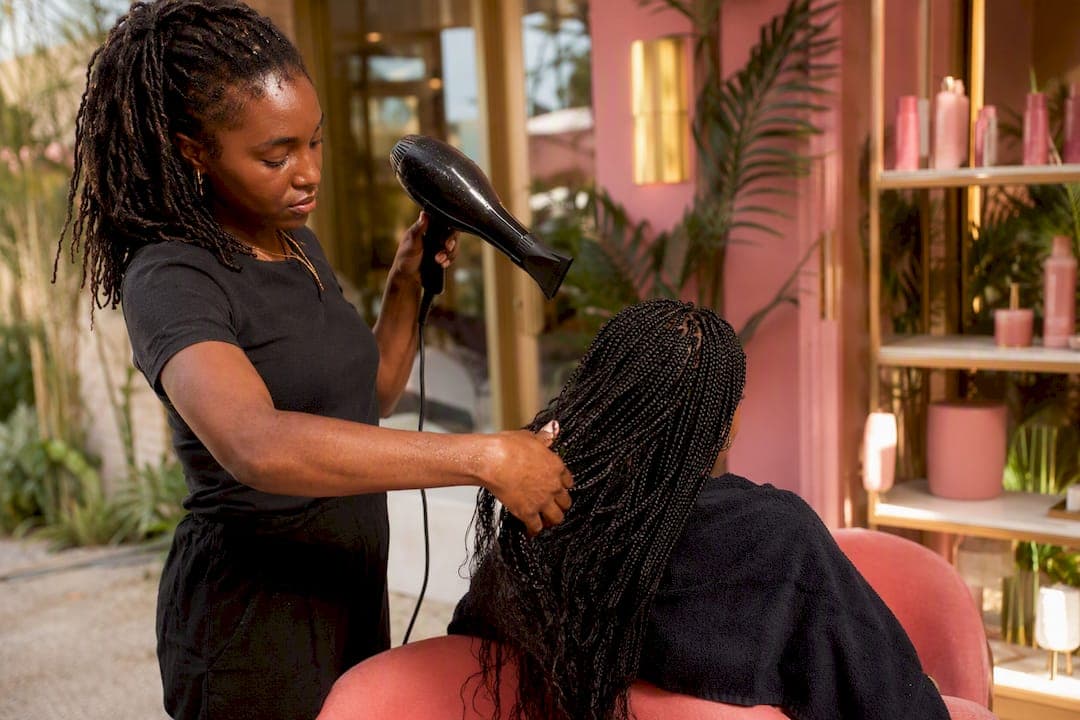
Low-tension braids and twists paired with a moisture-first routine beat every other winter approach for natural and textured hair. Your best 2026 picks are knotless or boho braids, two-strand twists, faux locs, lightweight crochet, and a low bun for the coldest stretches. Whatever style you choose, dry your hair completely before you step into the cold, and keep hydration on a weekly schedule, not an afterthought.
TL;DR:
- Knotless and boho braids are the top choices for winter because they reduce scalp tension and protect ends for 6 to 8 weeks with light tension and regular refreshes.
- Two-strand and mini twists, although breathable, require careful moisturization and often last 4 to 6 weeks, but they involve longer installation times and higher tension risks.
- Use lightweight synthetic hair for faux locs and crochet installs to limit root strain and ensure styles last without causing unnecessary damage.
- Always fully dry hair before going into cold weather and swap rubber bands for fabric scrunchies to prevent breakage and static, especially during style removal or overnight.
- Prioritize regular scalp oiling, gentle cleansing, and strategic refreshes, as winter hair breakage is more common when styles and upkeep are neglected.
Table of Contents
- Best Protective Styles for Winter, Ranked by What Actually Works
- Getting Your Hair Ready Before a Winter Install
- Your Winter Maintenance Routine, Step by Step
- 2026 Winter Style Trends Worth Trying
- Which Styles Hold Up Best When Temperatures Drop
- How to Protect Your Style and Your Hair Overnight
- Taking Down Your Style Without Losing Hair to Winter Breakage
- Small Habits That Keep a Winter Style Looking Fresh
- Why Winter Rules Change the Protective-Style Playbook
- Book Your Winter Protective Style at Afromagicbraiding
- Sources
Best Protective Styles for Winter, Ranked by What Actually Works
Winter air pulls moisture out of your strands faster than almost any other season, so the style you choose matters as much as how you care for it. These are the options that hold up, in the order we'd recommend them to a client walking into Afromagicbraiding in January.
- Knotless or boho braids. These start with your natural hair at the root instead of a knot, so there's far less pulling on the scalp. They protect ends beautifully and slide under a beanie without bulk. Keep tension light, expect 6 to 8 weeks of wear, and refresh your edges with a light oil every few days.
- Two-strand twists. A go-to for anyone who wants low manipulation without heavy extensions. Twists breathe better than tightly woven braids, which matters when you're layering hats and hoods. Plan to wear for a few weeks and re-moisturize regularly to maintain the twist strands and prevent unraveling.
- Mini twists. Smaller than standard twists, these give a fuller look and last a bit longer, often 4 to 6 weeks. The tradeoff is a longer install time, so book extra hours if you're going this route before the holidays.
- Box braids. Still a winter staple, but ask your stylist for lighter tension than you'd request in summer. Cold, dry hair is more brittle, and box braids installed too tight are one of the more common causes of edge thinning we see this time of year. A few weeks is the recommended safe window.
- Faux locs. These offer serious warmth-weather versatility because they're thick enough to stand up to wind without frizzing out. Choose a lightweight synthetic hair option to cut down on root strain, and limit wear time to a moderate period without skipping check-ins.
- Marley twists. A textured alternative to faux locs with a similar protective profile. They hold moisture a little better than synthetic locs but weigh more, so watch tension at the nape.
- Crochet installs. Fast to install and gentle on the scalp when you use pre-stretched synthetic hair instead of heavier bulk packs, a swap that meaningfully reduces root tension. Great for anyone who wants a protective style without a multi-hour appointment.
- Low buns and stitch buns. The easiest style to maintain through a snowstorm. Everything is tucked and secured, which means less exposure to wind and static. Best for 1 to 2 weeks between refreshes.
- Cornrows. Classic, low-bulk, and ideal under hats. The catch is scalp exposure, so a hydrating scalp oil becomes non-negotiable when temperatures drop.
- Braided crown. Half-protective, half-statement piece. Works well for events but isn't meant to carry you through a full winter, more of a 1 to 2 week style.
- Wigs and protective sew-ins. When installed over braided or cornrowed natural hair, wigs give you a full break from manipulation while your hair rests underneath. Just don't skip scalp care because it's hidden.
Skip anything installed with heavy tension or secured with rubber bands. Traditional box braids pulled tight at the root, or ponytails cinched with rubber bands, are the two most avoidable causes of winter breakage we see walk through the door. Knotless techniques and fabric-covered ties solve both problems at once.
Getting Your Hair Ready Before a Winter Install
A protective style is only as good as the hair underneath it. Before you book, run through this checklist:
- Trim split ends. Winter dryness finds every weak point, and a split end under a braid just keeps splitting.
- Deep condition once or twice a week in the two weeks before your appointment. The American Academy of Dermatology recommends this frequency specifically to build moisture reserves before styling.
- Clarify your scalp if you've got product buildup. A clean scalp holds a style better and itches less under a hat.
- Hold off on coloring or chemical treatments for 8 to 10 weeks before your install when you can. That spacing gives strands time to recover strength before they carry the weight of braids or extensions.
When you're deciding which style to pick, weigh your hair's length and density, how sensitive your scalp runs, how often you're wearing hats, and how much upkeep you're realistically willing to do. Ask your stylist directly about tension, the weight of the extension hair, and how long they'd recommend you wear the style given your hair's condition.
Pro Tip: Never leave the salon with damp roots on a freezing day. Water trapped in the hair shaft can freeze and expand, risking immediate structural damage before you even get to your car. Ask for a drying check before you walk out.
Your Winter Maintenance Routine, Step by Step
Protective styles need more attention in winter, not less, because indoor heat and outdoor cold attack your hair from both directions, making the use of a clinical hair growth system and bio-active serum especially beneficial for scalp health and maintenance post-install. Build your week around three things: moisture, scalp comfort, and friction control.
For daily and weekly care, cleanse gently with a sulfate-free, braid-friendly shampoo, then follow with a leave-in conditioner and a lightweight humectant spray to pull moisture into the hair shaft. On the scalp, reach for light oils rather than heavy butters, which tend to sit on top of braids and attract lint and buildup instead of soaking in.
Your accessories matter more than you'd think. Satin-lined hats and scarves cut down on the friction that causes frizz and breakage where fabric meets hair. Swap rubber bands for fabric scrunchies everywhere, from ponytails to twist ends, since rubber grips and snaps in ways cloth never will.
Drying rules apply every single time you wash or refresh a style, not just at install. Fully dry your hair or your braids before heading into freezing temperatures. For static, which spikes when indoor heating strips humidity from the air, run a humidifier at home, use a water-based braid spray, and seal moisture in with a small amount of lightweight oil rather than piling on product.
Statistic Callout: Cleveland Clinic's winter hair guidance specifically calls for weekly hydrating masks and regular trims to prevent the kind of breakage that shows up most often between December and March, when cold air and dry indoor heat overlap.
2026 Winter Style Trends Worth Trying
This season's biggest protective style trends lean into color and texture: boho knotless braids, warm-toned accents in copper and caramel, beaded cornrows, stitch-braid buns, and lightweight faux locs are all showing up in salons right now.
You can follow every one of these trends without adding winter risk if you stick to the fundamentals: low tension, lighter extension hair, and staggered color rather than a full bleach session in the middle of the cold season. For a night out, a braided crown dresses up fast. For your daily commute, a low twisted bun keeps things simple and warm under a hood.
Which Styles Hold Up Best When Temperatures Drop
Cold weather changes the math on every protective style, favoring options that trap warmth without adding stress to already-dry strands. Knotless braids and twists top the list because their reduced root tension matters even more when hair is naturally more brittle in low humidity.
Faux locs and Marley twists bring real insulation value. Their density blocks wind better than thinner braids, though that same thickness means they hold onto moisture longer after a wash, so plan drying time accordingly before you leave the house. Crochet installs shine for convenience, are quick to install, gentle on a cold-sensitive scalp, and using lightweight synthetic hair helps reduce root tension.
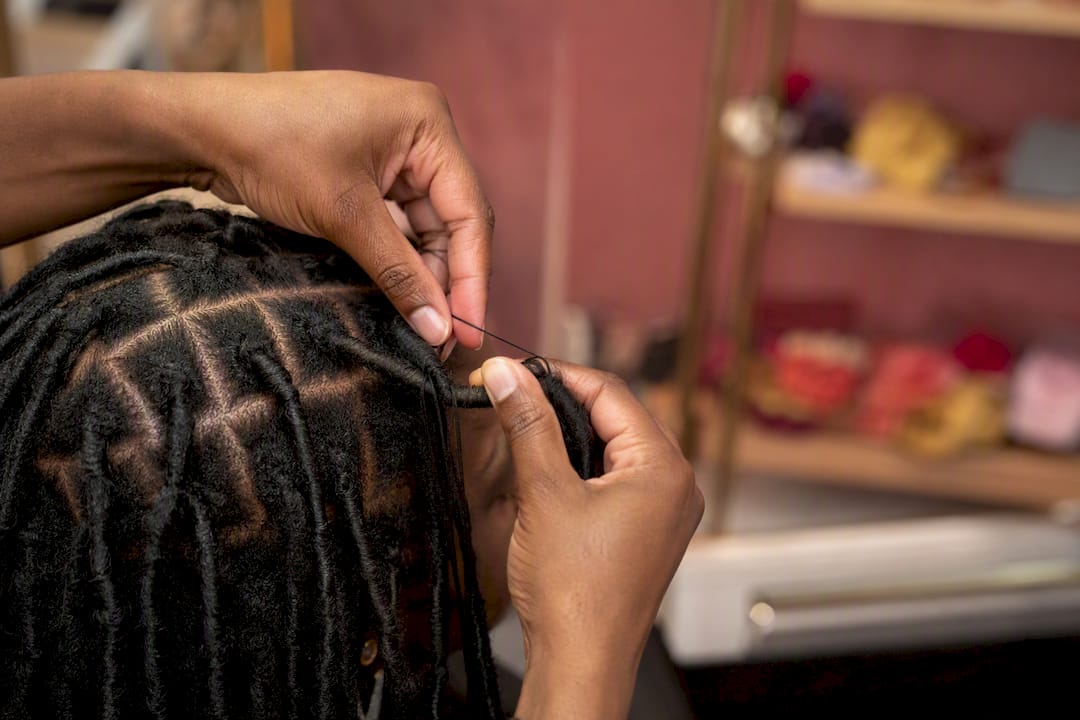
Cornrows and buns are practical choices for daily wear since they tuck completely under hats, but both leave more scalp exposed to dry air, so regular scalp oiling is advisable. Box braids remain reliable but only when tension is dialed back, especially in winter when hair is more brittle and less elastic.
Wigs and sew-ins offer the lowest daily maintenance of any option here since your natural hair rests fully protected underneath, but that hidden state is exactly why scalp neglect sneaks up on people who choose this route.
How to Protect Your Style and Your Hair Overnight
What happens to your hair while you sleep matters as much as anything you do during the day, especially in winter when cotton pillowcases and dry indoor air team up against your moisture levels.
Switch to a satin or silk pillowcase, full stop. Cotton pulls moisture from your hair and creates the kind of friction that leaves braids frizzy and edges weakened by morning. If you'd rather not swap your whole pillowcase, a satin or silk bonnet or scarf does the same job and travels easily if you're staying somewhere else for the holidays.
Before you wrap up for the night, apply a light leave-in or a few drops of oil to your ends and edges. This is also the moment to loosely gather longer styles, like twists or faux locs, into a low pineapple or a loose braid-down to prevent your ends from rubbing directly against fabric all night. Skip anything tight. A scarf or bonnet tied too snugly recreates the same tension problem you worked to avoid at your install appointment.
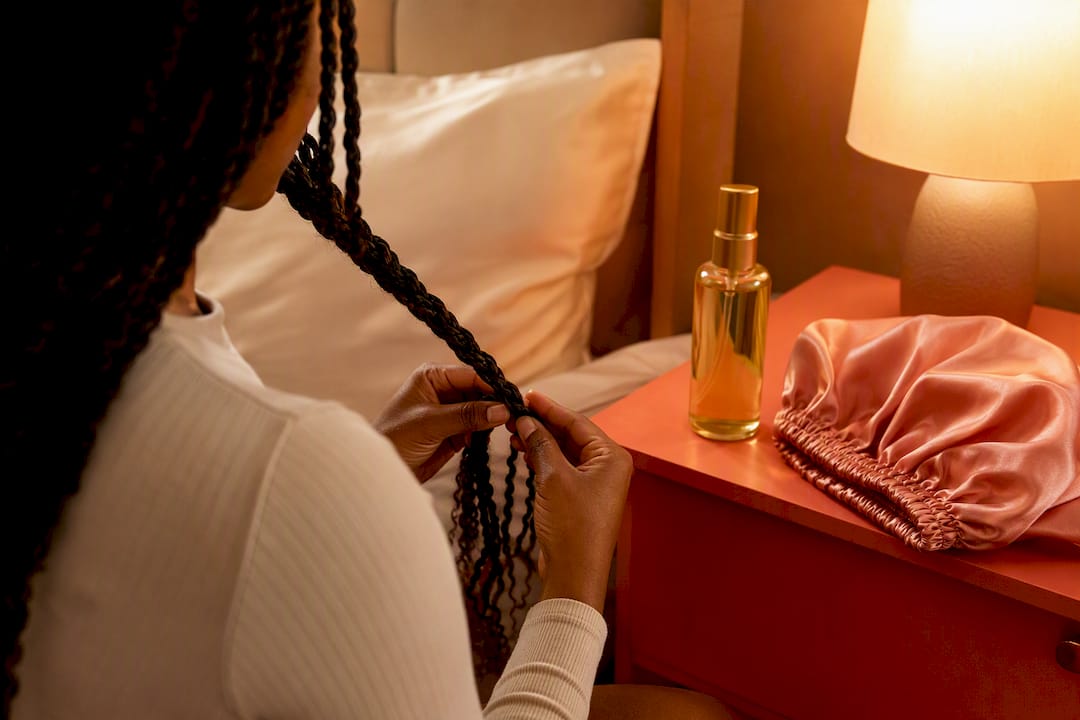
If you wake up to flattened roots or a little frizz, resist the urge to reach for heat. A light misting of water-based spray and a quick finger-fluff usually restores the style without adding stress to hair that's already working overtime against winter dryness.
Taking Down Your Style Without Losing Hair to Winter Breakage
Removal day carries real risk if you rush it, especially when your hair has spent weeks fighting cold, dry air underneath a protective style. The biggest mistake is pulling braids or twists apart dry. Dry, cold-season hair snaps more easily than hair that's been properly softened first.
Start by saturating each section with a conditioner or an oil-based detangling spray and letting it sit for a few minutes before you begin unraveling. Work in small sections, finger-detangling gently before you ever bring in a comb, and always detangle from the ends upward toward the scalp. Pulling from the root down drags every knot and shed hair through the rest of the strand.
Once a section is fully loose, follow immediately with a deep conditioning treatment. Weeks under tension pull moisture out of your strands even with a solid maintenance routine, and post-removal hair is often thirstier than you'd expect. Give it that full deep-condition session before you do anything else, including a fresh install.
Book a trim after removal, particularly if it's been 6 to 8 weeks or longer since your last one. Winter dryness tends to expose split ends that were hiding under the style, and cutting them now stops the damage from traveling further up the strand before your next protective look.
Small Habits That Keep a Winter Style Looking Fresh
A style that looked flawless on install day can look tired by week three if you're not doing a little upkeep along the way. The good news is that most of what keeps a winter style photo-ready takes minutes, not hours.
Refresh your edges every few days with a light gel or edge cream applied with a soft brush, focusing on smoothing rather than slicking, since heavy product buildup near the hairline attracts lint from hats and scarves. For braids and twists, a light misting of water-based spray followed by a small amount of oil restores shine without weighing the style down or triggering the frizz that dry winter air causes almost daily.
Roots are usually the first place a style starts to look worn, so a quick part-and-reseal along your scalp, using a thin line of oil applied with a fine-tooth comb, keeps things looking intentional even three or four weeks in. If you're noticing frizz specifically from static, that's your cue to reach for a humidifier at home rather than more product, since piling on oil to fight static usually just leaves hair greasy without solving the real problem.
Rotate how you wear the style every so often, a half-up look one day, fully down the next, to distribute wear evenly rather than letting one section, usually the crown or the nape, bear all the friction from hats and scarves.
Why Winter Rules Change the Protective-Style Playbook
The conventional advice on protective styling barely shifts between seasons, and that's the real problem. Most guidance treats a braid installed in July the same as one installed in January, when the truth is that winter hair behaves differently from the moment it comes out of a dry, heated house.
What gets overlooked most often is timing, not technique. People fixate on which style to choose and skip the boring parts: drying hair fully before facing the cold, spacing chemical services so strands have time to recover, and treating scalp oil as a daily habit rather than a once-a-week fix. Those unglamorous steps do more to prevent breakage than any specific braid pattern.
If you take one thing from all of this, prioritize low tension first, moisture second, and trend last. A boho knotless braid with warm-toned accents looks fantastic, but it only stays fantastic if the fundamentals underneath it are solid. Style is the reward for good prep, not a substitute for it.
— Afro
Book Your Winter Protective Style at Afromagicbraiding
Afromagicbraiding is the alternative to guessing your way through a DIY winter install: our stylists build every knotless, boho, and faux loc style with the lighter tension and lightweight hair this season actually calls for, so you skip the trial-and-error and get it right the first time.

Our team specializes in knotless braids, boho braids, faux locs, and personalized protective-care consultations, all installed with premium, lightweight hair sourced to keep root stress low through the coldest months. Every appointment includes guidance on tension, wear time, and the aftercare steps that actually matter once you leave the chair, drawn from the same principles covered above. Browse recent installs in our style portfolio to see what a properly tensioned winter style should look like, then book your appointment in Southfield before the coldest weeks hit. Your hair will thank you by March.
Sources
- 6 curly hair tips from dermatologists — American Academy of Dermatology
- Your best strategies for beautiful hair in the winter — Cleveland Clinic
- 15 protective hairstyles that deliver both style and function — InStyle